Talks about QA, Test Automation, Blockchain and Web3
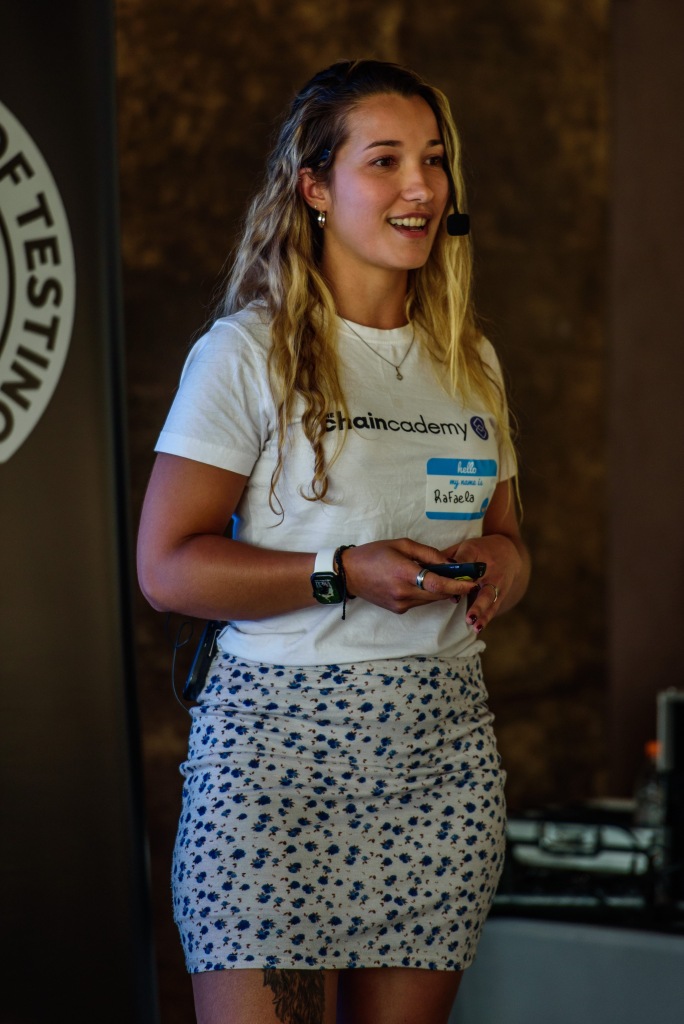
Author: Rafaela Azevedo
Full Stack SDET with +16 years Experience in QA, +14 years Experience in Test Automation and +8 years in Leadership, Delivering and Releasing Softwares in different platforms (Mobile, Desktop, Web)
Became a STEM Ambassador and a STEM Women Member in 2020 making an impact and bringing more people to the STEM area. Contribute to TestProject and instructor of Test Automation University.
And this was me again spreading the word about Blockchain and Web3, but this time at the Equal Experts Global Conference 2024. EE is a network of tech professionals that I couldn’t be more proud to be part of ❤️. I am super picky when it comes to work, but this one is a keeper!
While I’m not one to praise companies excessively, I wouldn’t hesitate to recommend Equal Experts as a great place to work and also to have business with. Their integrity and values are rare to find nowadays 😆
In the talk, I covered the basics of Web3, including its key differences from blockchain. As you know, I’ve been discussing these topics for quite some time 😬
Would you like to review the slides? This is a shorter, abridged version of the in-depth presentation I’ll be giving in October at the AutomationStar Conference. Think of it as a preview:
One of the questions I enjoyed receiving was about how blockchain technology, despite being around for a while, is often perceived as new. Blockchain is actually a combination of technologies that have existed for a long time, such as P2P networks and hashing. However, it wasn’t until these components were brought together that blockchain was truly created and its potential realized. Here are a few resources that explore the evolution and history of blockchain.
Here are a couple of resources that explore the evolution and history of blockchain.
Additionally, I attended another talk before mine that focused on UX/UI and user personas. This is another crucial aspect of QA. Understanding the user is essential when designing test scenarios and improving overall quality, not just from a technical standpoint but also from the perspectives of usability and business.
In conclusion, I solicited feedback from the audience and received valuable insights that I’ll incorporate into my upcoming talk at the AutomationStar Conference in Vienna this October. See you there 👋
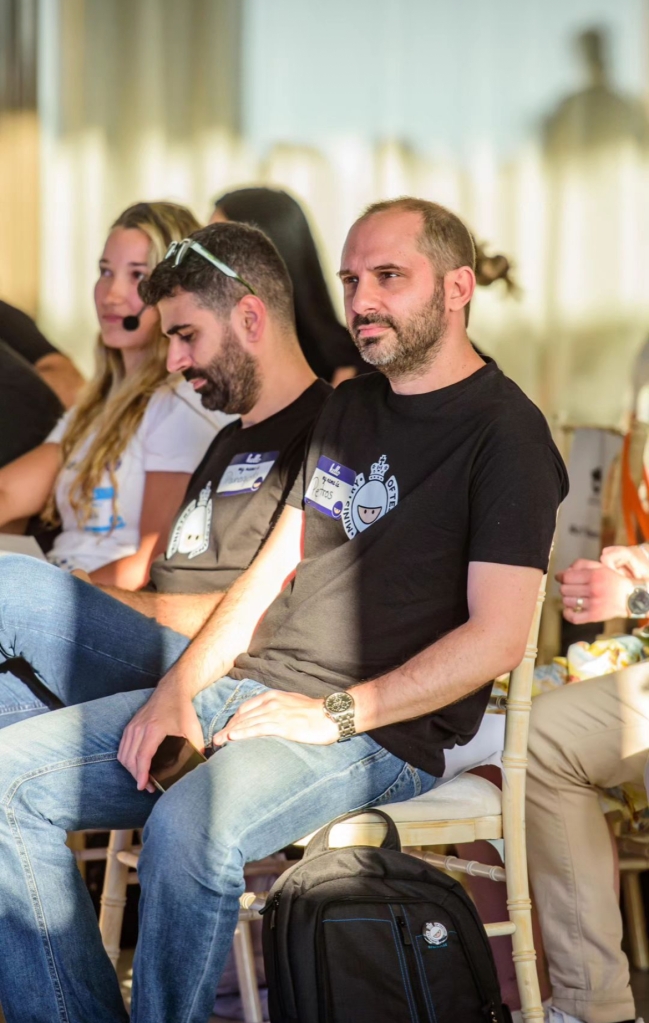
Hello, hello! A bit late as usual, but I’m here to share my experience at the Eurostar Conference this year. My talk was scheduled for 15:15 on Thursday, June 13th. Despite my initial anxiety, I managed to not only deliver my talk but also had time to attend other sessions and join two tutorials. Apparently, joining two tutorials was against the rules (shh 🤫)
Finding basis path: Ensure effective control flow testing by identifying the basis path.
Draw diagram flow: Create a detailed flowchart diagram to visualize the process.
Flipping decisions on baseline: Adjust decisions based on the established baseline to improve accuracy.
Flow chart: Use flowcharts to map out the process and identify key decision points.
Control flow testing: Test the control flow of the application to ensure all paths are exercised.
Code exercise: Focus on exercising the code you wrote, not the code that wasn’t written.
Business path analysis with JPath: Tools like JPath may not suffice for business path analysis; use domain analysis and equivalence class partitioning instead.
Pairwise workflow: Employ pairwise testing to handle millions of possible tests, as it’s impossible to test everything.
User behavior focus: Ask what the user does to the application, not what the application does to the user.
Vilfredo Pareto principle: Apply the Pareto principle, noting that 20% of transaction types happen 80% of the time, and start with transaction history analysis.
Pairwise tools: Use tools like Allpairs and PICT for pairwise testing, they are quite old school tho. No mention on AI tools to help creating the data, found a bit weird ?!?
Data variation: Ensure multiple variations of data and a reasonable amount of data for thorough testing.
My favorite part was discussing the things we’ve heard throughout the years in the QA and testing industry. Some of them include:
Automate everything: Avoid unrealistic expectations like “automate everything” and ensure thorough testing to prevent missing bugs.
More test cases mean better testing: Quantity over quality in test cases can result in redundant tests that don’t effectively cover critical scenarios.
Just test it at the end: Believing that testing can be left until the final stages of development leads to overlooked defects and rushed fixes.
Quality is the tester’s job: Assuming that only testers are responsible for quality undermines the collective responsibility of the entire team.
We can catch all bugs with testing: Expecting testing to catch every possible defect overlooks the importance of good design and development practices.
This was the big one of the entire conference, largely due to the drama that unfolded at the end of the talk 🎭
I missed the point where the title resonated with the entire talk, and it was my fault for not reading the description and going just because of the title.
They compared the time it takes to build cars from ages ago to now (Ford and Tesla) and showed that it only saved 3 minutes. I’m not sure if they did this on purpose just to prove their point, but the comparison missed the complexity and features that have been added in the new cars, like the entire software and electric systems behind Tesla that didn’t exist before. These aspects weren’t considered in their comparison.
They also presented interesting analysis about when AI will catch up with human intelligence, as well as the gap that AI is creating between junior and senior developers. Not many people talk about this, but indeed, AI is a tool that can help us while also potentially making us lazy, similar to how calculators did; we still need to learn the basics
Active listening: It involves fully concentrating, understanding, responding, and remembering what’s being said.
Train yourself and learn: Continuously improving active listening skills through practice and feedback helps in understanding others better.
Circle of control: Focus on what you can control in conversations—your responses, understanding, and actions.
Feedback: Provide constructive feedback that helps the person improve without making them feel punished. Talk about the behaviour not the identity, don’t use BUT, use AND.
Keep questions simple: Use straightforward questions that facilitate understanding and encourage deeper thought.
Be present: Engage fully in the conversation, maintaining focus and showing genuine interest.
11k impressions: Recognize that perspectives can vary based on personal factors like fatigue and biases
Keep questions simple: Frame questions clearly to facilitate understanding and encourage exploration of solutions.
Acceptance: Reality gap ! Facts on the table. Easy ? No, necessary: yes
You have the questions not necessarily know the answers. Help them to figure out how to find a solution.
What are your three top values? Rank 1 to 10. This will help you and your mentee to connect.
Here I am again, checking the feedback. As expected, the audience was quite different from the one I usually engage with. Since this conference is a bit more corporate, I didn’t anticipate too much variation in the audience. I was also extra nervous for this one, so instead of 45 minutes, I sped up and went into the fast lane, finishing the talk in just 30 minutes. I just gave you all some extra time for coffee! 😆
As always, I needed to gauge the Web3 knowledge level of the majority, and unsurprisingly, there is still a massive gap in education about what Web3 and Blockchain are. Thus, I spent a significant portion of my talk explaining these concepts.
The feedback is quite contradictory. Some people said it was hard to follow because no background was provided, while others mentioned they didn’t know the talk would focus solely on Blockchain (which it did not). 🤷♀️
So, if I give more background, people complain. If I reduce the background, people will still complain. My take on that is it’s really hard to please everyone; sometimes I can’t even make my own dog happy! 😄
I still try, though. So, thanks to those who gave constructive feedback ❤️!
I’ll work on improving for the next one 🚀
More random pictures with these great speakers whom I had the pleasure to meet, the cubic challenge, and also random exotic food talks on the boat party.
When it comes to load testing tools, there is a recent tool called PFLB which I received a comparison with the most popular one: JMeter. Each has its own strengths and weaknesses, making them suitable for different scenarios. Let’s delve into a comparison between the two.
– Limited Support – Scripting – Control Version – CI/CD Integration – Reusability
– GUI oriented – Possibility to create scripts, but too complex and lack of documentation – Weak (Java) – Hard to maintain
Ramp-up Flexibility
User-Friendly through GUI
Plugins available to be able to configure flexible load
Test Result Analyzing
Yes
Yes
Resource Consumption
Optimizing resource usage involves properly configuring test scenarios and monitoring performance to adjust as needed.
Heavy to run tests with multiple users on a single machine, more memory consumption
Easy to use with Version Control Systems
Yes
No
Recording Functionality
Yes
Yes
Distributed Execution
Yes
Yes
Load Test Monitoring
It reduces memory consumption through asynchronous logging, cloud-based infrastructure, and integration with specialized monitoring tools.
Ability to monitor a basic load
PFLB is most used when you need:
Scalability: PFLB tool offers cloud-based load testing, allowing users to scale tests to simulate millions of users without worrying about local resource limitations.
Integration: It integrates seamlessly with other monitoring and APM tools (e.g., New Relic, Dynatrace, Datadog), providing comprehensive performance insights and real-time analytics.
Ease of Use: PFLB tools are easy to use, with intuitive interfaces and detailed reports, making it easy for teams to set up, run, and analyze load tests.
Enterprise-Level Support: PFLB provides robust support and customization options for enterprise clients, ensuring that specific performance testing needs and requirements are met effectively.
JMeter solves some specific problems:
Identifying Performance Bottlenecks: JMeter helps detect slow or underperforming parts of an application by simulating various load conditions and monitoring response times.
Scalability Testing: It evaluates how an application scales with increased load, ensuring that the system can handle expected traffic and identifying any points of failure.
Concurrent User Simulation: JMeter can simulate multiple users accessing the application simultaneously, allowing testers to observe how the application behaves under concurrent usage.
Regression Testing: It can automate performance tests as part of a continuous integration process, ensuring that new code changes do not degrade application performance.
Thanks to Victoria from pflb for sending me this comparison !
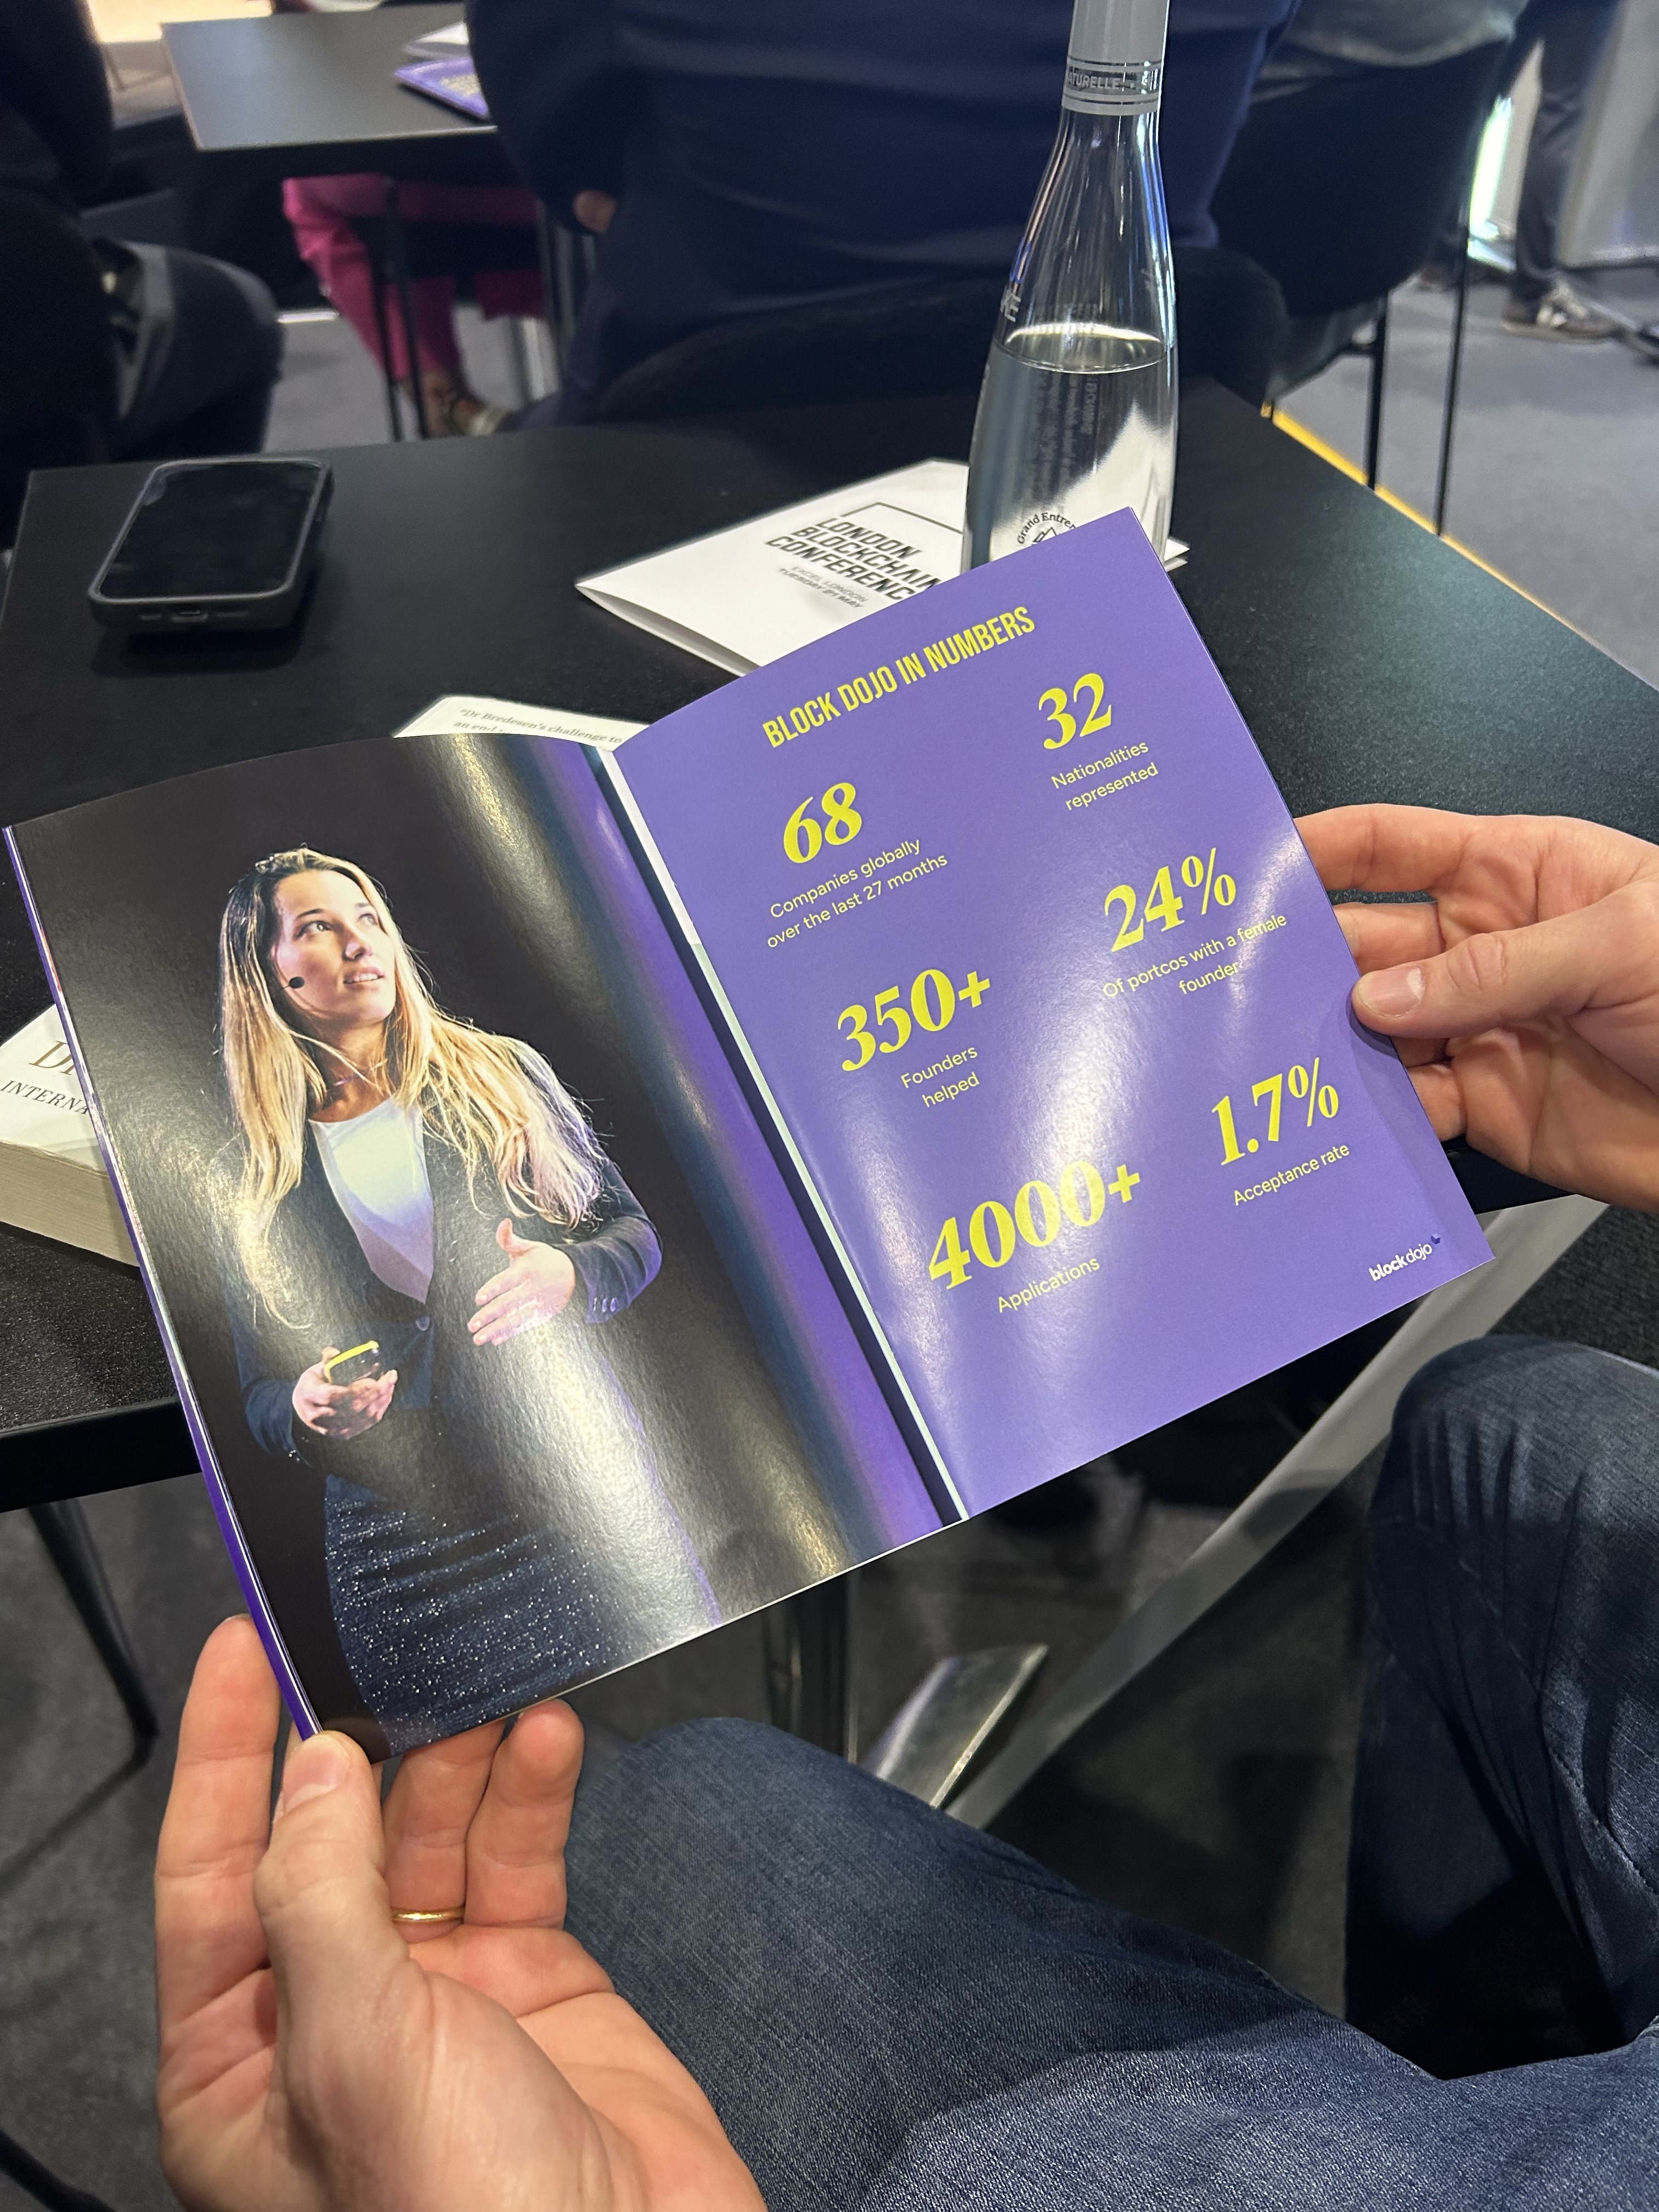
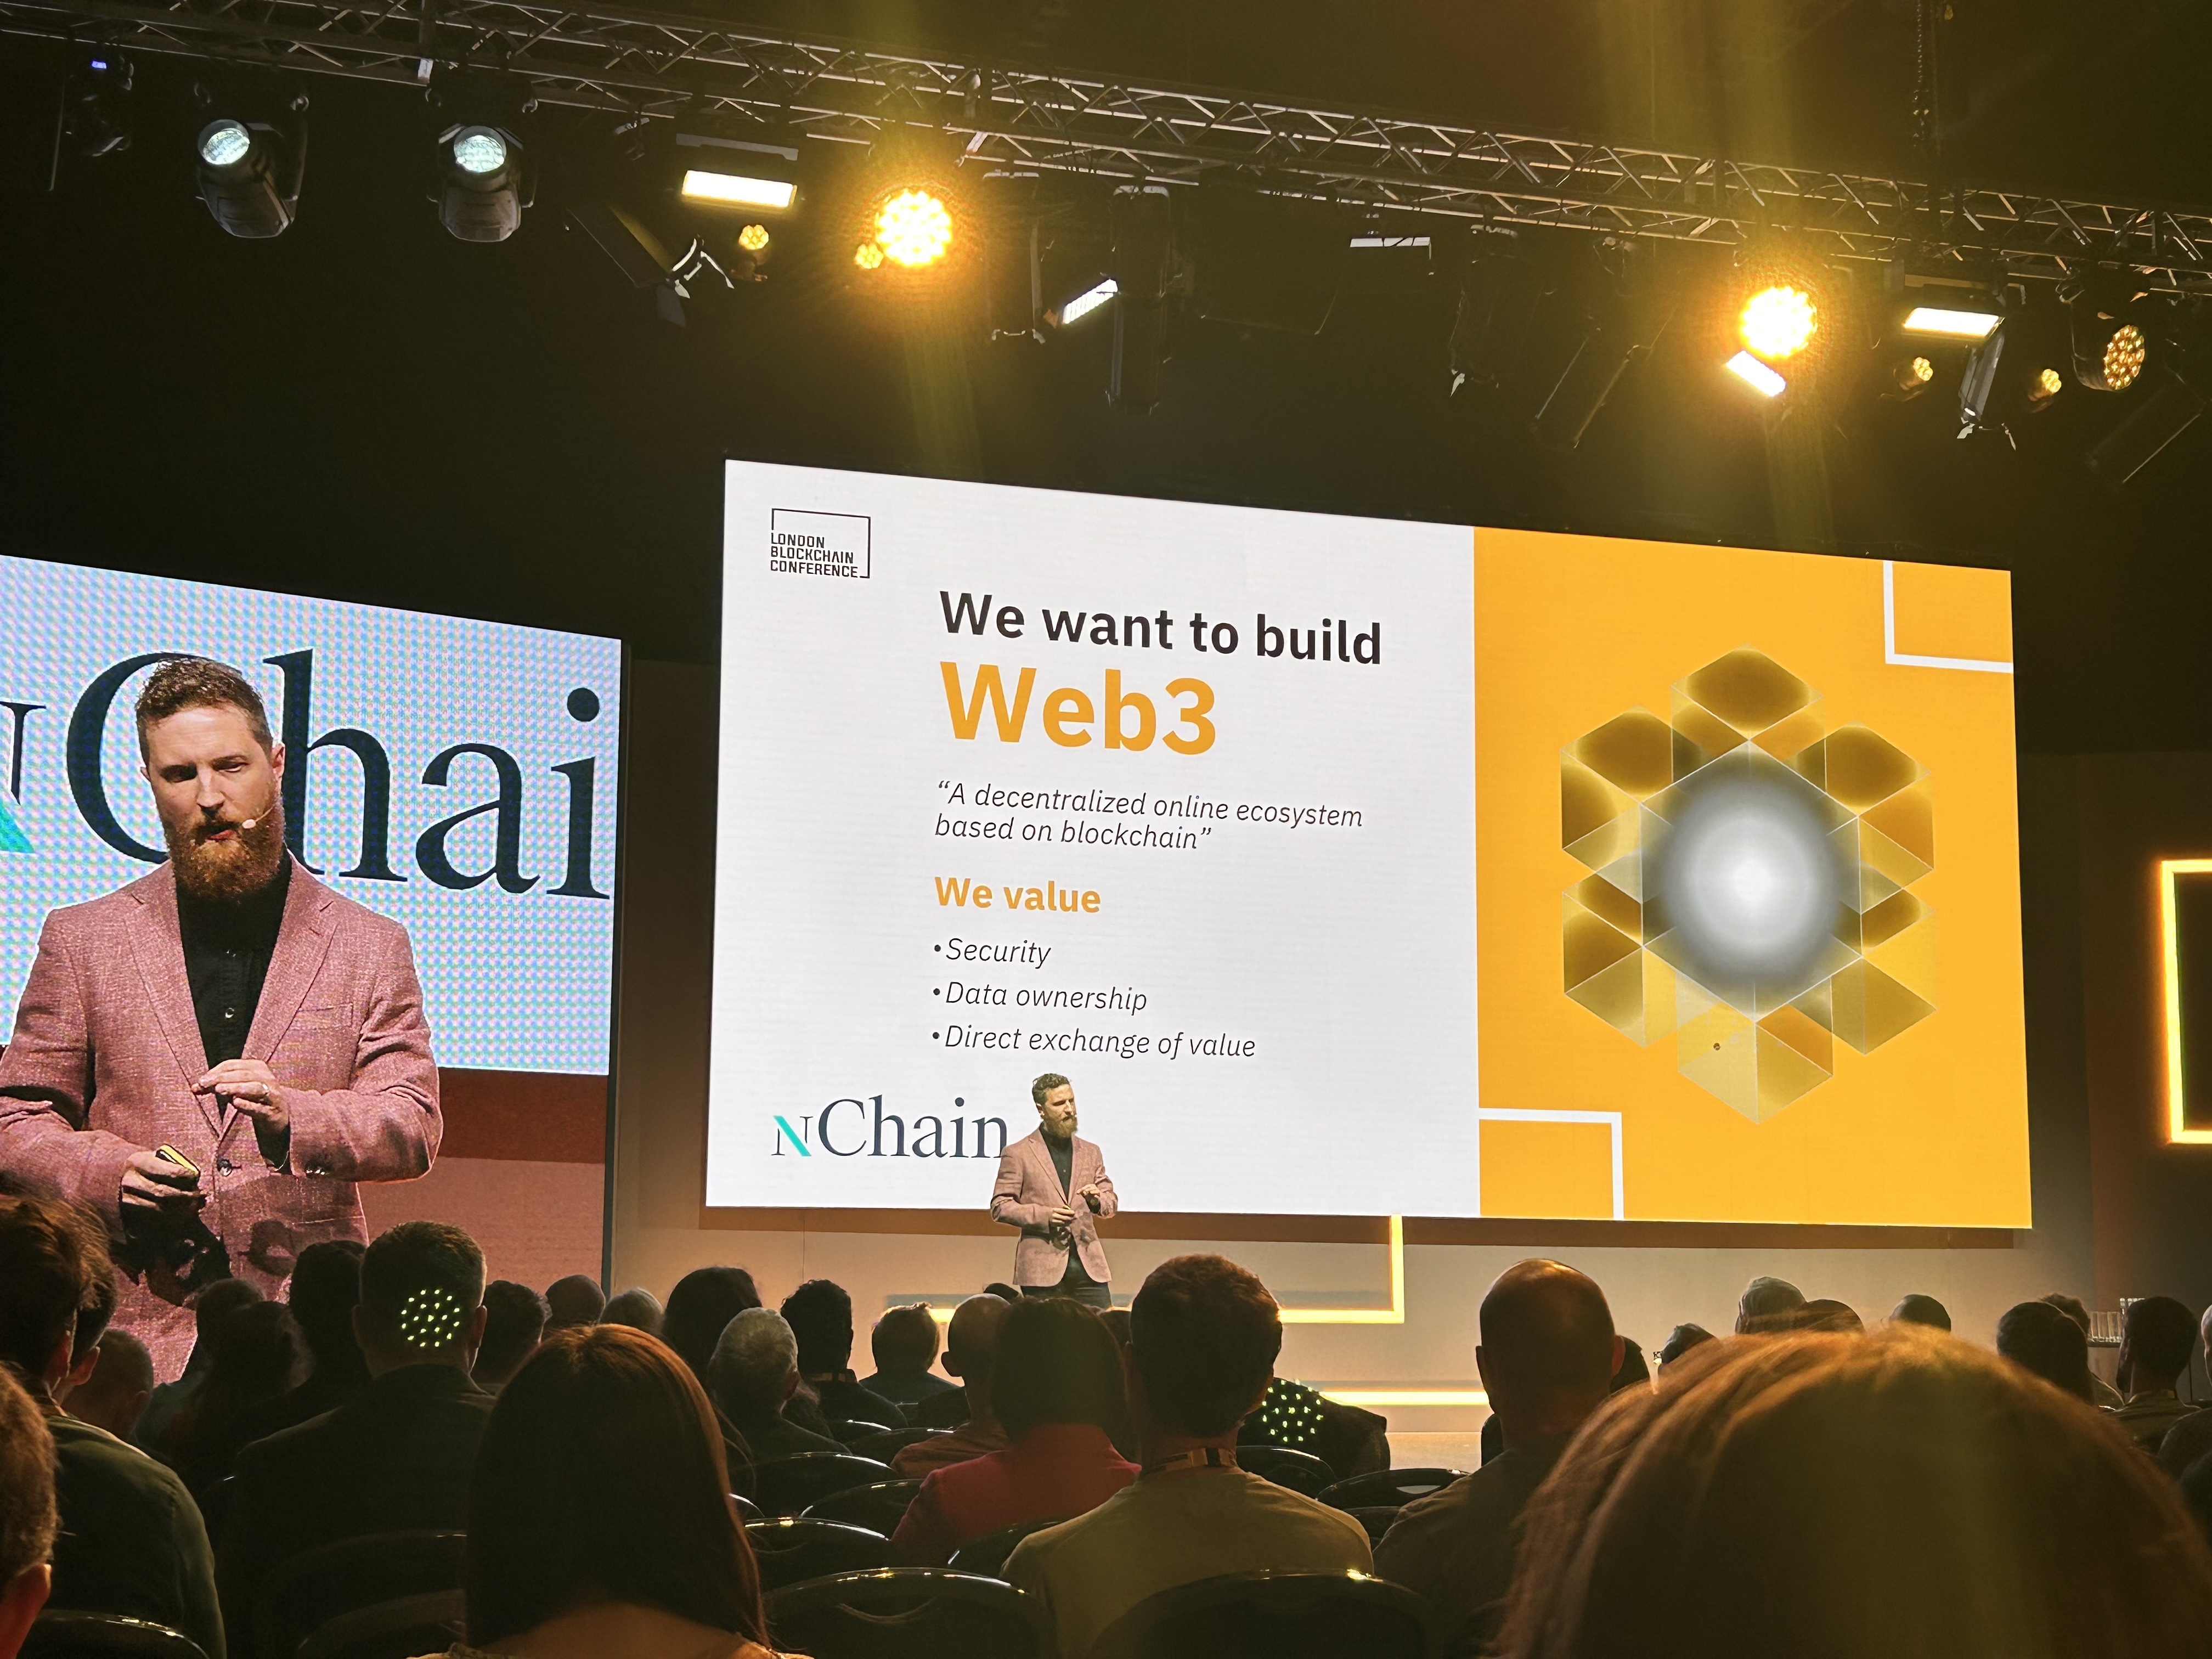
The London Blockchain Conference 2024 was an event at ExCel London from 21-23 May 2024 and showed the vast potential of blockchain technology across various industries and applications. And here are my takeaways from the conference and the talks I joined:
Asset Tokenization
Tokenization refers to the process of converting real-world assets, such as real estate, art, or collectibles, into digital tokens on a blockchain network.
This enables secure and transparent trading of these assets, opening up new opportunities for investment and ownership.
AI Responsibility and Auditing
As artificial intelligence (AI) systems become more advanced, there is a growing need to ensure they operate responsibly and without bias.
The conference explored ways to establish acceptance criteria for AI responsibility and leverage blockchain technology to audit AI systems, ensuring transparency and accountability.
Blockchain and AI Integration
The integration of blockchain and artificial intelligence (AI) technologies holds immense potential for creating decentralized, transparent, and trustworthy AI systems. Here are some real-world use cases:
AI Responsibility and Auditing: Blockchain can be used to audit AI systems, ensuring transparency and accountability. AI models, training data, and decision-making processes can be recorded on the blockchain, enabling auditing for bias, fairness, and compliance with regulations.
Decentralized AI: By combining blockchain and AI, it is possible to create decentralized AI systems where the AI model is trained and deployed across a network of nodes, rather than being controlled by a single entity. This can increase trust, transparency, and democratize access to AI capabilities.
AI-powered Supply Chains: AI and blockchain can be integrated to optimize supply chain operations. AI can analyze data from IoT sensors and blockchain can provide a tamper-proof record of transactions, enabling end-to-end visibility and automation.
Blockchain Use Cases
The conference highlighted various real-world applications of blockchain technology, including:
Food Supply Safety and Traceability: Blockchain can provide an immutable record of the entire food supply chain, from farm to table. This enables tracking of food products, ensuring safety, and identifying the source of contamination or quality issues.
Supply Chain Management and Logistics: Blockchain can streamline supply chain operations by providing a transparent and secure record of transactions, reducing paperwork, and enabling real-time tracking of goods.
Pharmaceutical Record-keeping and Drug Traceability: The pharmaceutical industry can leverage blockchain to maintain secure and tamper-proof records of drug manufacturing, distribution, and dispensation, preventing counterfeit drugs and ensuring patient safety.
Financial Services: Blockchain is being explored for applications such as cross-border payments, trade finance, and securities settlement, enabling faster and more secure transactions while reducing costs and intermediaries.
Identity Management: Blockchain-based identity management systems can provide individuals with control over their personal data, enabling secure and privacy-preserving sharing of identity information.
Quantum-Resistant Blockchain
With the potential threat of quantum computing to current cryptographic systems, the conference explored ways to make blockchain networks like Bitcoin resistant to quantum attacks, ensuring the long-term security of digital assets.
Private vs. Public Blockchains
Private Blockchains: ✅ Pros: Better control over network participants, increased transaction throughput, and enhanced privacy. ❌ Cons: Centralized control, reduced transparency, and potential for censorship.
Public Blockchains: ✅ Pros: Decentralized and transparent, no central authority, increased security through distributed consensus. ❌ Cons: Lower transaction throughput, potential for anonymity abuse, and lack of control over network participants.
The decision to use a private or public blockchain depends on factors such as the level of trust required, the need for transparency or privacy, and the desired level of control over the network.
Consensus Mechanisms
Consensus mechanisms are essential for ensuring agreement and trust among nodes in a blockchain network. Here’s an overview of the consensus mechanisms that were mentioned during one of the talks I joined:
Proof of Work (PoW): Nodes compete to solve complex mathematical puzzles, and the winner gets to add the next block to the chain and earn a reward. Used in Bitcoin and Ethereum (currently).
Proof of Stake (PoS): Instead of computational power, nodes stake their cryptocurrency holdings to validate transactions and earn rewards. More energy-efficient than PoW.
Proof of Authority (PoA): A reputation-based mechanism where pre-approved nodes validate transactions based on their identity.
The choice of consensus mechanism depends on factors such as decentralization, scalability, energy efficiency, and the level of trust required in the network.
Sad that was over, but the London Blockchain Conference 2024 showcased the transformative potential of blockchain technology across various industries and applications, from asset tokenization and AI responsibility to supply chain management and quantum-resistant blockchain networks.
Learned so much, these conferences always make me see things with other perspectives and also update myself, see what others are doing and how to solve some problems.
By far, it was the best meetup I’ve ever been to. The energy, the people, and the place were already amazing, but then adding the food, the weather, and obviously the quality of the talks and discussions just made it the icing on the cake! I don’t think they advertise how good it is 😂
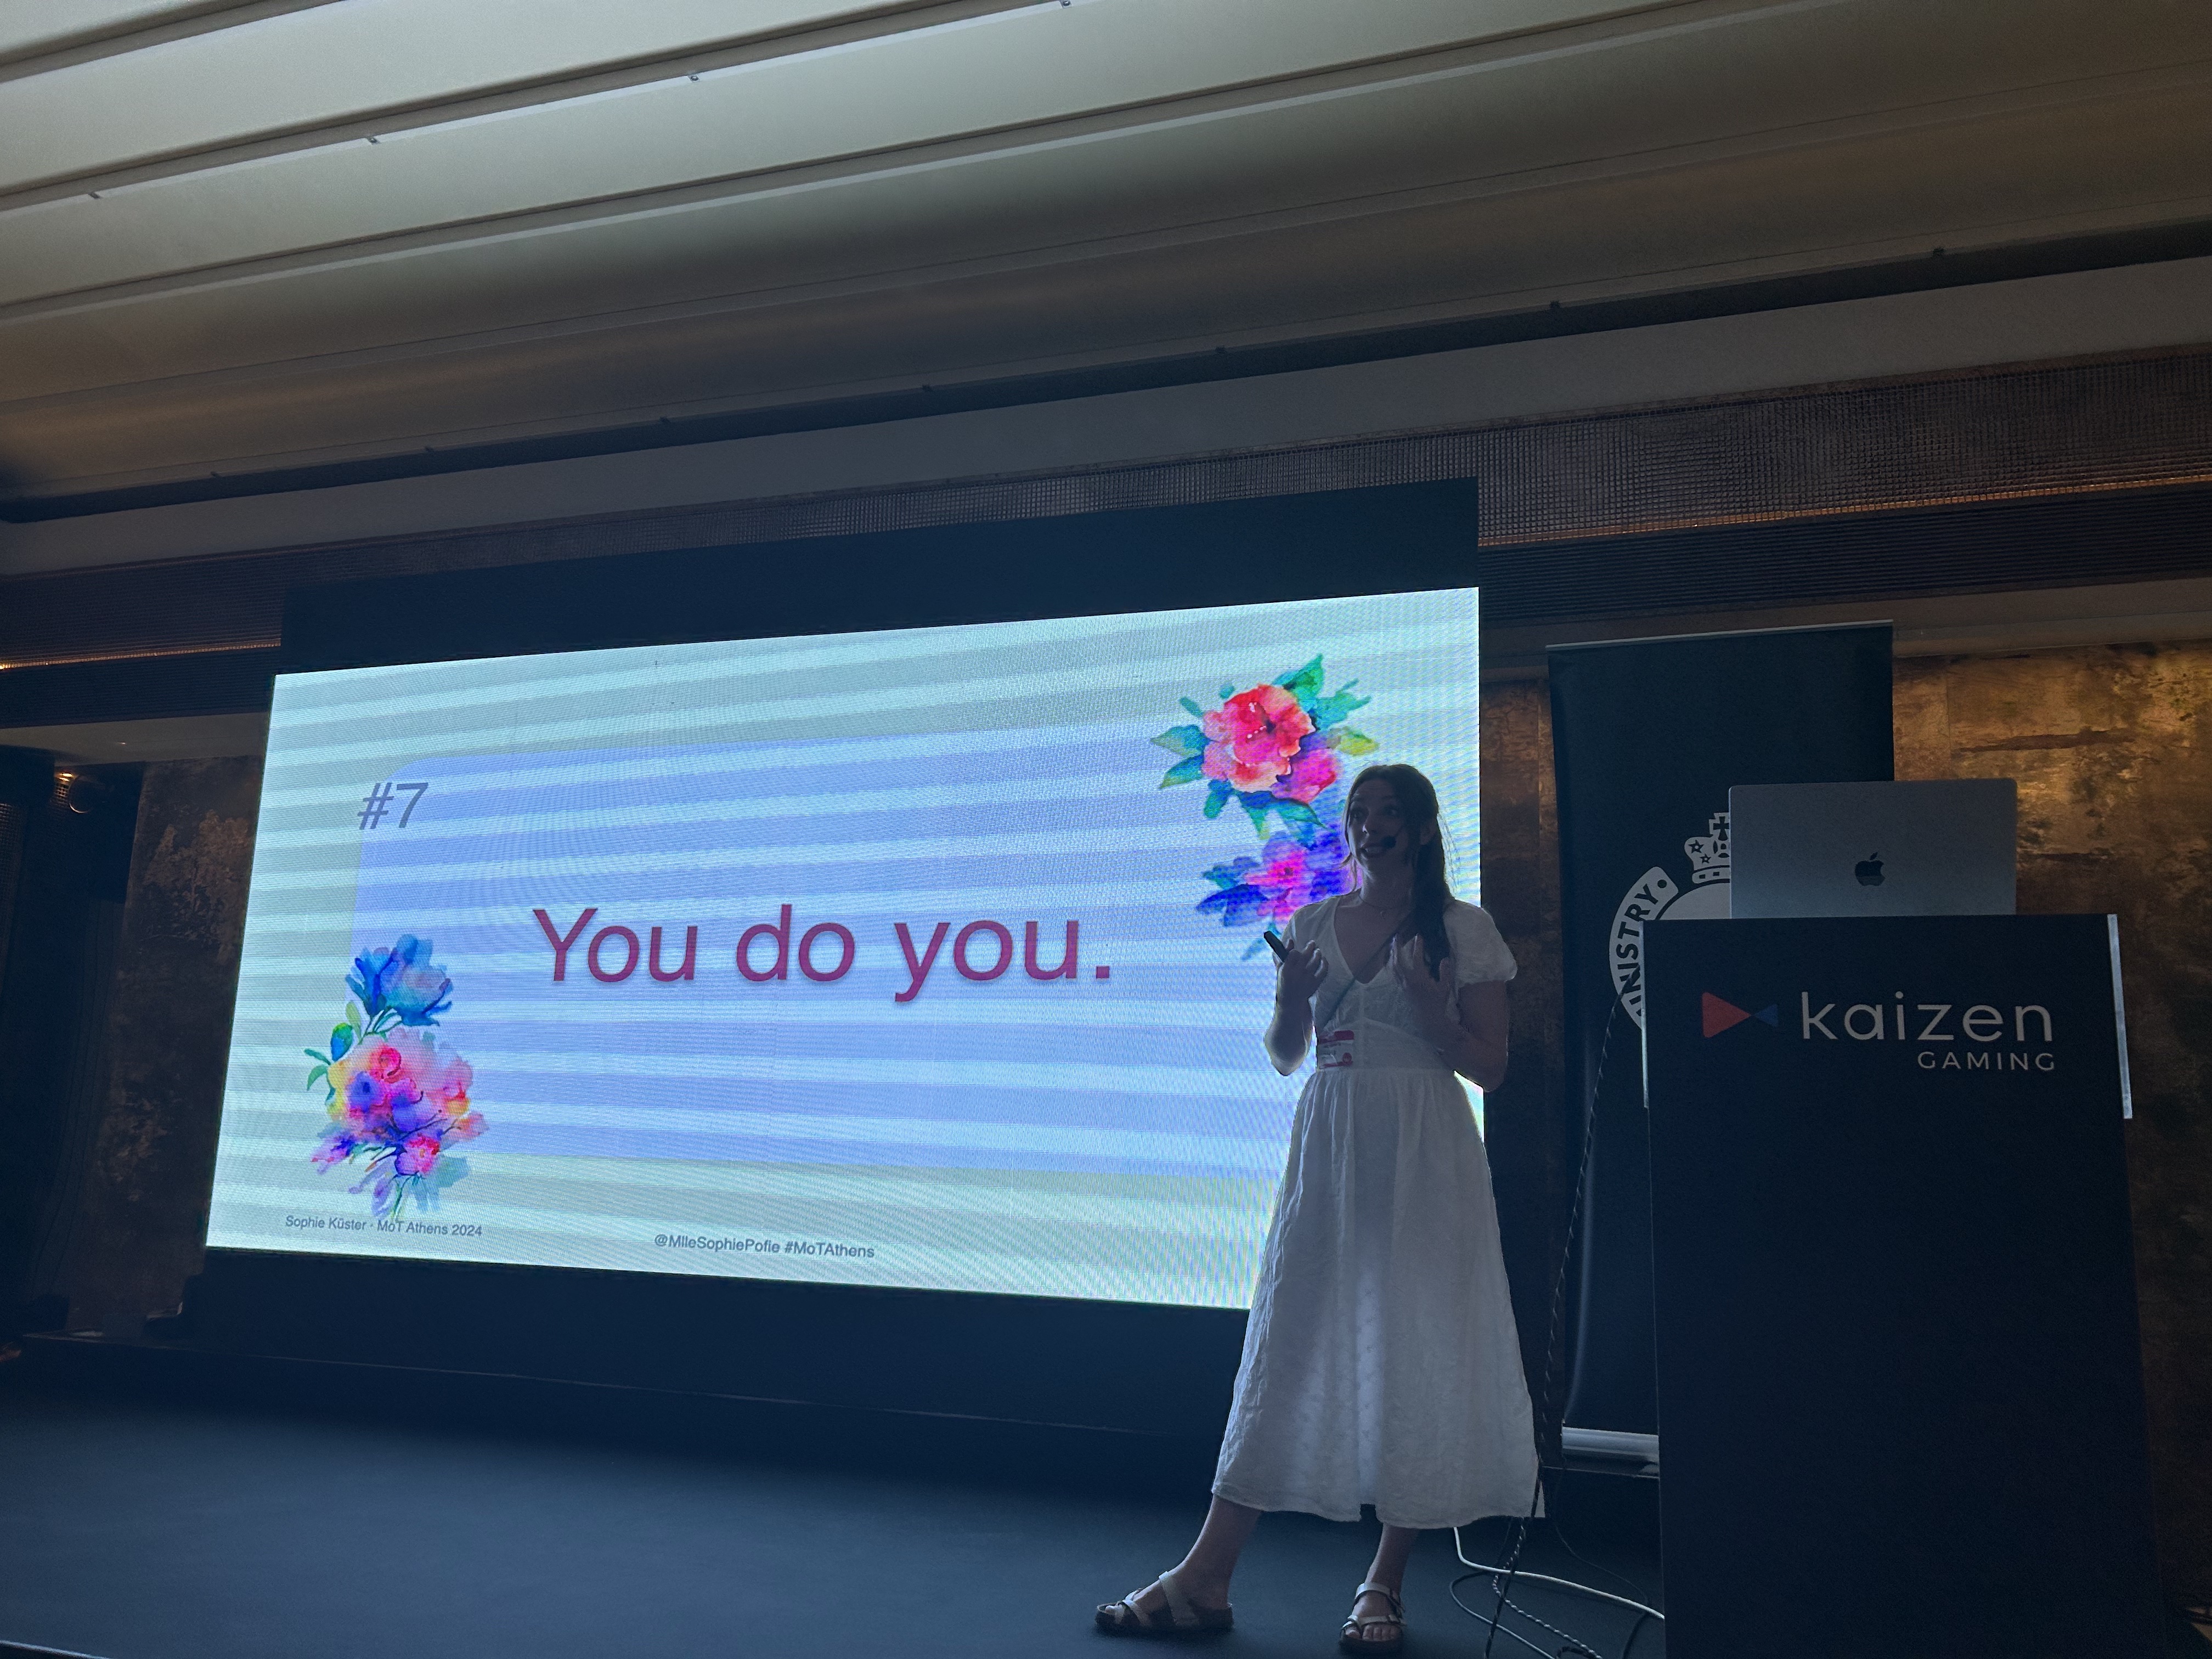
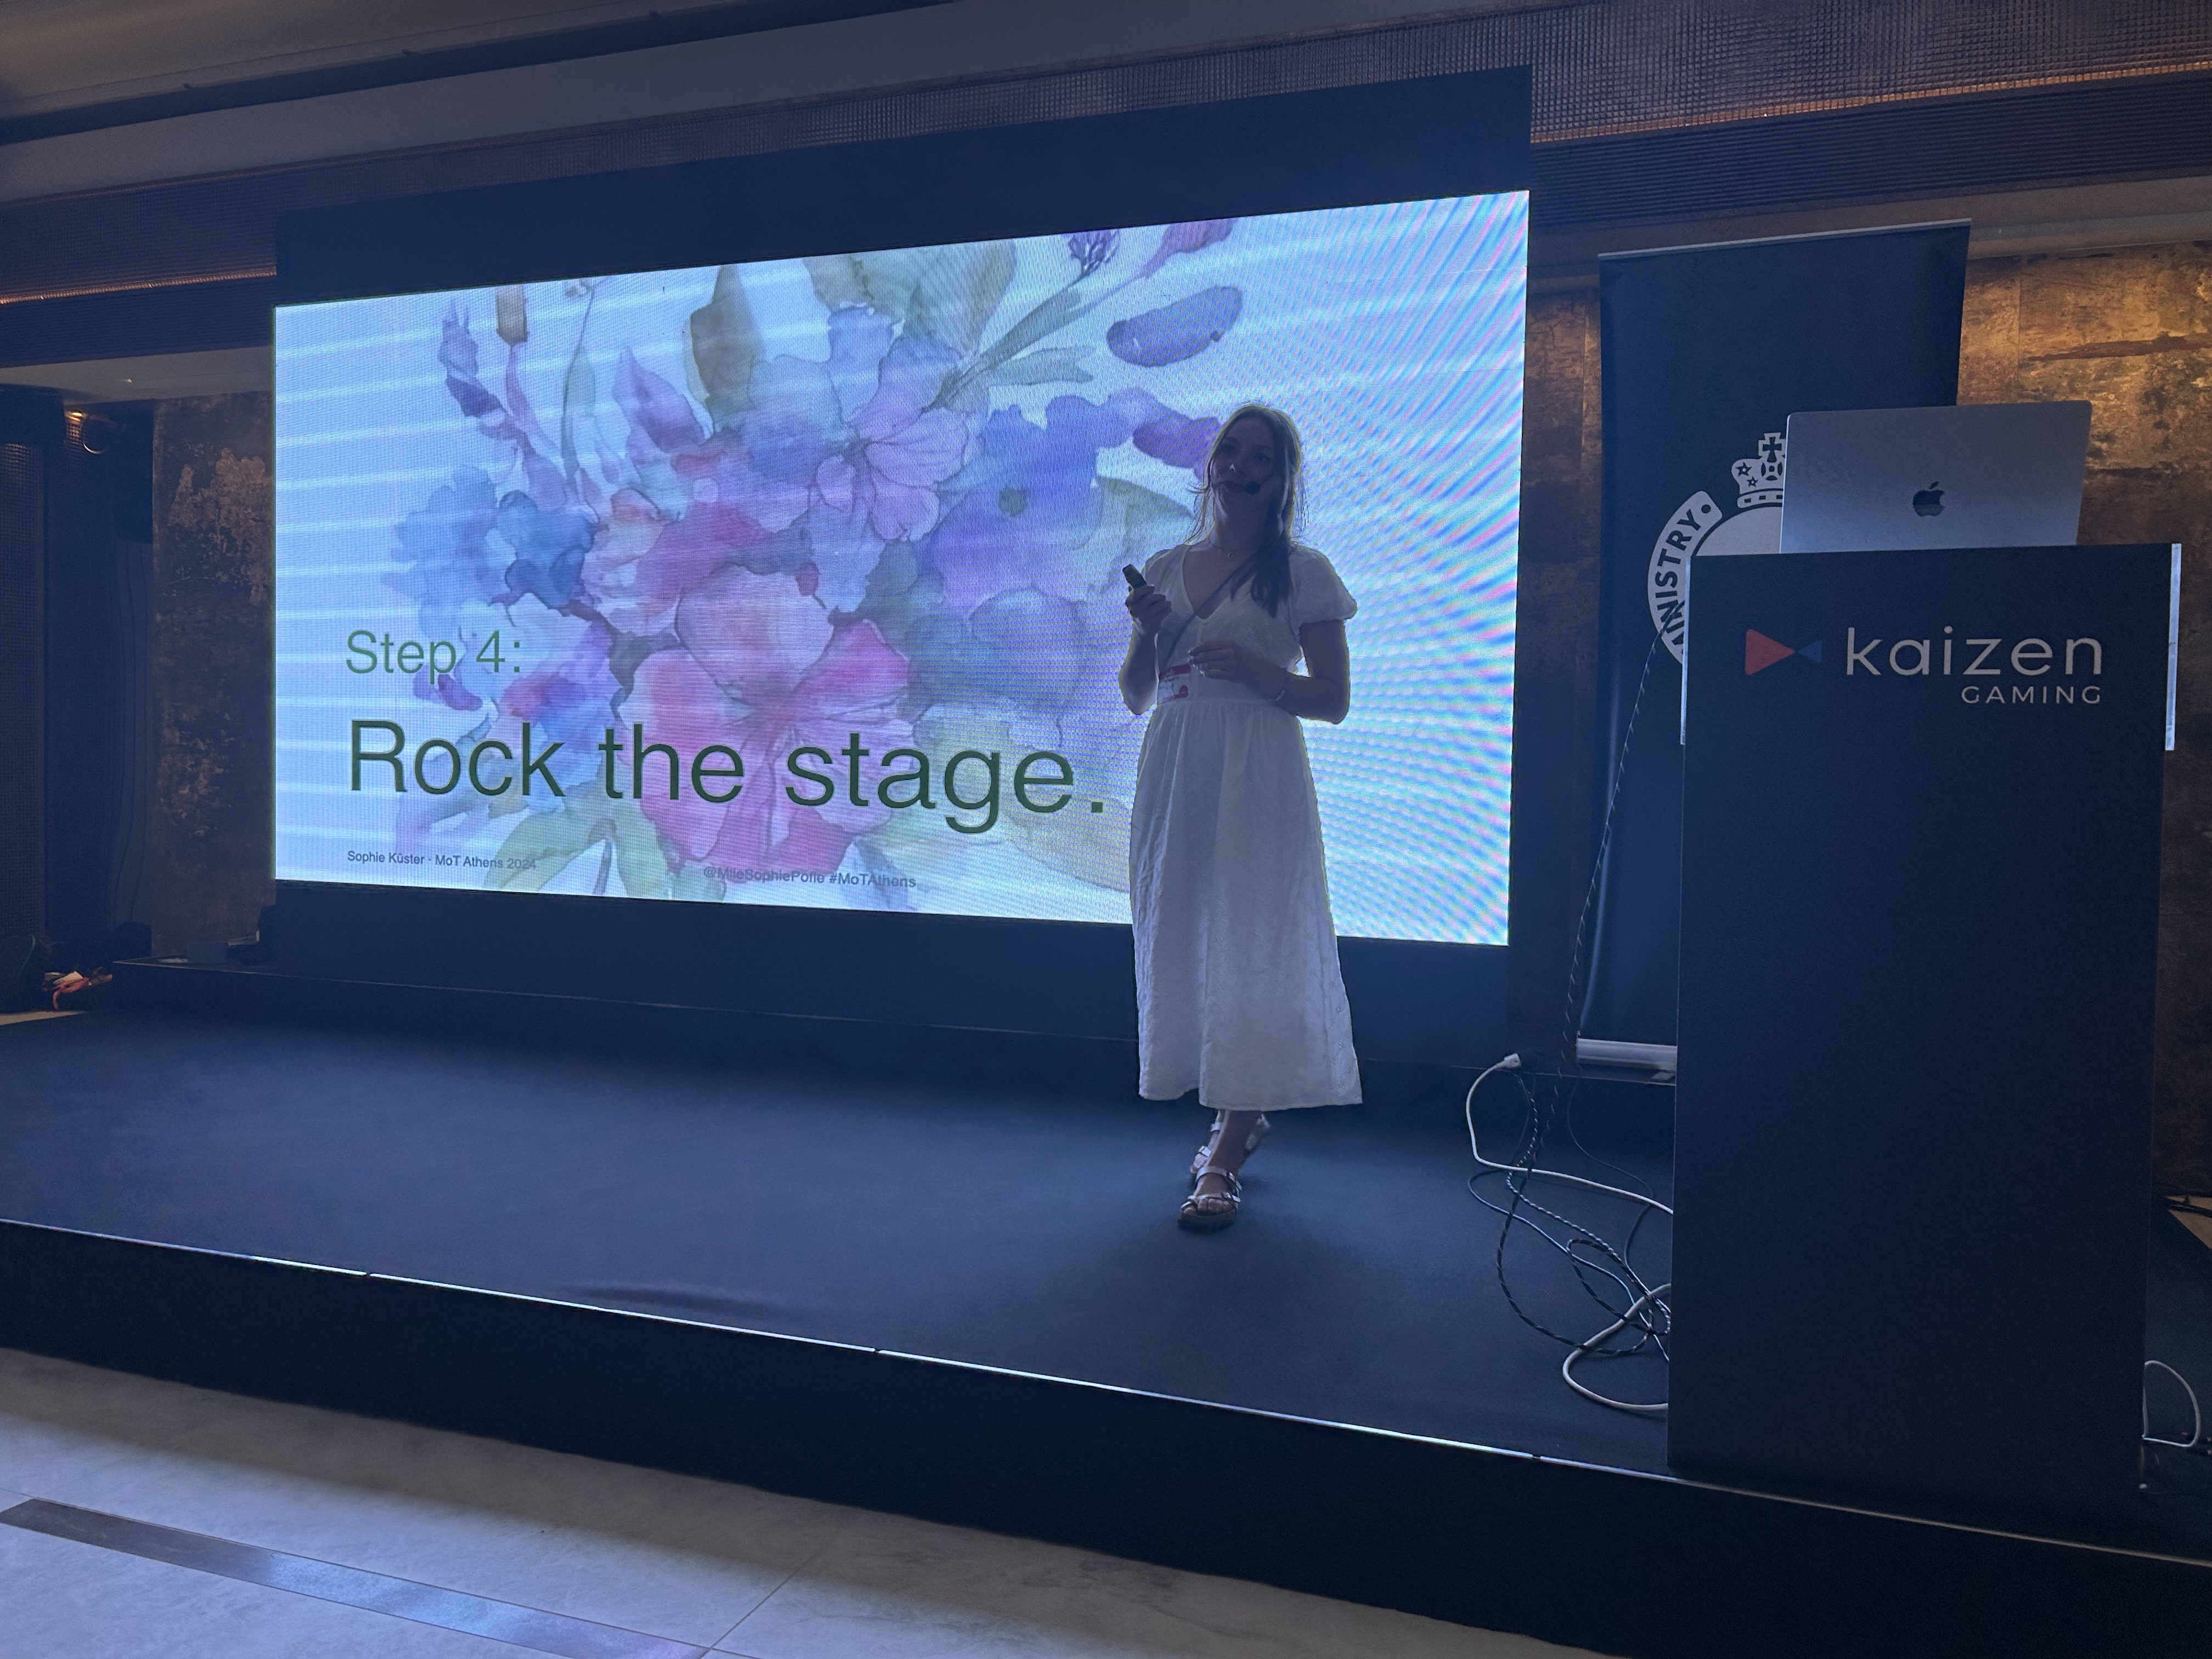
Finding Your Voice – How to stop worrying and give the talk
Sophie Küster was fantastic! She was very direct to the point and delivered simple messages that motivated people to give talks more often. Her tips were great, and they definitely resonated with me. Public speaking makes me really anxious too, and it took me a long time to gain the courage to go from blogging to speaking in public.
The tips:
Prepare yourself – Lots of practice, rehearsals and research
Be yourself and show your passion
Structure your presentation
No spelling mistakes 😬
Wear comfortable shoes 👠
Put some red lipstick on, joking this is just a reference for something Sophie often puts on to feel stronger when presenting, but you can find your own power move, like wearing a cowboy hat🤠
Thanks Sophie, hopefully see you again soon !
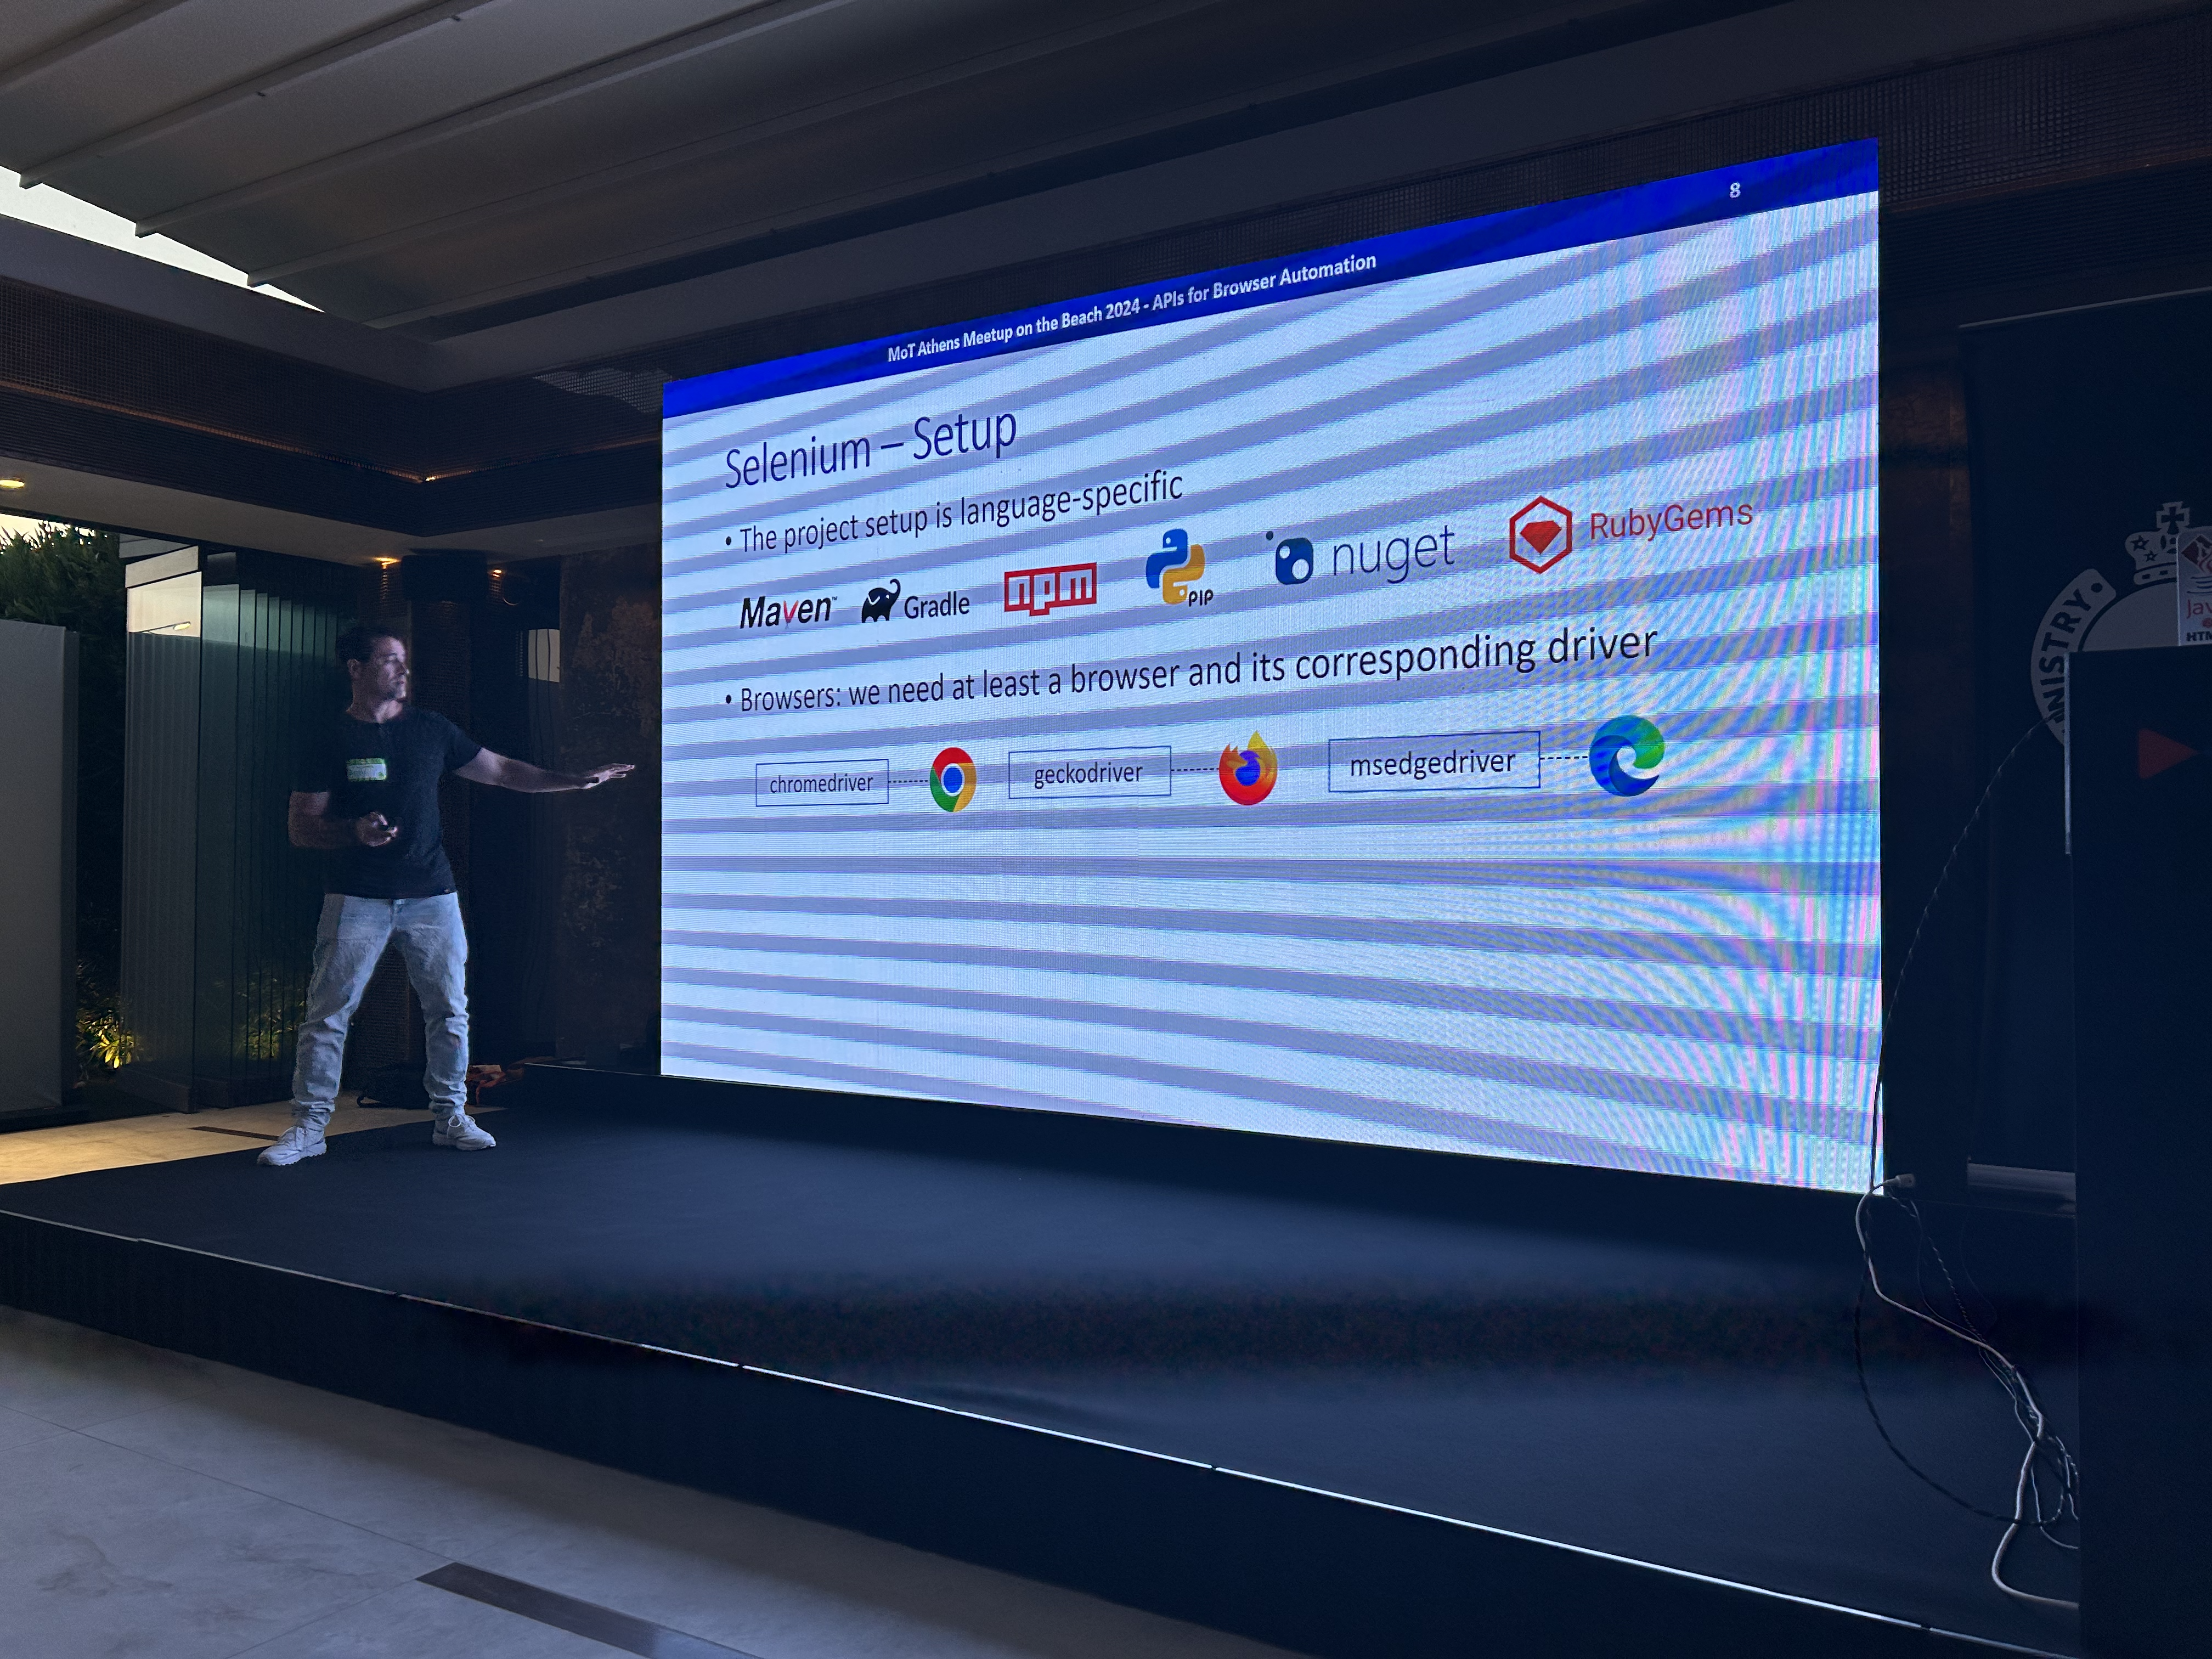
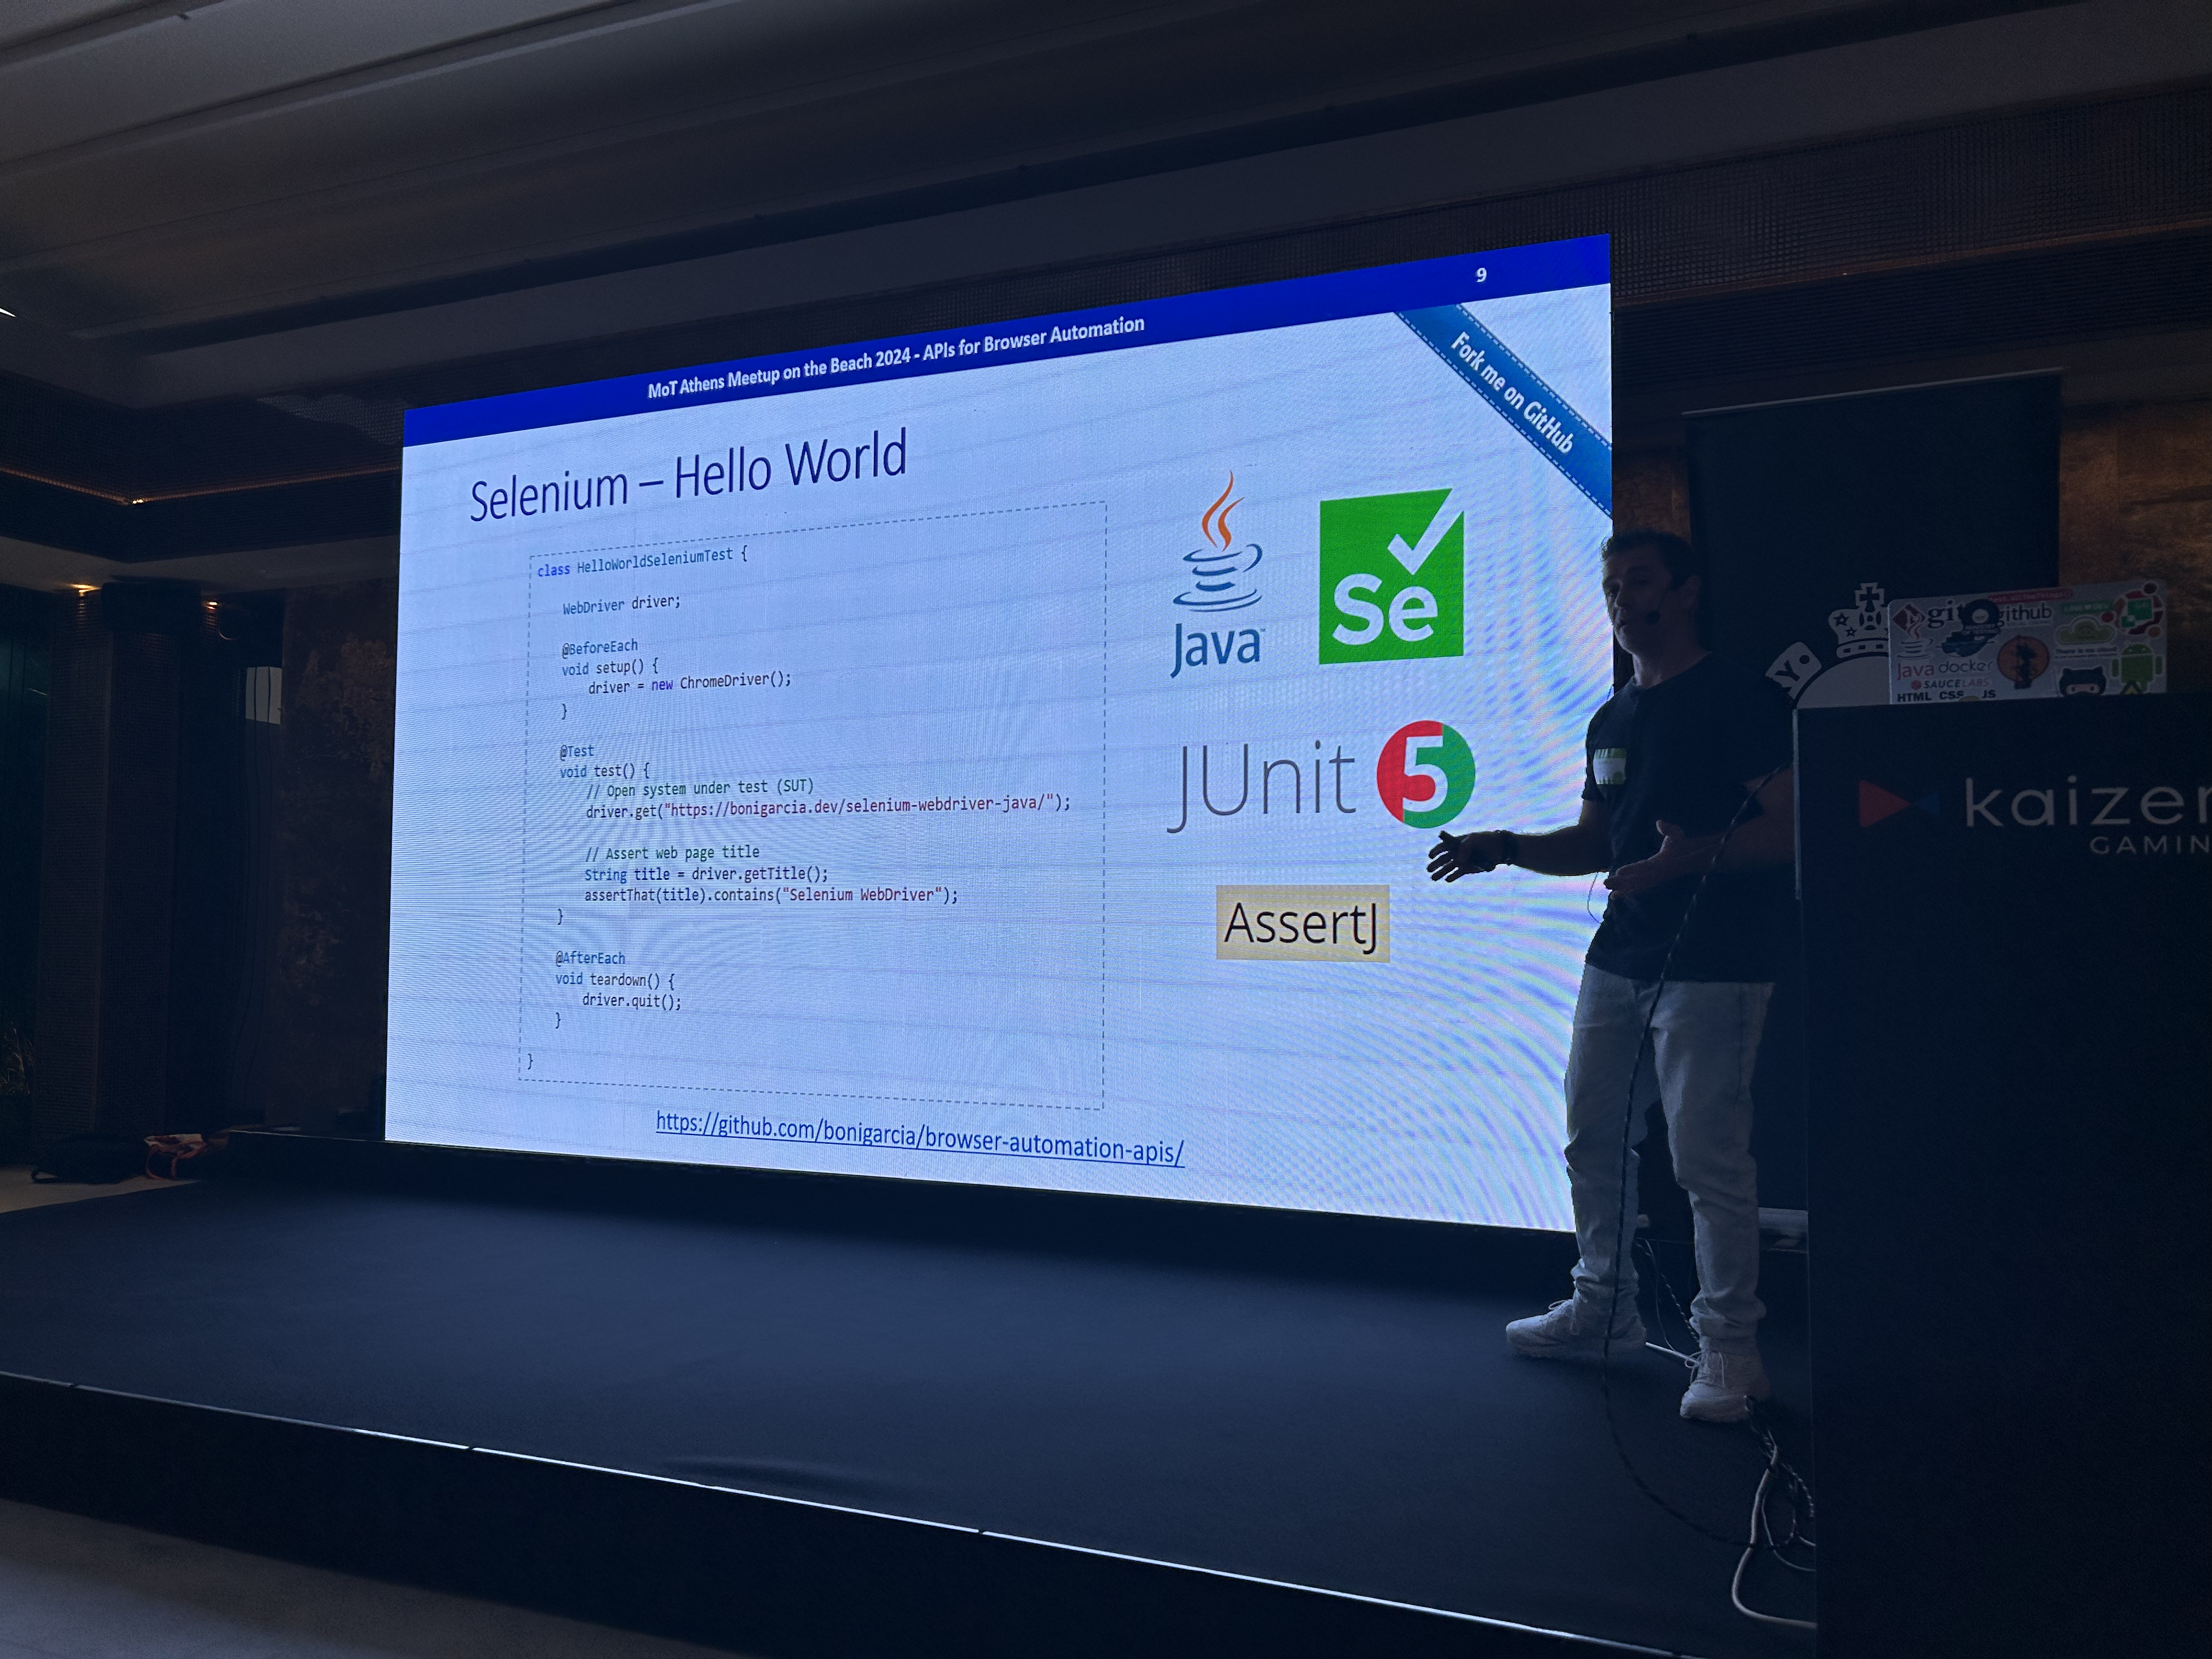
APIs for Browser Automation (Selenium, Cypress, Puppeteer, or Playwright)
The talk compared these four different tools for browser automation: Selenium, Cypress, Puppeteer, and Playwright. Selenium is the grandpa and senior in this space, but Cypress and Playwright are gaining more and more traction. Not surprised as they are easier to use and when working across different browsers, also the fact you don’t need to have waiting workarounds 😫
Boni Garcia even showed demos and the code comparing these tools for the same scenario ! Unfortunately my phone was taking horrible pictures, so I am sharing the slides here, much better !
Finally my Talk: A Tester’s Guide to Navigating the Wild West of Web3 Testing
As always I start first checking the level of the audience on Web3 knowledge and majority still has no idea what is Web3 or is a beginner, which makes me focus a lot in the beginning where I go through what is Web3 and Blockchain.
I always feel like I should give more examples, but then time is always something that holds me back a bit – Maybe I should remove the infrastructure part of the Blockchain and just focus on use cases ?
Then after going through the concepts, we talked about some extra resources, challenges and tools you can use when doing Web3 Tests:
Check this Blockchain Developer Roadmap for a comprehensive learning path (I only offered a brief overview during the talk).
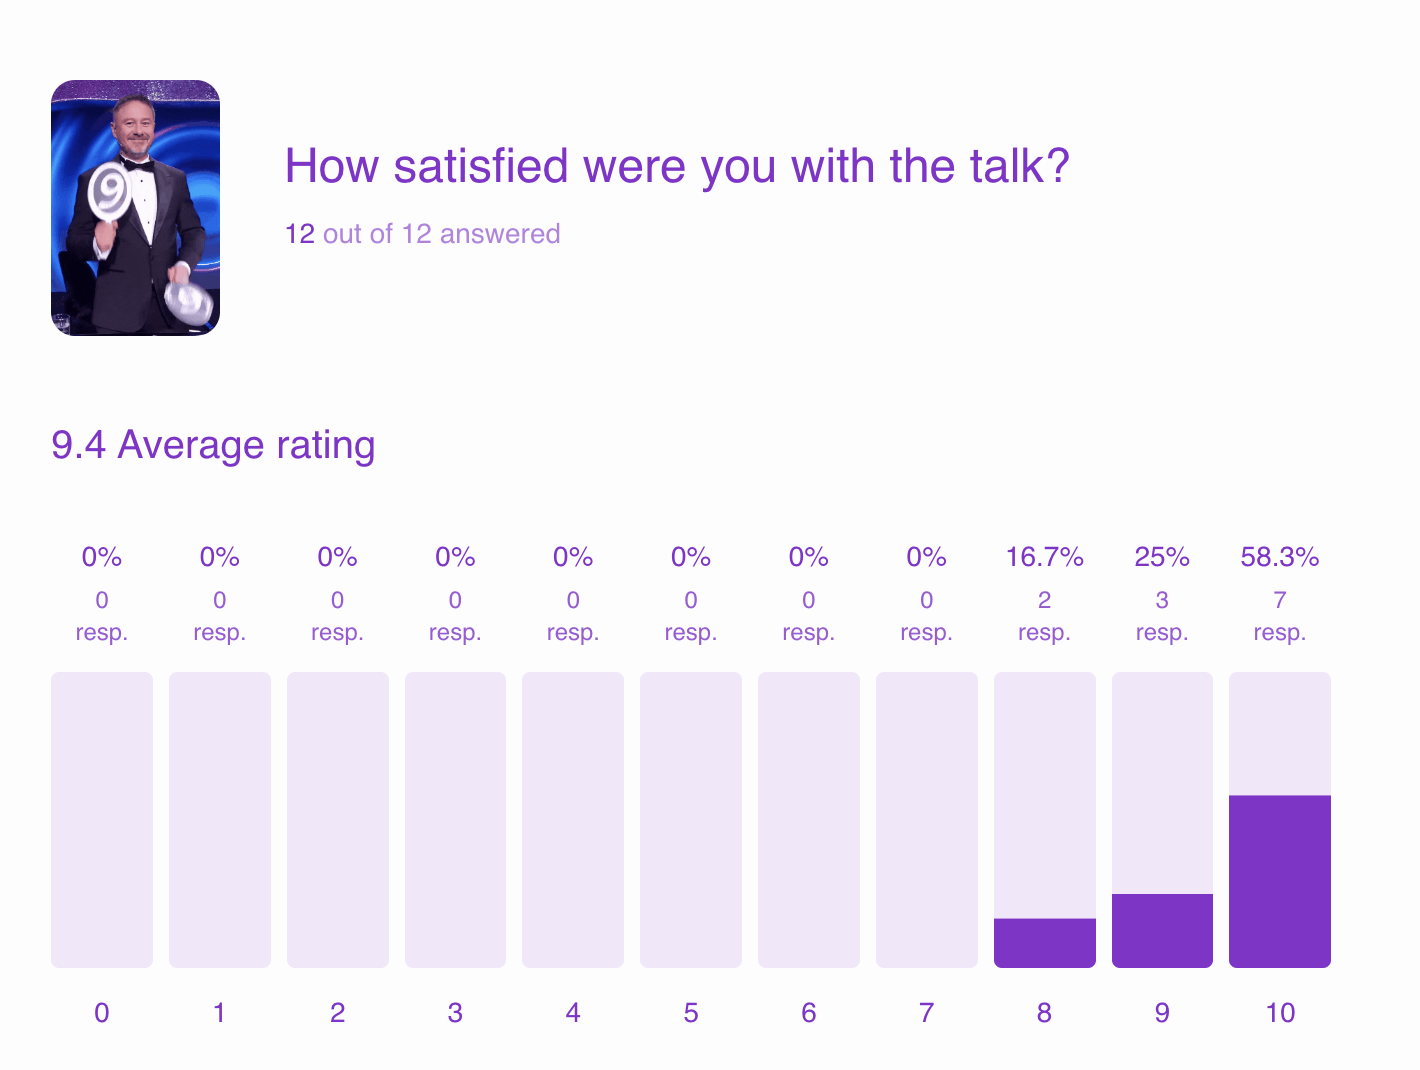
Completely anonymous feedback at the end of the talk summarized that people loved the quiz at the end where we gave away some The Chaincademy swags for the top 3 places.
A good, friendly competition is always a good thing!
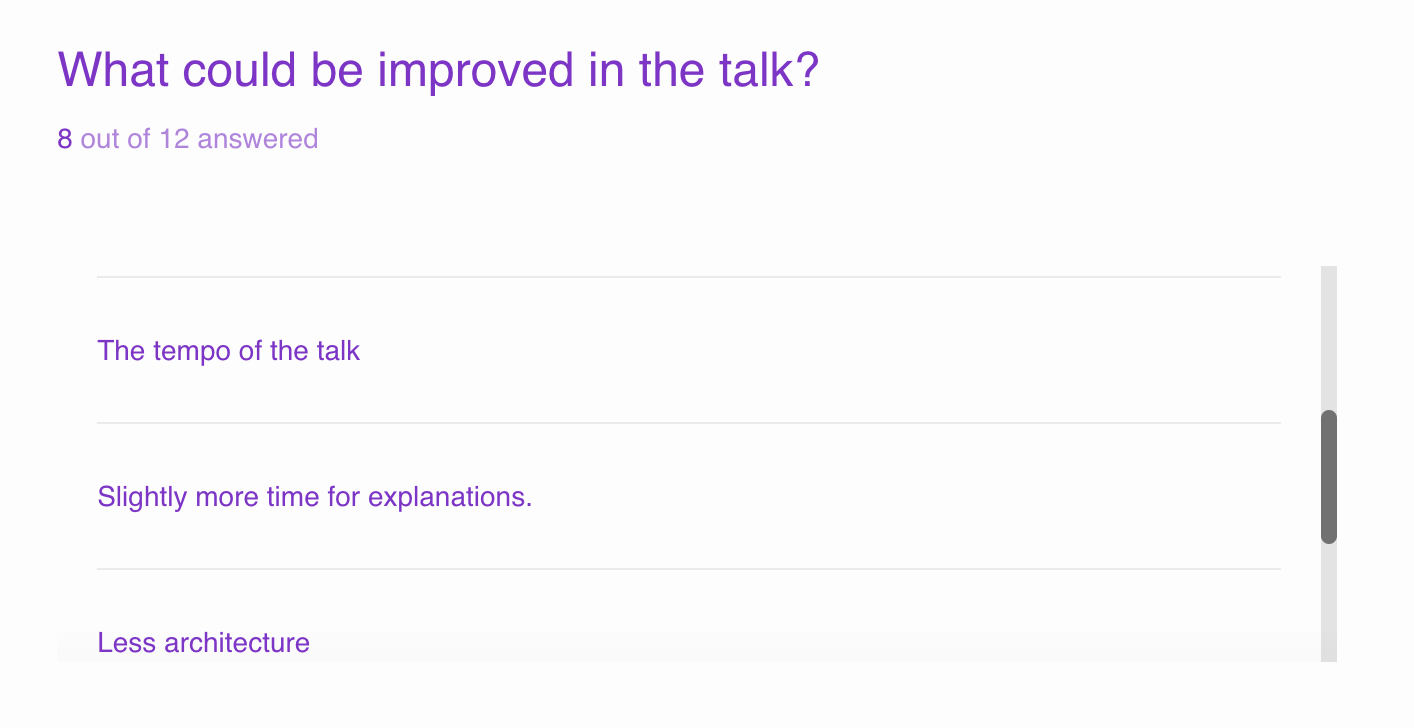
The feedback also shows that time was an issue. It seems like didn’t need that much time to discuss the infrastructure and more time was needed for use cases and explanations. Let’s see what I can do to improve for my next talk at Eurostar Conference next week !
The results can be seen here:
Who voted not sure ?
Big shout out to Angelos Mitsios for coming to me afterwards and making me think about a really good point about Blockchain Decentralisation:
While removing the middleman like banks for financial transactions with cryptocurrency is a big step, complete decentralization is difficult. We still need Internet providers and Electricity providers. Electricity can potentially be self-generated with solar panels, but internet access relies on complex infrastructure across vast distances.
And even with encryption tools like VPNs, governments can still disrupt internet access, highlighting the ongoing tension between technological freedom and government control. Ultimately, the focus should be on the practical applications of cryptocurrency (Long distance fast transactionswithout middleman: bank – wallet to wallet) while acknowledging the limitations of true decentralization in today’s world (Still depend on middleman: Internet and Electricity Providers)
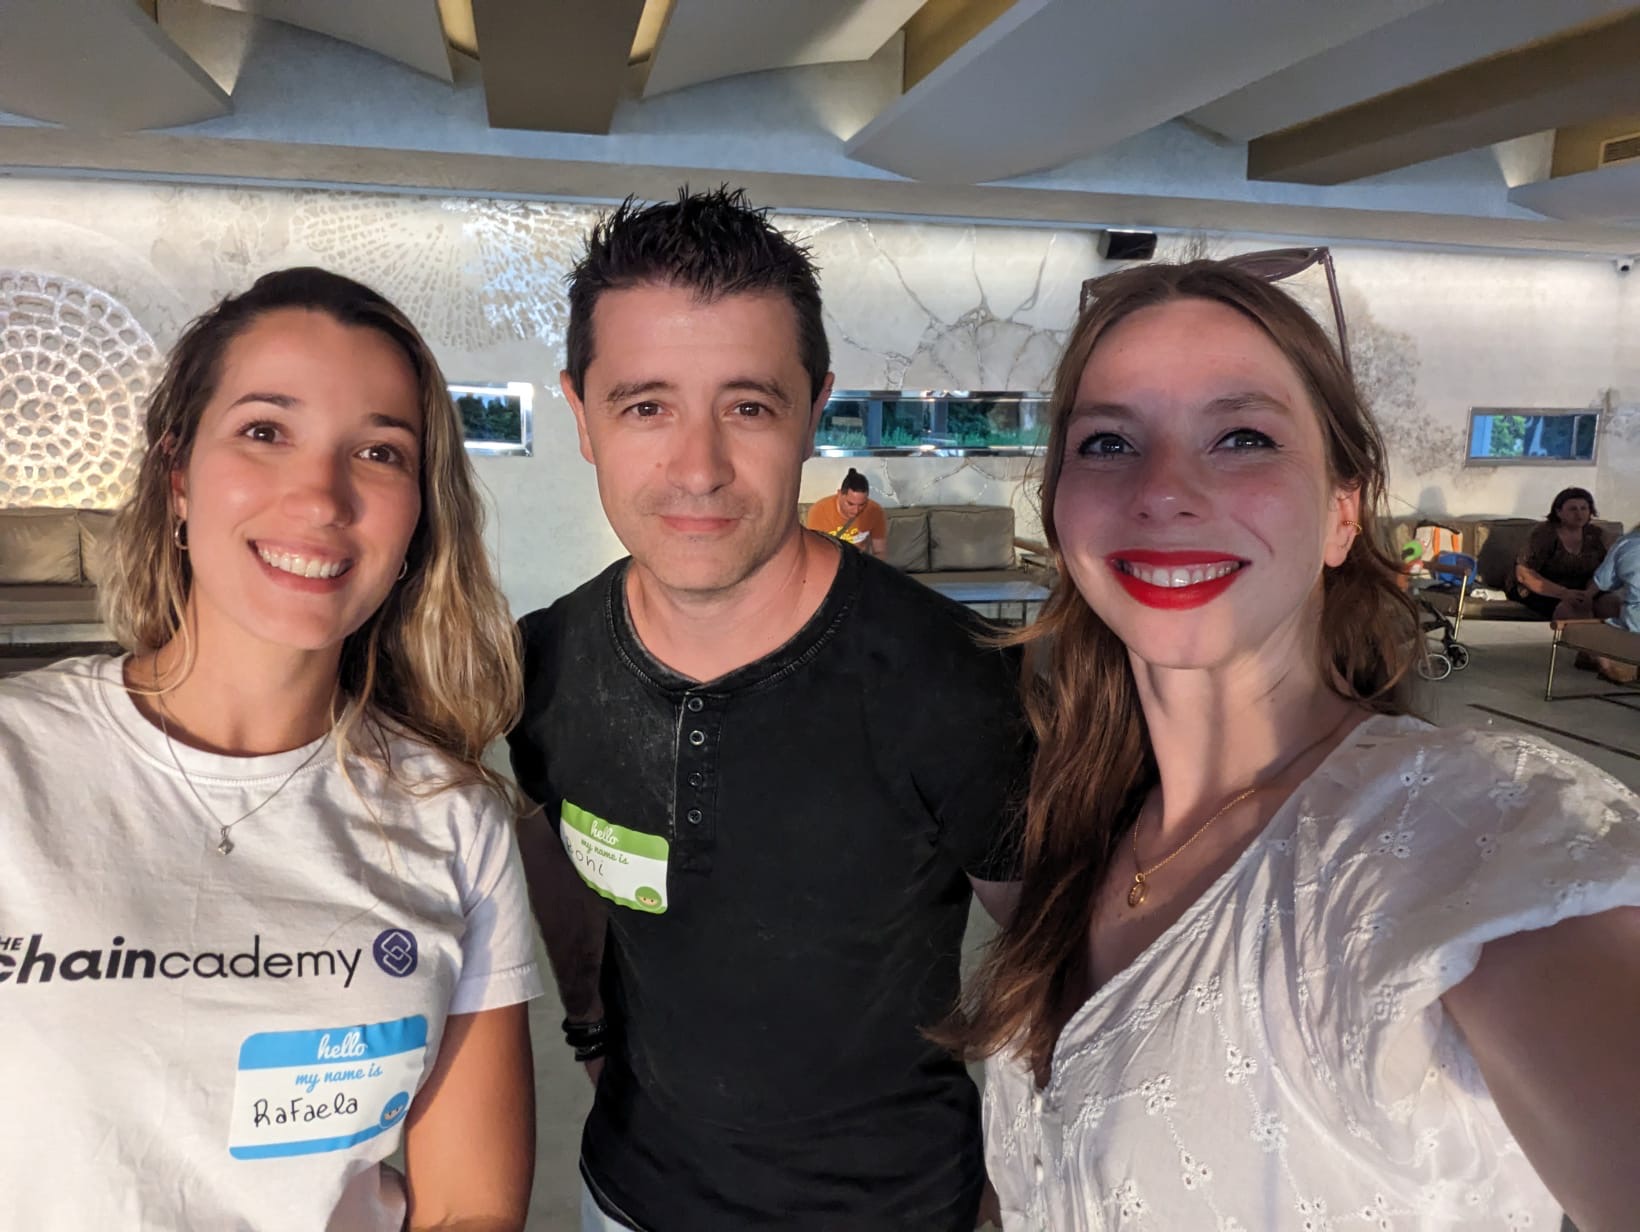
The Speakers !
Finally met these two after seeing them talking in so many events:
Boni Garcia is an Associate Professor at Universidad Carlos III de Madrid in Spain. He is an official committer at the Selenium project and the creator and maintainer of several projects, such as WebDriverManager or Selenium-Jupiter. He wrote the books Mastering Software Testing with JUnit 5 and Hands-On Selenium WebDriver with Java.
Sophie is a test automation engineer at cronn GmbH, a Bonn based IT company. No stranger to the universe’s gut punches, she is passionate about improving awareness and communication about mental health and self-care.
That’s all 👋 Meet you next week at Eurostar in Stockholm and Geek 2024 – EE Conference in London and my last conference of the year Automationstar in Vienna !
As always lately, I have been constantly behind with my posts here on my blog 😭 BUT today is the day!
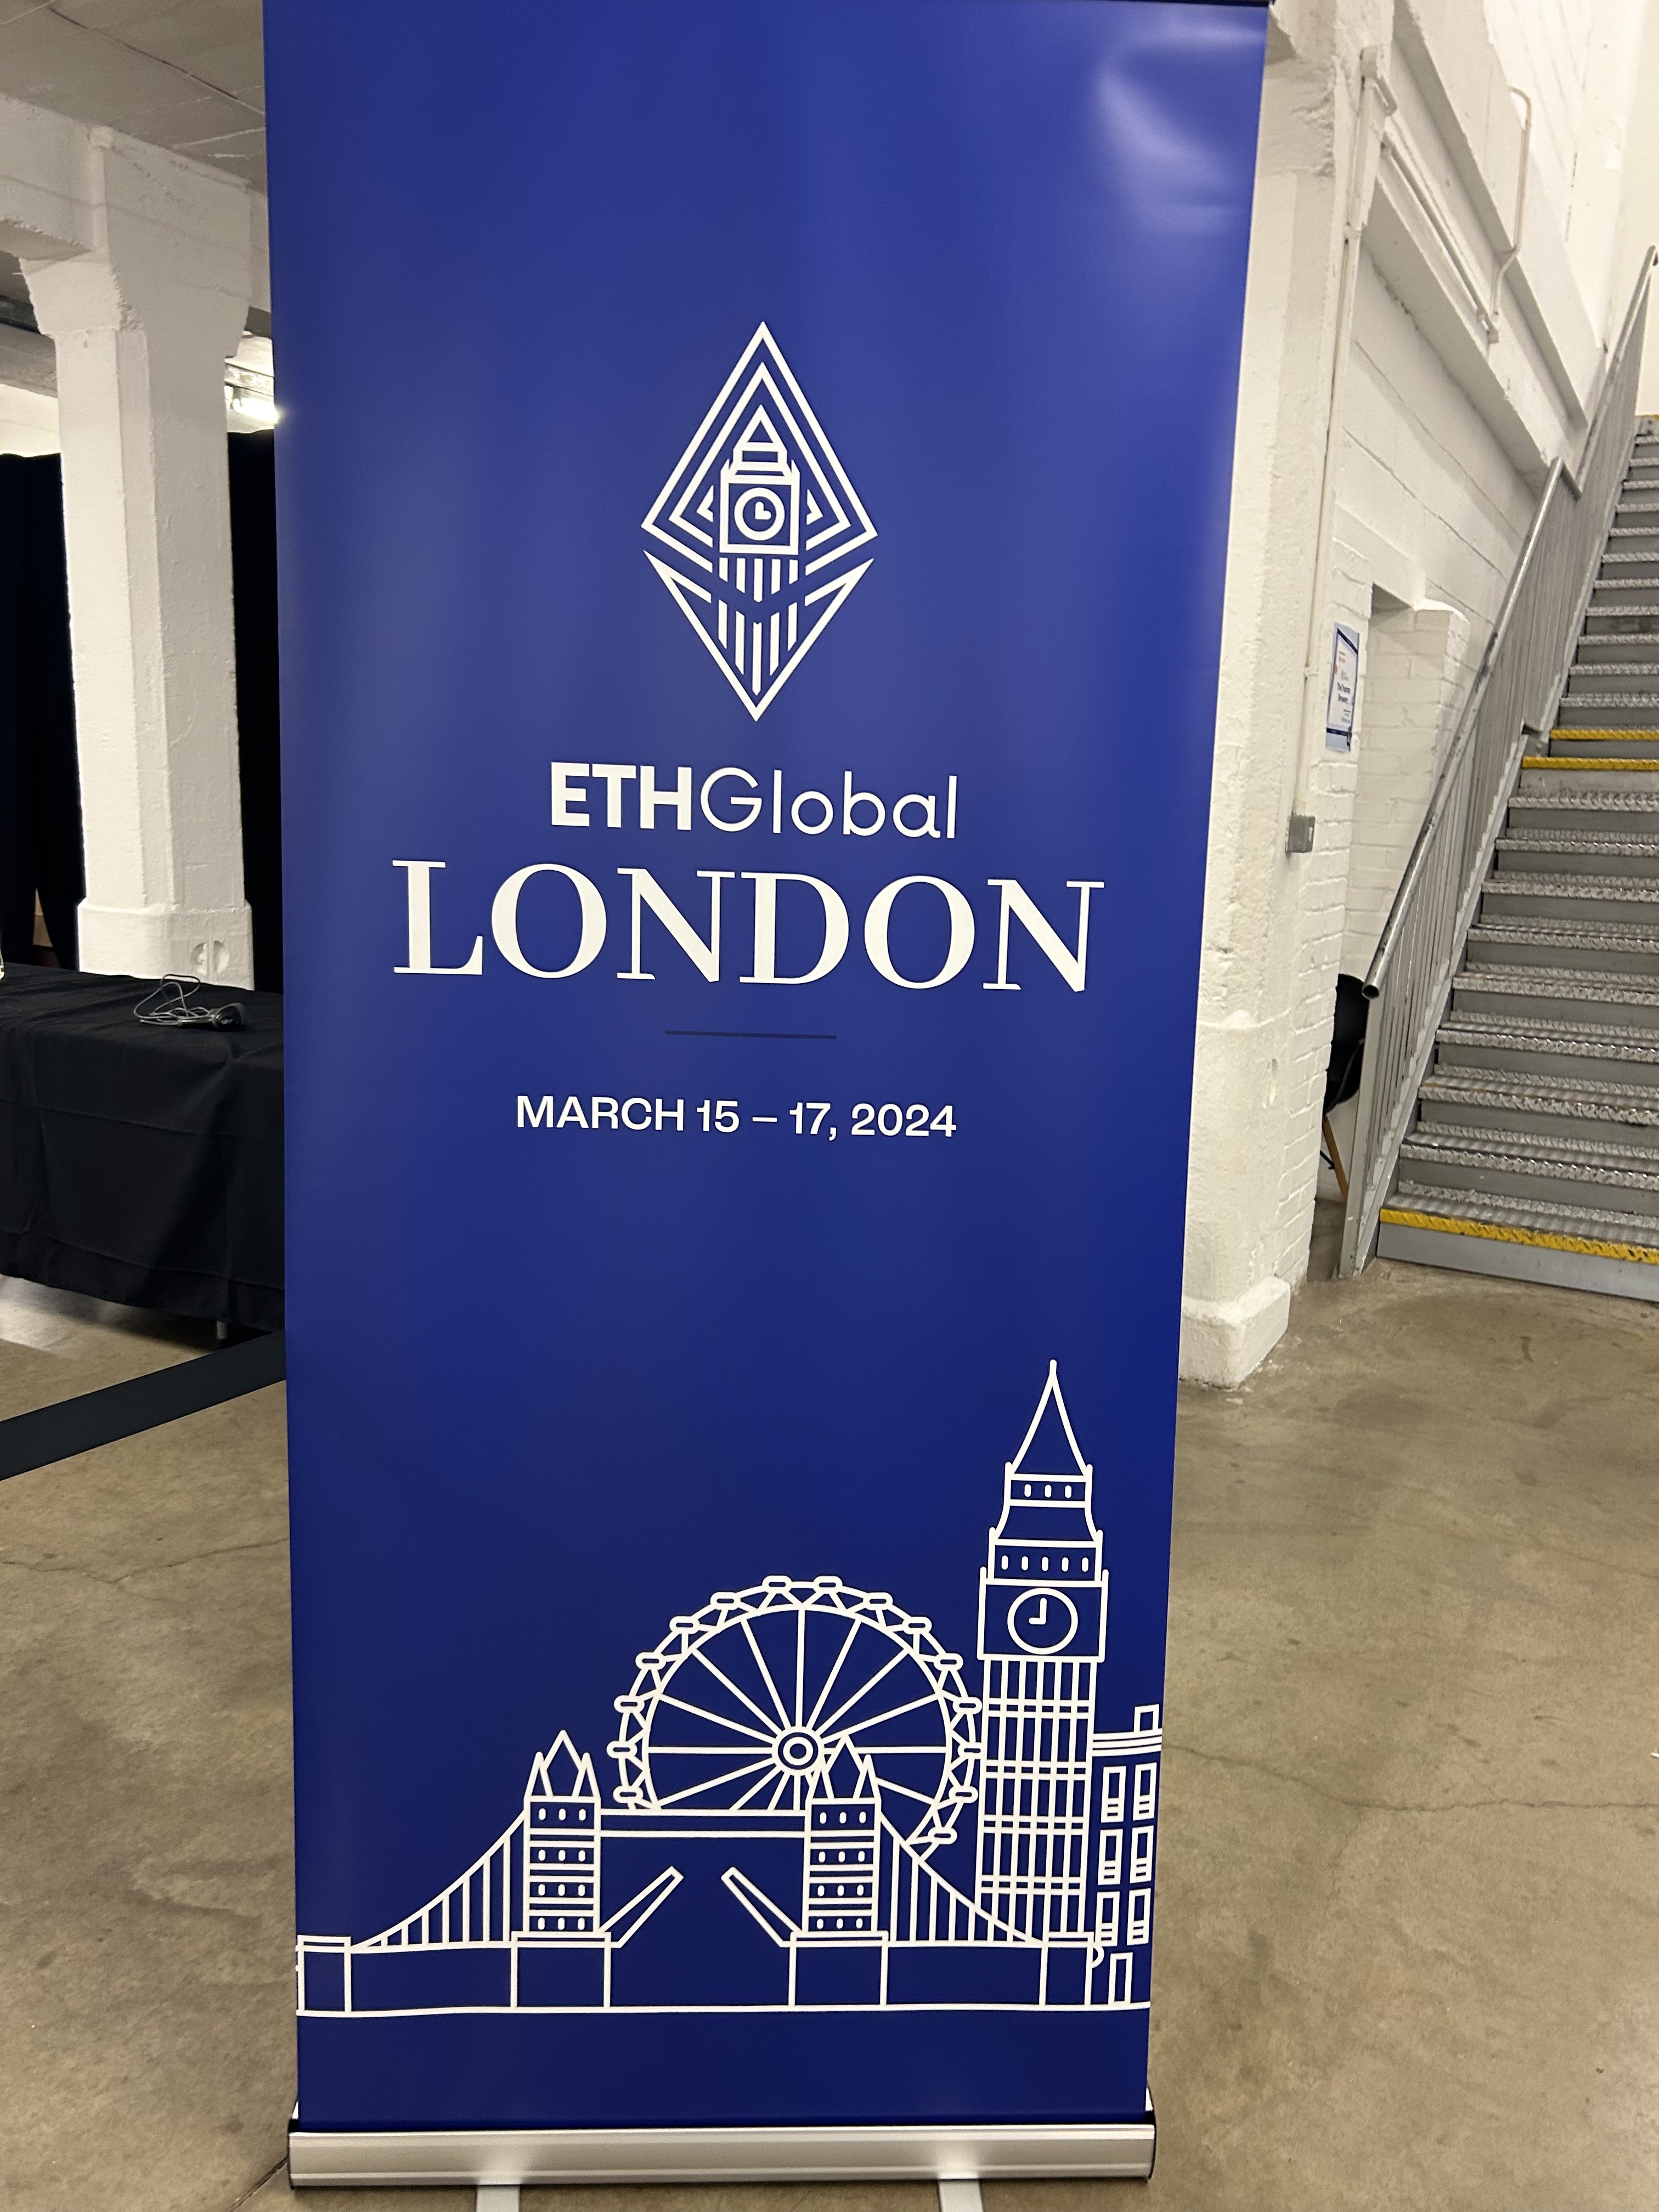
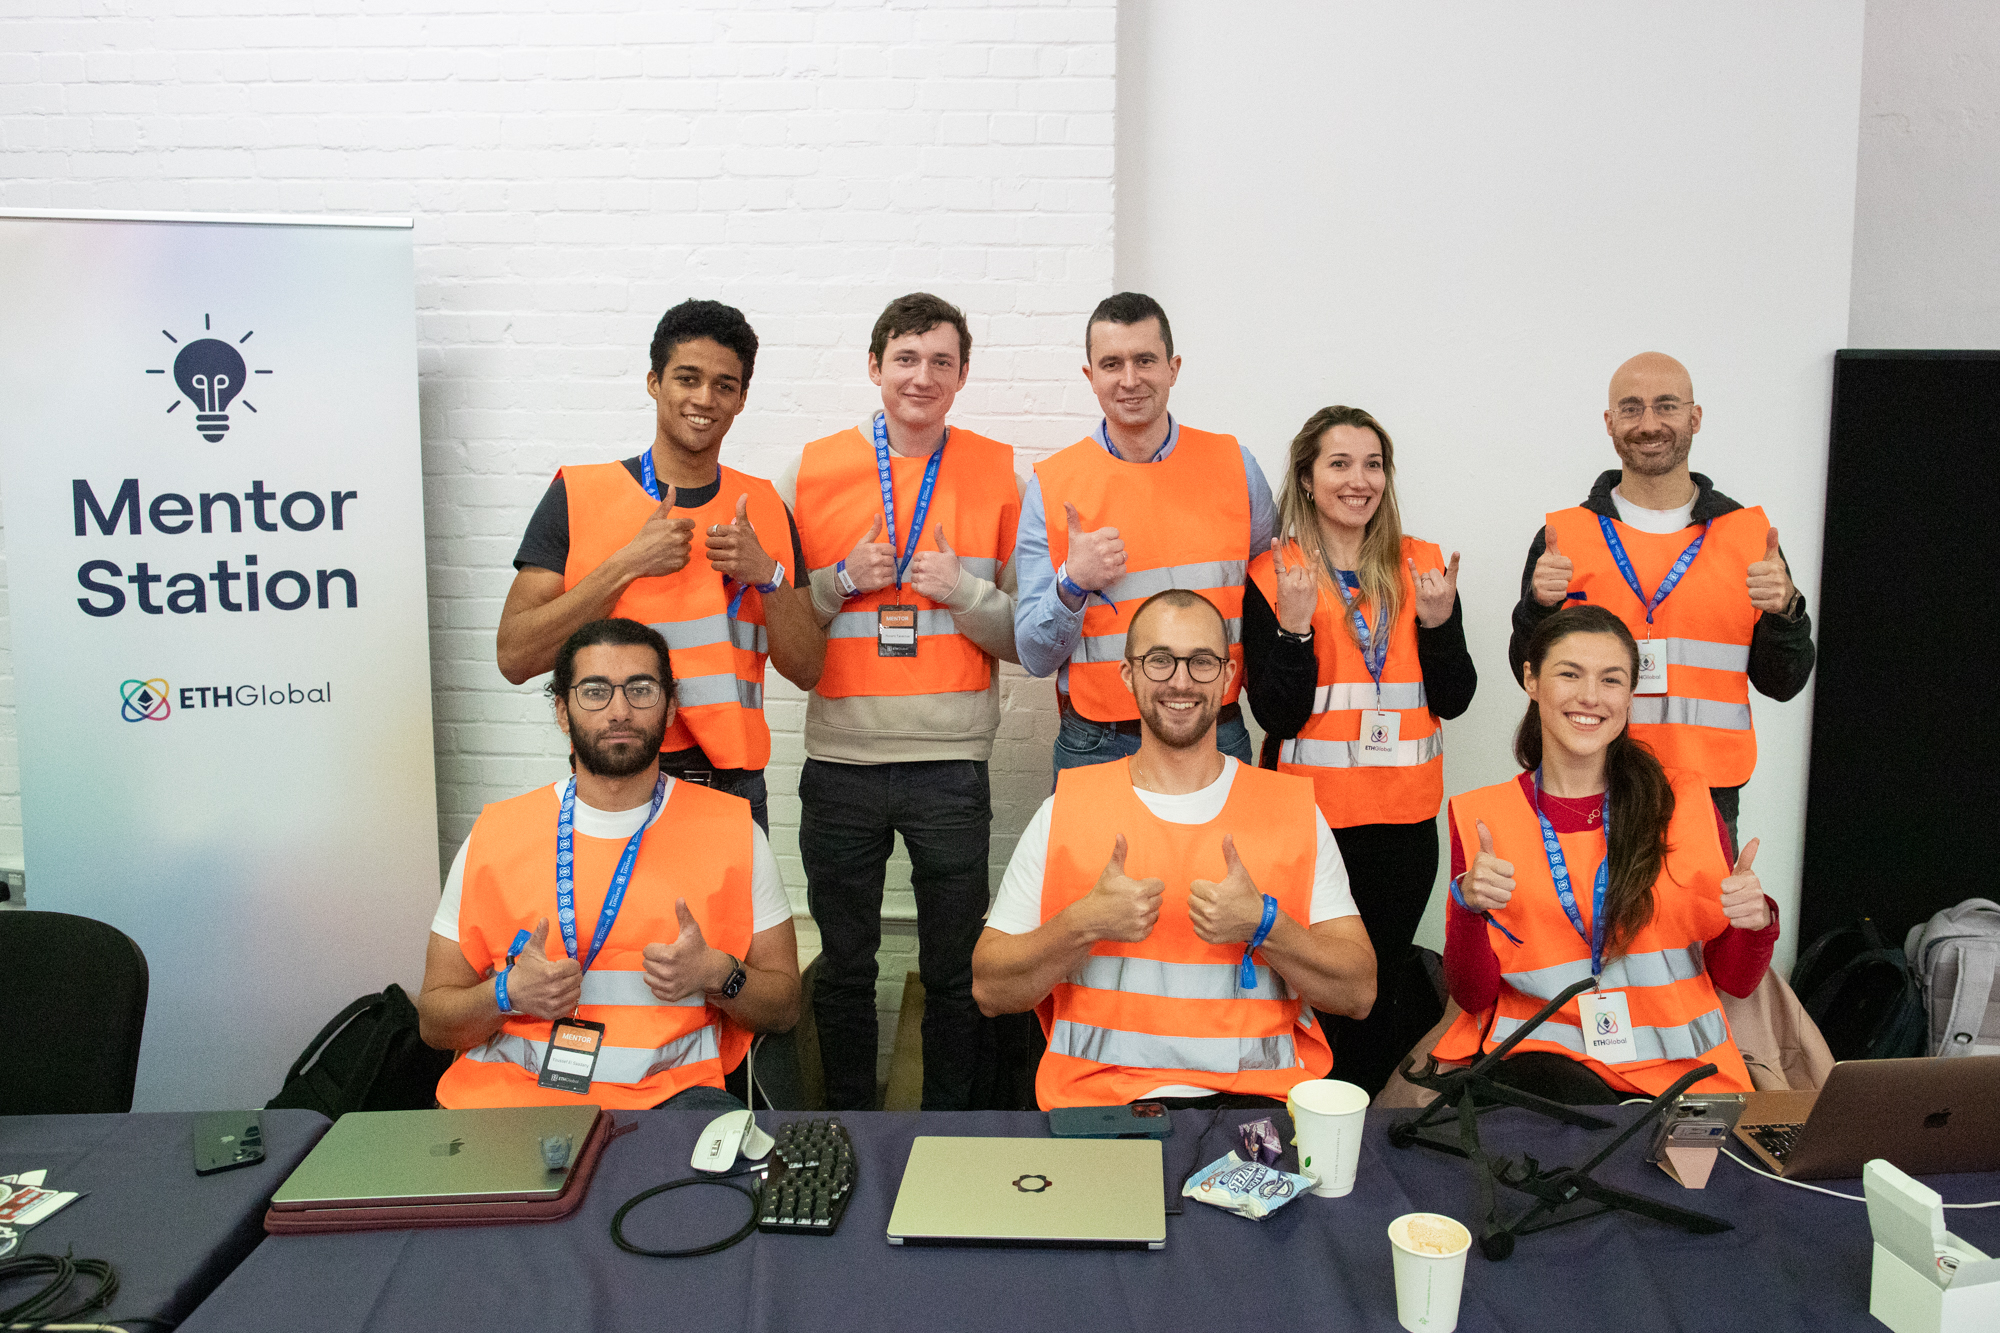
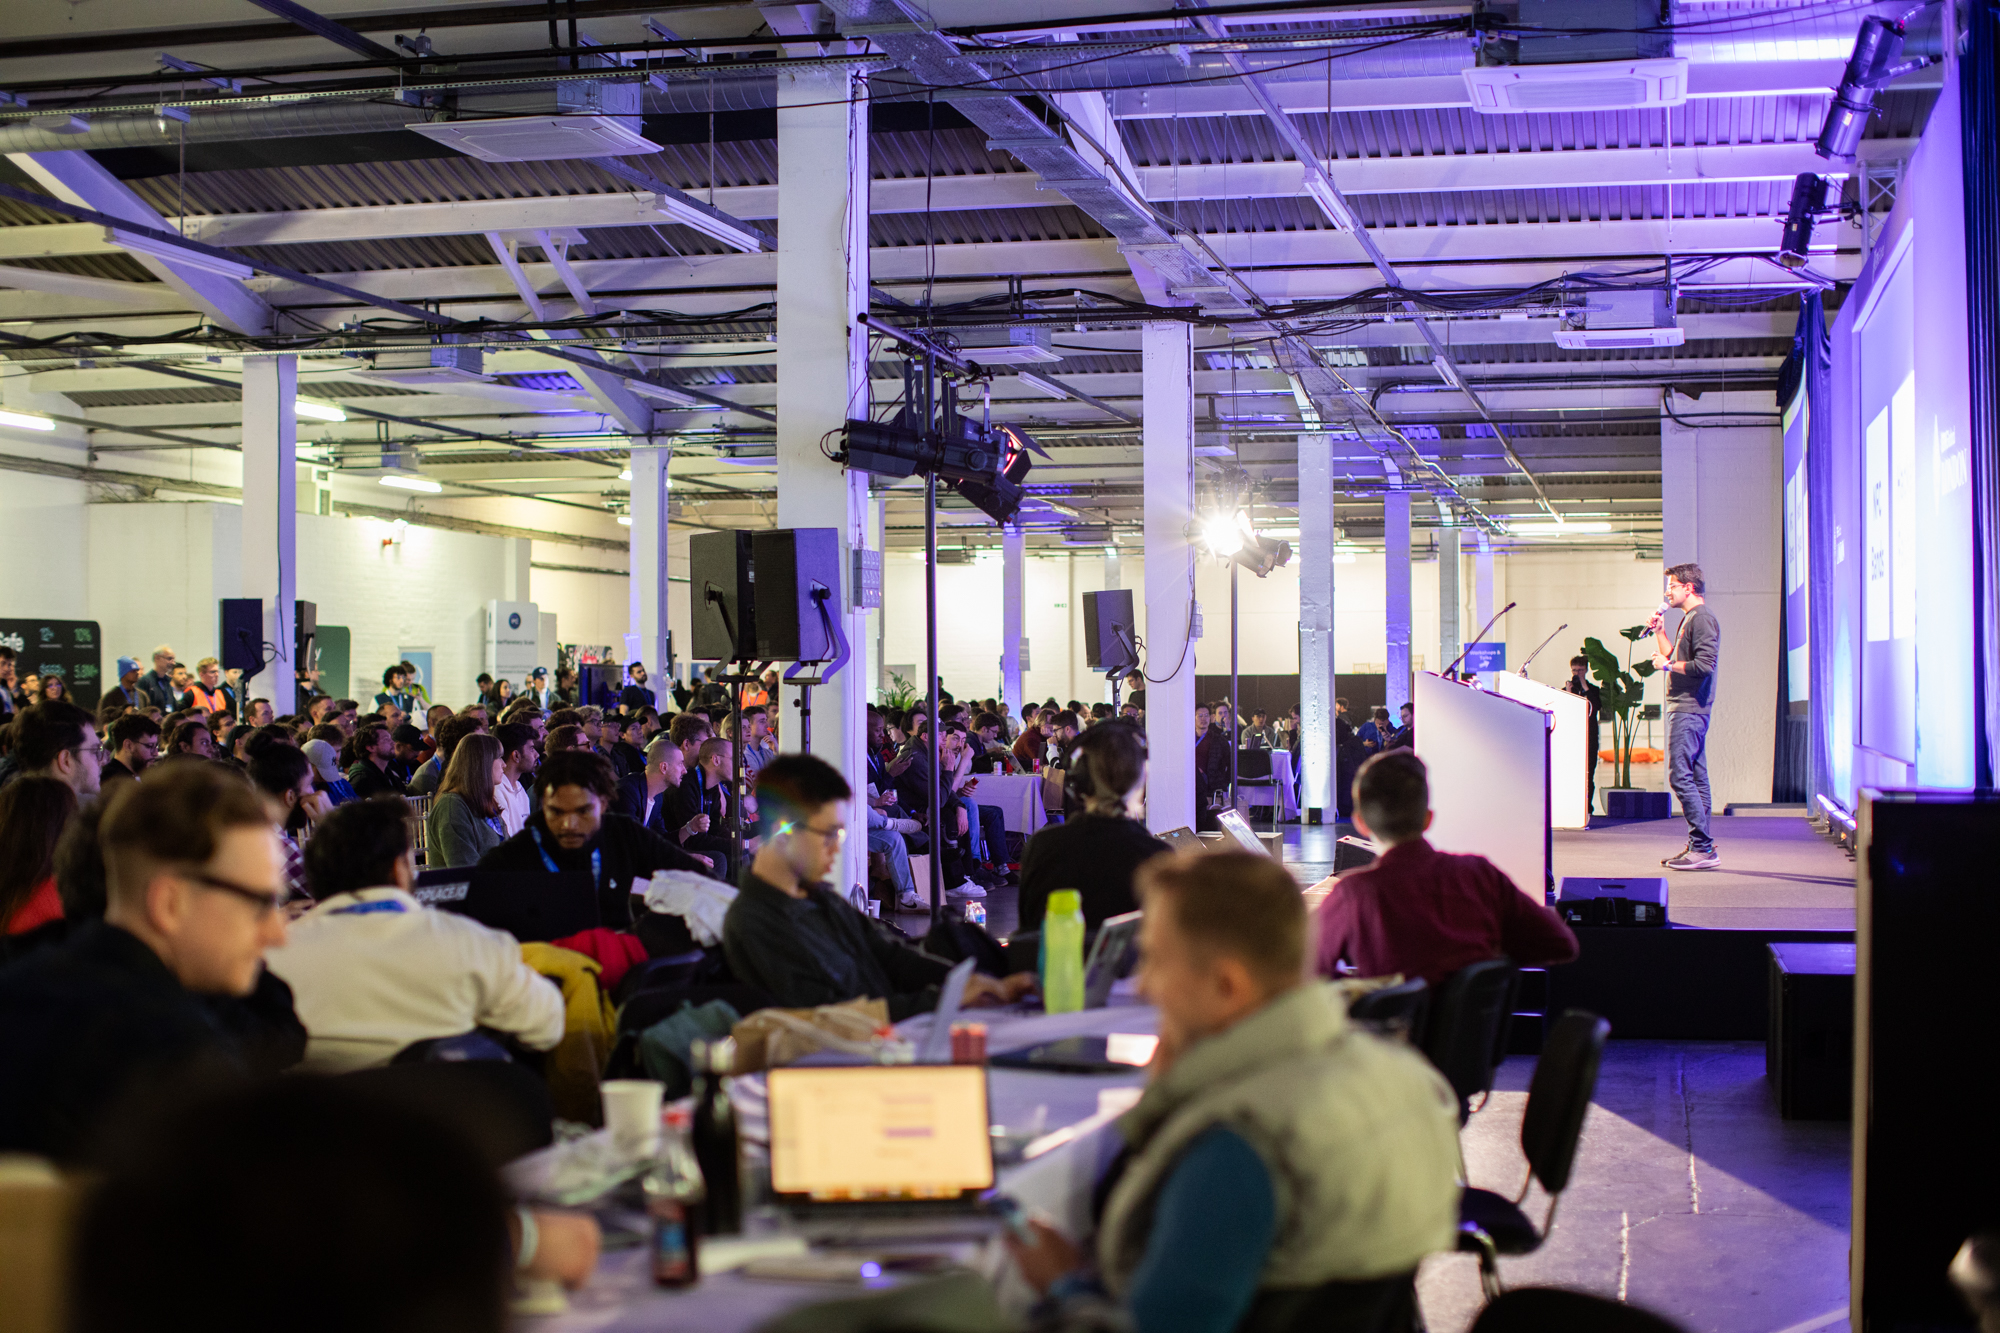
So, I just wanted to share my experience as a mentor at the ETHGlobal Hackathon this past March. It was super fulfilling, and I highly recommend that everyone join, maybe not as a mentor but definitely as a hacker at least once a year.
HackerScore – A social network for developers looking to showcase their skills ⭐️
0xmedusa-zt3is – Open source web3 commerce infra for Eth protocol integrations into Web2 infra.
GeoNouns – Collect Nouns across the world and mint them Pokemon Go Style.
OffBlocks Pay – Open Banking for Web3 – an account-to-account experience for e-commerce ⭐️
Monitrum – trustless and permissionless transaction monitoring solution along with support for Forced Inclusion on Arbitrum.
Tensor Royale – Incentivized on-chain AI collaboration platform, enabling permissionless upload of training data and computational AI models.
DataCat – We are a decentralized data labeling platform and marketplace to gamify building unbaised datasets. ⭐️
Forge World – Create characters, gather resources, explore diverse worlds, and level up your abilities. Your journey to forge legends begins now!
I always recommend my mentees to join these events at least once a year, independent of their current situation.
In this last hackathon I met this guy who joins Hackathons as a hobby (wins most of them) and he even goes with his daughter. Really inspiring !
Also met other founders that were there as Mentors like Adam Spiers who created this free private onchain address book and previously Panther Protocol, Damian Rusinek who created Composable_sec – Smart Contracts Security Audit, Madalina who works at Vega Protocol and many others !
If you are a hacker, you probably code as a hobby like me ❤️
Get that direct access to new ideas and innovation by experimenting with new technologies and building prototypes
Expand professional network and discover career opportunities
Learn new technical skills like programming languages and tools
Achieve recognition and awards for innovative solutions (Always good to get some credibility)
Feel a sense of accomplishment by completing a challenging project within a short timeframe (Real dopamine here)
Now for the companies that are sponsoring or just visiting the hackathons 🏢
You can brainstorm and get new ideas for products, services, or solutions by tapping into hackers’ creativity
Foster innovation and problem-solving and bring it to your company
Promote cross-functional collaboration and knowledge-sharing
Save time with the recruiting as you will have direct insight about the developers performance, commitment and soft skills without those long and inefficient tests
It is always a win-win, independent of the side you are (Hacker or Mentor). Also, you can expand your network, update yourself, see what others are working on, chance to win a prize and learn something new.
The projects were 🤯 and I was able to help some hackers (Felt useful haha) ! Keep smashing you all building the future !! 🚀
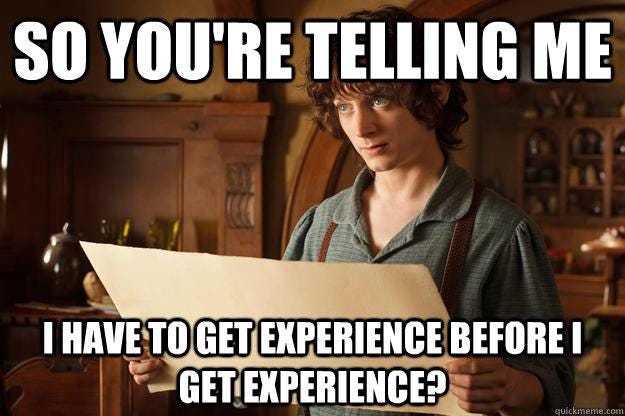
You asked you got it !! JK 😂 , this was in my backlog for a long time and finally had time to write something about it. This literally summarises my life:
Not many people out there talking about Blockchain Tests, maybe Oleksandr Romanov and Rhian Lewis, so I usually resource to communities (Web3Tests, Synpress…) to see what others are doing.
It is a bit shocking as there are many well-known attacks in this technology and on top of that after deploying something to the Blockchain you can’t go back (immutability feature), so how come this phase is so neglected as making sure everything is alright is so crucial ?
I am doing a quick benchmark about the End-to-End Tests Web3 Frameworks that are out there, and yes you can always mock the Web3 and then you don’t rely on third party integrations, which you would do any Web2 application already. But hey, this is one option to use when you need it !
Here it is what I got from the two major and most popular tools to test Web3 Apps (DApps):
I have been a bit of a workaholic lately, but all for a good cause 😊
Not sure if you know already, but I started to work on a project The Chaincademy helping Developers (SDETs, Engineers, Coders, Programmers, Test Automation Engineers…), especially the junior ones that are coming to Tech to find their first job 💻
We have launched our MVP before Xmas, and we are testing it with our audience (Junior Developers). So, in case you want to accelerate your career (for now, only web3) and get your first experience as a developer, sign up for our Newsletter to get access 🎉
First time I actually adventured myself with AI and Machine Learning was back in 2018 in a Machine Learning Workshop. I had to create this iOS app where AI was replacing my face with an emoji based on my expressions 😆 Really simple, but back in that time, AI was not so good as it is right now (As we say in Brazil: Na minha época isso aqui era tudo mato – Back in my day, this place was all woods)
And since the launch of chatGPT to speed up all my work, I have been using AI on a daily basis, more Bard actually (Think it is much better than ChatGpt nowadays), so here I am going to give some tips on how I have been using it in test automation:
Test Automation
1. Test Case Generation:
Scenarios: You need to pass user stories and acceptance criteria, to generate corresponding test cases with detailed steps and expected outcomes.
Prompt Example: Given a user tries to register with an invalid email address, describe the steps they would take and verify that the system displays an appropriate error message.
Edge Cases: Ask to suggest potential edge cases or corner scenarios to test, ensuring comprehensive coverage of your application’s functionality.
Prompt Example:For the checkout process, what happens if the user's internet connection drops while entering their payment information? List potential scenarios and expected outcomes.
Data-Driven Testing: Generate test data sets based on specific criteria.
Prompt Example:Generate 10 test cases for the login feature, covering cases with valid and invalid username/password combinations and different user types (admin, regular user).
2. Coding:
Test Script Automation: Describe the test actions:
Prompt Example:I want to test clicking the 'Submit Order' button and verifying the order confirmation page appears. Write a Cypress with javascript script for this scenario.
Code Completion: Get test assertions, locator identification, and handling complex interactions.
Prompt Example:In my Cypress test, I'm trying to assert that the element contains the text 'Welcome back'. Please suggest the next line of code with assertion syntax.
Refactoring: Analyze your existing test scripts and suggest improvements like removing redundancy, increasing reusability, or optimizing execution time.
Prompt Example: Analyze my Pull request for the search functionality. Can you add comments and suggest ways to improve readability, reduce redundancy, and speed up execution?
3. Test Planning and Management:
Prioritization and Risk Assessment: Provide the test case details and application knowledge, so it can help prioritize tests based on risk or impact.
Prompt Example:Given these 20 test cases for the new feature, rank them based on potential impact, speed of delivery and risk of failure. Explain your reasoning for each.
Maintenance: Identify outdated or irrelevant test cases and suggest updates or new tests to maintain coverage.
Prompt Example:The application updated its login page layout. Identify test cases needing modification and suggest relevant updates based on the new UI.
4. Environment Management:
Mocks: Describe data needs for specific tests, and generate mock data or API responses, reducing reliance on real environments and dependencies. Remember you can also use contract tests (with Pact for example) and this can be done automatically from the code.
Prompt Example:Generate mock API responses for the payment gateway integration test, simulating successful and failed scenarios based on test case requirements
Environment Configuration: Configurations for different test environments based on your application and testing requirements.
Prompt Example:Suggest configurations for a staging environment replicating the production database but with limited user access. Include details for network settings and resource allocation.
Thanks to Abel from Graph Protocol 👏 to send over these great resources that I have been using to learn about how to better prompt for Software Development are:
On December 11th, I had the privilege of presenting tech career workshop at Leicester College (One of my best workshops so far ❤️). The workshop aimed to provide students with the necessary guidance and insights to navigate their career paths and secure their first job in the dynamic tech industry.
The highlight of the workshop was obviously 🤣 the prizes where the students had to answer a quiz and compete for some swags. It was heart warming to hear the feedbacks saying the workshop exceeded their expectations, specially the salary roadmap 💰 and that they learned a lot about the industry from a professional.
The gifs got lost 😞 but I am sharing the slides here:
Thanks to Arbaaz, for recognizing the importance of empowering students with the tools to succeed in the tech field and I am thrilled to participate in the upcoming workshop dedicated exclusively to women in tech 👩💻 next year.
Hey guys, 4 months ago I had a 5 minutes lightning talk about How the QA will look like in the future at the Equal Experts Conference.
We went through the evolution of the role and how it is right now, then we quickly talk about the trends that are coming so you can already prepare yourself to be up to date 🙂
In this 5-minute talk, we will quickly talk about the future of Quality Assurance (QA) position and discuss the evolution of the QA role in response to emerging trends.
The QA role has come a long way from its traditional focus on manual testing and bug detection. As technology advances, QA professionals are adapting to new demands and becoming integral contributors to the software development process.
The future of QA position will be marked by AI Tests, Tests in the Cloud, Web3 Tests, Alerting and Monitoring, along with strong soft skills. By embracing these trends and developing the necessary skills, QA professionals will be well-equipped to drive quality and innovation in the ever-changing software development industry.