Last month, I had the pleasure of hosting a workshop, “How to Get Your First Job in Tech: A Step-by-Step Guide,” remotely via ClassView Desktop. We connected with three ClassView Immersive Rooms, reaching 60 students from:
North Kent College, Dartford Campus
North Kent College, Tonbridge Campus
USP College, Seevic Campus
For 75 minutes, we explored the roadmap to breaking into the tech industry, and different paths and ways to find your path in tech! Specially nowadays with AI changing the space.
What We Covered
Here’s a quick recap of what we dove into during the workshop:
Assessing Your Skills and Finding Your Path We talked about understanding your current skills, identifying gaps, and choosing the right tech career pathway tailored to your strengths and interests.
Crafting Standout Portfolios A big focus was on creating LinkedIn profiles, CVs, and GitHub portfolios that truly stand out to employers.
Supercharging Your Job Hunt I shared practical tips on accelerating your job search—everything from networking hacks to nailing interviews.
Validating Career Goals in Real-Time Students received actionable insights to align their career aspirations with their current skills and experiences.
AI Hackathon
One of my favorite parts of the session was seeing students quickly create some impressive portfolios in just four minutes with Lovable! Here are a few:
Huge congratulations to one of the students, who took home the top prize in our final quiz, earning a perfect score! Happy to see this is the moment where people are FULLY engaged, specially because there was a prize in the end ! 👏
My Takeaway
Being able to guide these students on their tech career journeys is always a rewarding experience. I received loads of great feedbacks from the students which is always comforting as I know dealing with teenagers is a BIG challenge 😂
And some pictures !
I can’t help but grapple with deeper questions about the future of our industry:
How can we help as a society to bridge the skills gap that is being widened by the speed of AI development?
The advancement of AI has the potential to exacerbate disparities in skills and opportunities. Are we equipping the next generation with the tools they need in this shifting landscape? Education, mentorship, and accessibility must be at the forefront of our collective effort to ensure no one is left behind.
If juniors and interns are being replaced by AI, are we heading towards a society without seniors?
This is a sobering thought. Without entry-level opportunities, how will we cultivate the experts of tomorrow? Experience is built incrementally, and AI can’t replace the nuanced understanding that comes from hands-on learning. As an industry, we must find ways to preserve pathways for growth while leveraging the capabilities of AI.
This talk was especially important to me, even though it was the one I practiced the least. My mom was there for the first time to support me! After spending a month with me, she has already gone back to Brazil 🇧🇷 🙏
She also gave me feedback that I should look around the room more instead of focusing on just one side! 😄
She probably didn’t understand anything, but she was there 😊
But this time I missed all the other talks 😔 I have been working on my startup: The Chaincademy most of my days I am going to sleep around 3am and on the day before my talk I went to sleep at 1am 🙏 . Gladly, nobody noticed that I was a corpse mopping the floor on that day.
Back to what matters! Unfortunately, I don’t have much to share about the other talks this time. However, at the speakers’ dinner, I had the pleasure of chatting with some amazing speakers: René Rohner (robot framework and playwright), Mazin Inaad (food and rock bands), Jonathon Wright(the AI guy) , Ana Duarte(why Porto is the best city in Portugal) and Gerard van Engelen (a variety of topics)
This time, I also decided to start a bit differently by being honest about my habit of talking fast at the beginning of sessions. I asked everyone to help pace me if I started speaking too quickly—sorry in advance! 😬
Everyone stayed engaged, even during a 1-hour-and-30-minute session. I felt the hands-on part was a bit rushed and could have been extended, so I’ll keep that in mind for next time.
Just sharing some additional content after my talk: I’ve updated the resources to include some Web3 hackathons and a Web3 Test Mindmap.
Here’s the feedback from this session—apparently, I did well, but not quite well enough to win the award! Maybe that’s why I left right after my talk 😂
It’s okay, though—my mom got emotional and teared up when I started reading the positive feedback, so I’ll count that as a win, even if it’s a bit biased!
Apart from my talk, I also joined Señor Performo in his AutomationStar interview sessions!
Finally met Leandro Melendez.
I’ve known his work for ages, and I also use Grafana a lot at work these days. It was great to exchange tips on public speaking and chat about mutual friends. During the interview, I shared what we’re doing at The Chaincademy, my journey in tech, and how I ended up where I am today.
“As usual, the best part of my talk is testing whether people were really paying attention or if ADHD is getting the best of the crowd. It’s also my favorite part—I love a good competition! 🥋
And that’s a wrap! See you at the next conference or meetup! I’m actually planning to host a webinar on my own soon, so hopefully, you’ll be able to join from anywhere in the world!
And this was me again spreading the word about Blockchain and Web3, but this time at the Equal Experts Global Conference 2024. EE is a network of tech professionals that I couldn’t be more proud to be part of ❤️. I am super picky when it comes to work, but this one is a keeper!
While I’m not one to praise companies excessively, I wouldn’t hesitate to recommend Equal Experts as a great place to work and also to have business with. Their integrity and values are rare to find nowadays 😆
In the talk, I covered the basics of Web3, including its key differences from blockchain. As you know, I’ve been discussing these topics for quite some time 😬
Would you like to review the slides? This is a shorter, abridged version of the in-depth presentation I’ll be giving in October at the AutomationStar Conference. Think of it as a preview:
One of the questions I enjoyed receiving was about how blockchain technology, despite being around for a while, is often perceived as new. Blockchain is actually a combination of technologies that have existed for a long time, such as P2P networks and hashing. However, it wasn’t until these components were brought together that blockchain was truly created and its potential realized. Here are a few resources that explore the evolution and history of blockchain.
Here are a couple of resources that explore the evolution and history of blockchain.
Additionally, I attended another talk before mine that focused on UX/UI and user personas. This is another crucial aspect of QA. Understanding the user is essential when designing test scenarios and improving overall quality, not just from a technical standpoint but also from the perspectives of usability and business.
In conclusion, I solicited feedback from the audience and received valuable insights that I’ll incorporate into my upcoming talk at the AutomationStar Conference in Vienna this October. See you there 👋
When it comes to load testing tools, there is a recent tool called PFLB which I received a comparison with the most popular one: JMeter. Each has its own strengths and weaknesses, making them suitable for different scenarios. Let’s delve into a comparison between the two.
– Limited Support – Scripting – Control Version – CI/CD Integration – Reusability
– GUI oriented – Possibility to create scripts, but too complex and lack of documentation – Weak (Java) – Hard to maintain
Ramp-up Flexibility
User-Friendly through GUI
Plugins available to be able to configure flexible load
Test Result Analyzing
Yes
Yes
Resource Consumption
Optimizing resource usage involves properly configuring test scenarios and monitoring performance to adjust as needed.
Heavy to run tests with multiple users on a single machine, more memory consumption
Easy to use with Version Control Systems
Yes
No
Recording Functionality
Yes
Yes
Distributed Execution
Yes
Yes
Load Test Monitoring
It reduces memory consumption through asynchronous logging, cloud-based infrastructure, and integration with specialized monitoring tools.
Ability to monitor a basic load
PFLB is most used when you need:
Scalability: PFLB tool offers cloud-based load testing, allowing users to scale tests to simulate millions of users without worrying about local resource limitations.
Integration: It integrates seamlessly with other monitoring and APM tools (e.g., New Relic, Dynatrace, Datadog), providing comprehensive performance insights and real-time analytics.
Ease of Use: PFLB tools are easy to use, with intuitive interfaces and detailed reports, making it easy for teams to set up, run, and analyze load tests.
Enterprise-Level Support: PFLB provides robust support and customization options for enterprise clients, ensuring that specific performance testing needs and requirements are met effectively.
JMeter solves some specific problems:
Identifying Performance Bottlenecks: JMeter helps detect slow or underperforming parts of an application by simulating various load conditions and monitoring response times.
Scalability Testing: It evaluates how an application scales with increased load, ensuring that the system can handle expected traffic and identifying any points of failure.
Concurrent User Simulation: JMeter can simulate multiple users accessing the application simultaneously, allowing testers to observe how the application behaves under concurrent usage.
Regression Testing: It can automate performance tests as part of a continuous integration process, ensuring that new code changes do not degrade application performance.
Thanks to Victoria from pflb for sending me this comparison !
The London Blockchain Conference 2024 was an event at ExCel London from 21-23 May 2024 and showed the vast potential of blockchain technology across various industries and applications. And here are my takeaways from the conference and the talks I joined:
Asset Tokenization
Tokenization refers to the process of converting real-world assets, such as real estate, art, or collectibles, into digital tokens on a blockchain network.
This enables secure and transparent trading of these assets, opening up new opportunities for investment and ownership.
AI Responsibility and Auditing
As artificial intelligence (AI) systems become more advanced, there is a growing need to ensure they operate responsibly and without bias.
The conference explored ways to establish acceptance criteria for AI responsibility and leverage blockchain technology to audit AI systems, ensuring transparency and accountability.
Blockchain and AI Integration
The integration of blockchain and artificial intelligence (AI) technologies holds immense potential for creating decentralized, transparent, and trustworthy AI systems. Here are some real-world use cases:
AI Responsibility and Auditing: Blockchain can be used to audit AI systems, ensuring transparency and accountability. AI models, training data, and decision-making processes can be recorded on the blockchain, enabling auditing for bias, fairness, and compliance with regulations.
Decentralized AI: By combining blockchain and AI, it is possible to create decentralized AI systems where the AI model is trained and deployed across a network of nodes, rather than being controlled by a single entity. This can increase trust, transparency, and democratize access to AI capabilities.
AI-powered Supply Chains: AI and blockchain can be integrated to optimize supply chain operations. AI can analyze data from IoT sensors and blockchain can provide a tamper-proof record of transactions, enabling end-to-end visibility and automation.
Blockchain Use Cases
The conference highlighted various real-world applications of blockchain technology, including:
Food Supply Safety and Traceability: Blockchain can provide an immutable record of the entire food supply chain, from farm to table. This enables tracking of food products, ensuring safety, and identifying the source of contamination or quality issues.
Supply Chain Management and Logistics: Blockchain can streamline supply chain operations by providing a transparent and secure record of transactions, reducing paperwork, and enabling real-time tracking of goods.
Pharmaceutical Record-keeping and Drug Traceability: The pharmaceutical industry can leverage blockchain to maintain secure and tamper-proof records of drug manufacturing, distribution, and dispensation, preventing counterfeit drugs and ensuring patient safety.
Financial Services: Blockchain is being explored for applications such as cross-border payments, trade finance, and securities settlement, enabling faster and more secure transactions while reducing costs and intermediaries.
Identity Management: Blockchain-based identity management systems can provide individuals with control over their personal data, enabling secure and privacy-preserving sharing of identity information.
Quantum-Resistant Blockchain
With the potential threat of quantum computing to current cryptographic systems, the conference explored ways to make blockchain networks like Bitcoin resistant to quantum attacks, ensuring the long-term security of digital assets.
Private vs. Public Blockchains
Private Blockchains: ✅ Pros: Better control over network participants, increased transaction throughput, and enhanced privacy. ❌ Cons: Centralized control, reduced transparency, and potential for censorship.
Public Blockchains: ✅ Pros: Decentralized and transparent, no central authority, increased security through distributed consensus. ❌ Cons: Lower transaction throughput, potential for anonymity abuse, and lack of control over network participants.
The decision to use a private or public blockchain depends on factors such as the level of trust required, the need for transparency or privacy, and the desired level of control over the network.
Consensus Mechanisms
Consensus mechanisms are essential for ensuring agreement and trust among nodes in a blockchain network. Here’s an overview of the consensus mechanisms that were mentioned during one of the talks I joined:
Proof of Work (PoW): Nodes compete to solve complex mathematical puzzles, and the winner gets to add the next block to the chain and earn a reward. Used in Bitcoin and Ethereum (currently).
Proof of Stake (PoS): Instead of computational power, nodes stake their cryptocurrency holdings to validate transactions and earn rewards. More energy-efficient than PoW.
Proof of Authority (PoA): A reputation-based mechanism where pre-approved nodes validate transactions based on their identity.
The choice of consensus mechanism depends on factors such as decentralization, scalability, energy efficiency, and the level of trust required in the network.
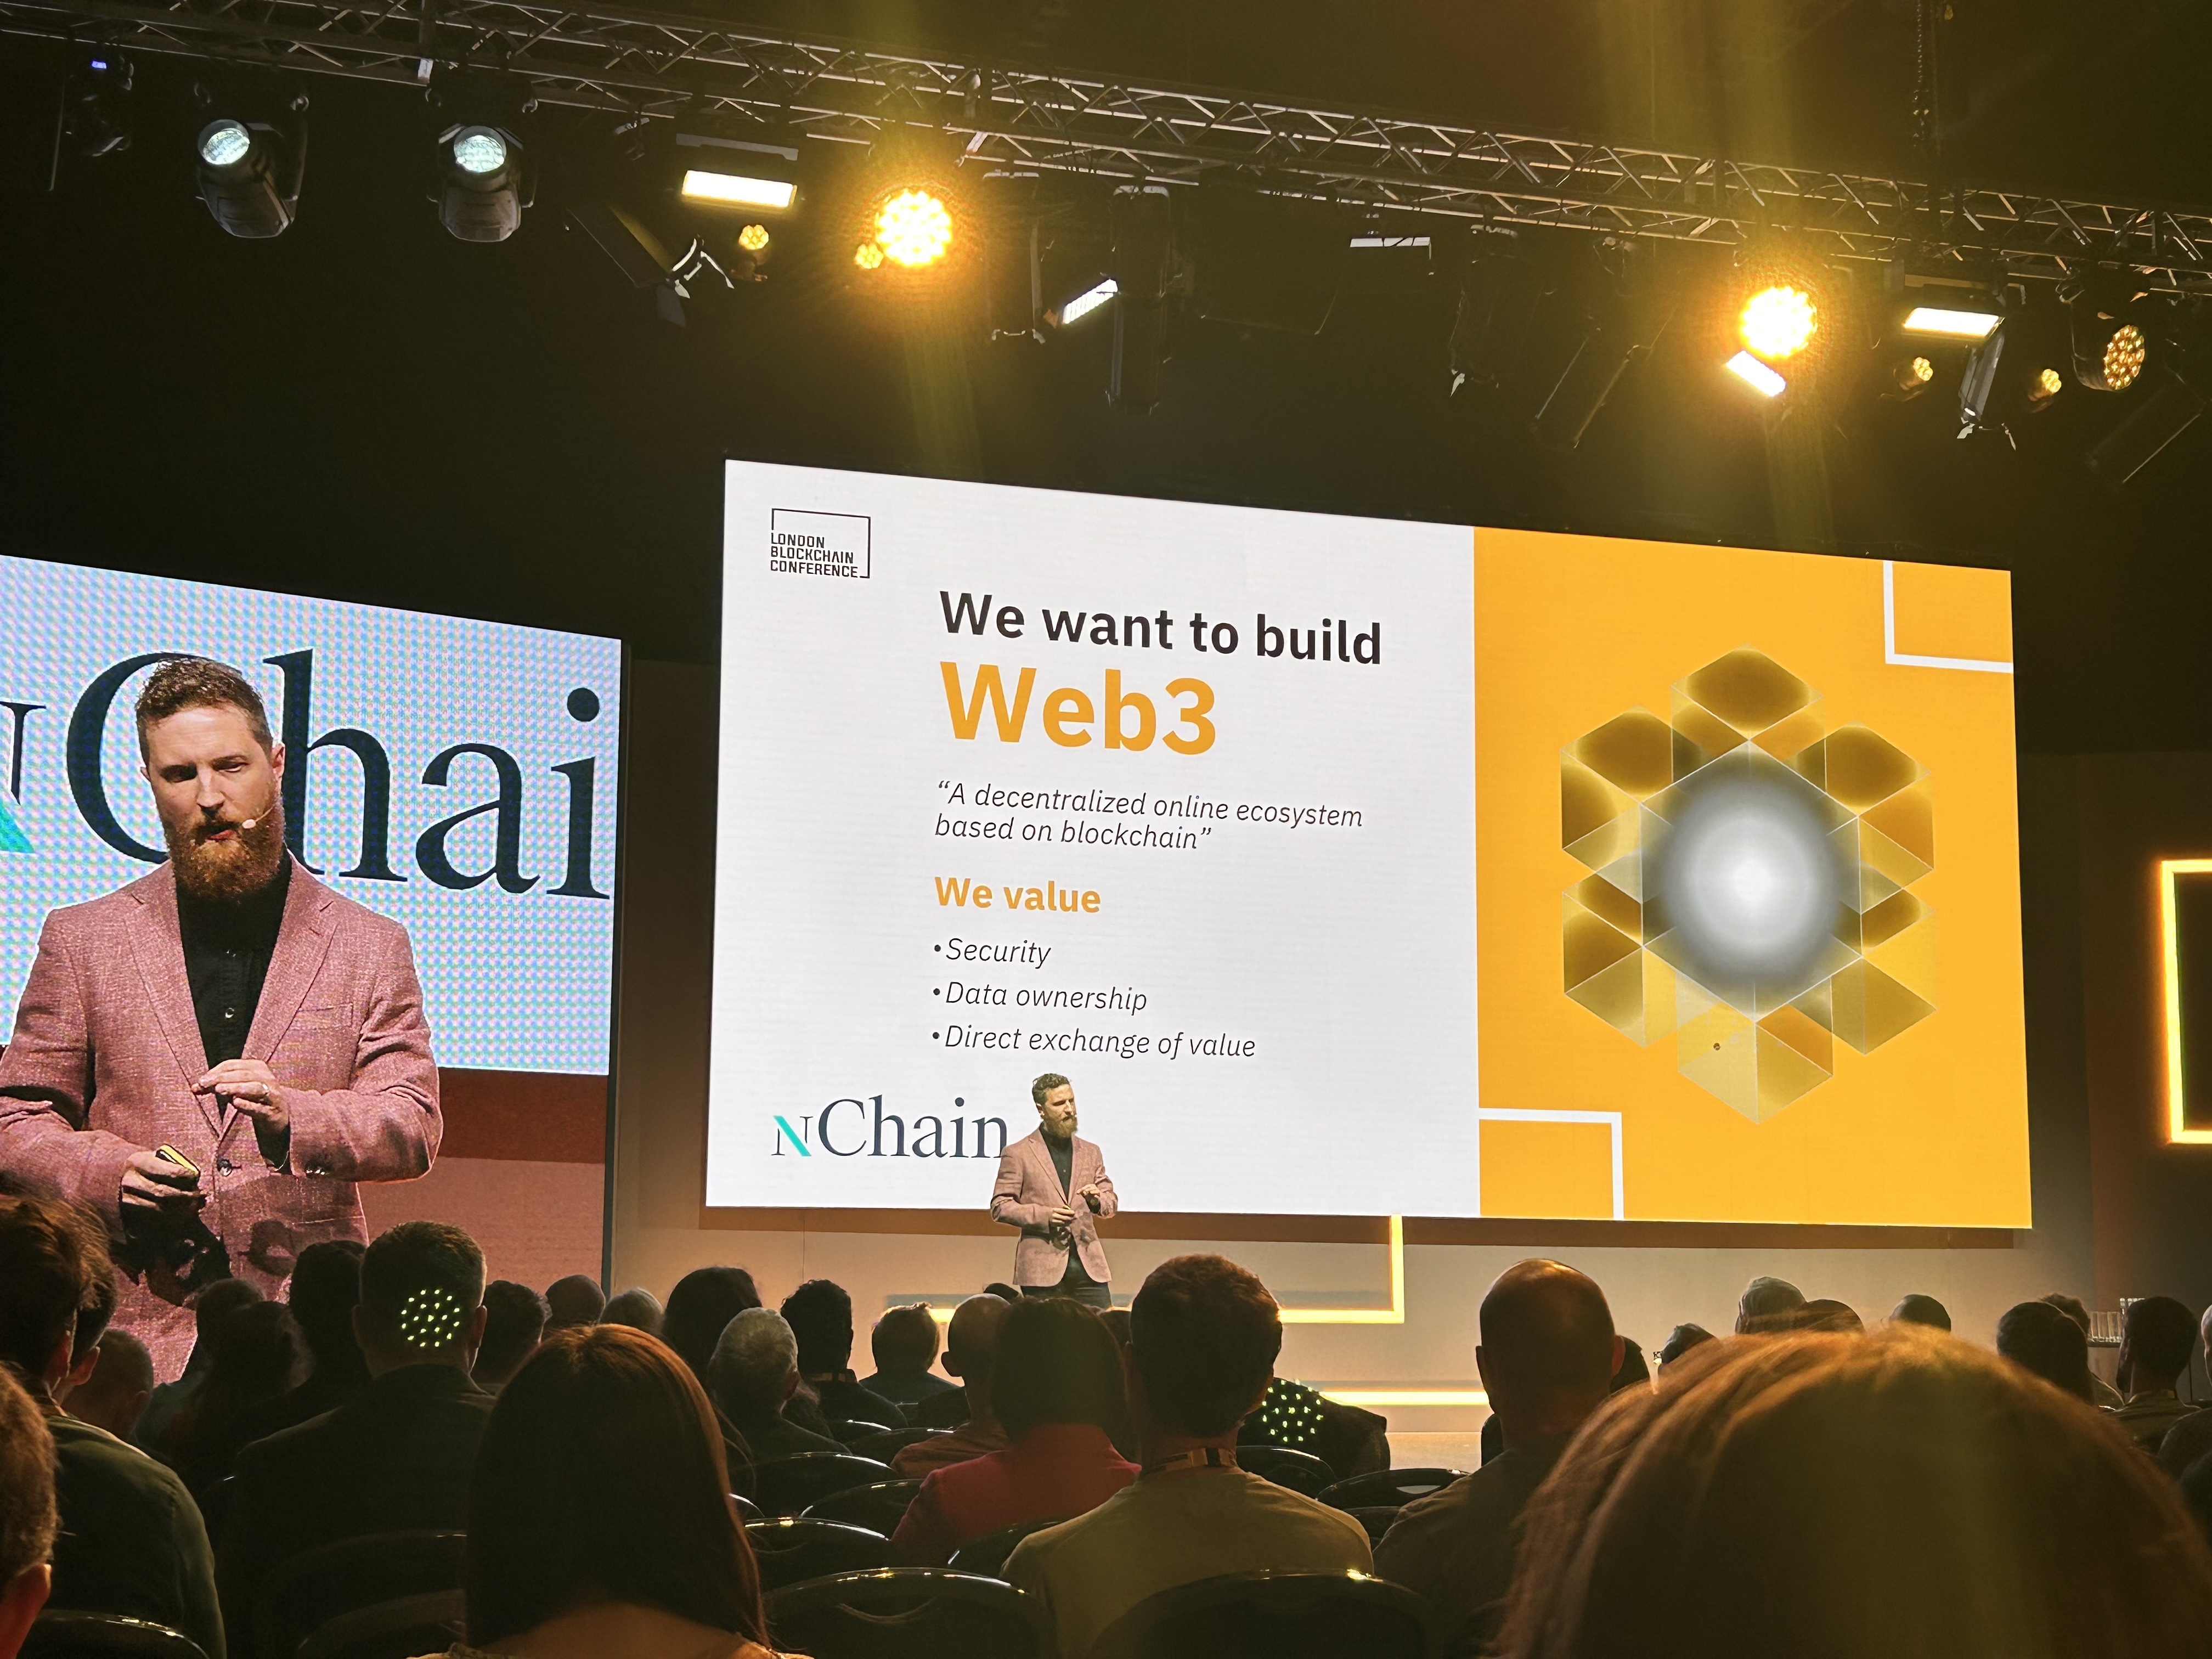
Sad that was over, but the London Blockchain Conference 2024 showcased the transformative potential of blockchain technology across various industries and applications, from asset tokenization and AI responsibility to supply chain management and quantum-resistant blockchain networks.
Learned so much, these conferences always make me see things with other perspectives and also update myself, see what others are doing and how to solve some problems.
As always lately, I have been constantly behind with my posts here on my blog 😭 BUT today is the day!
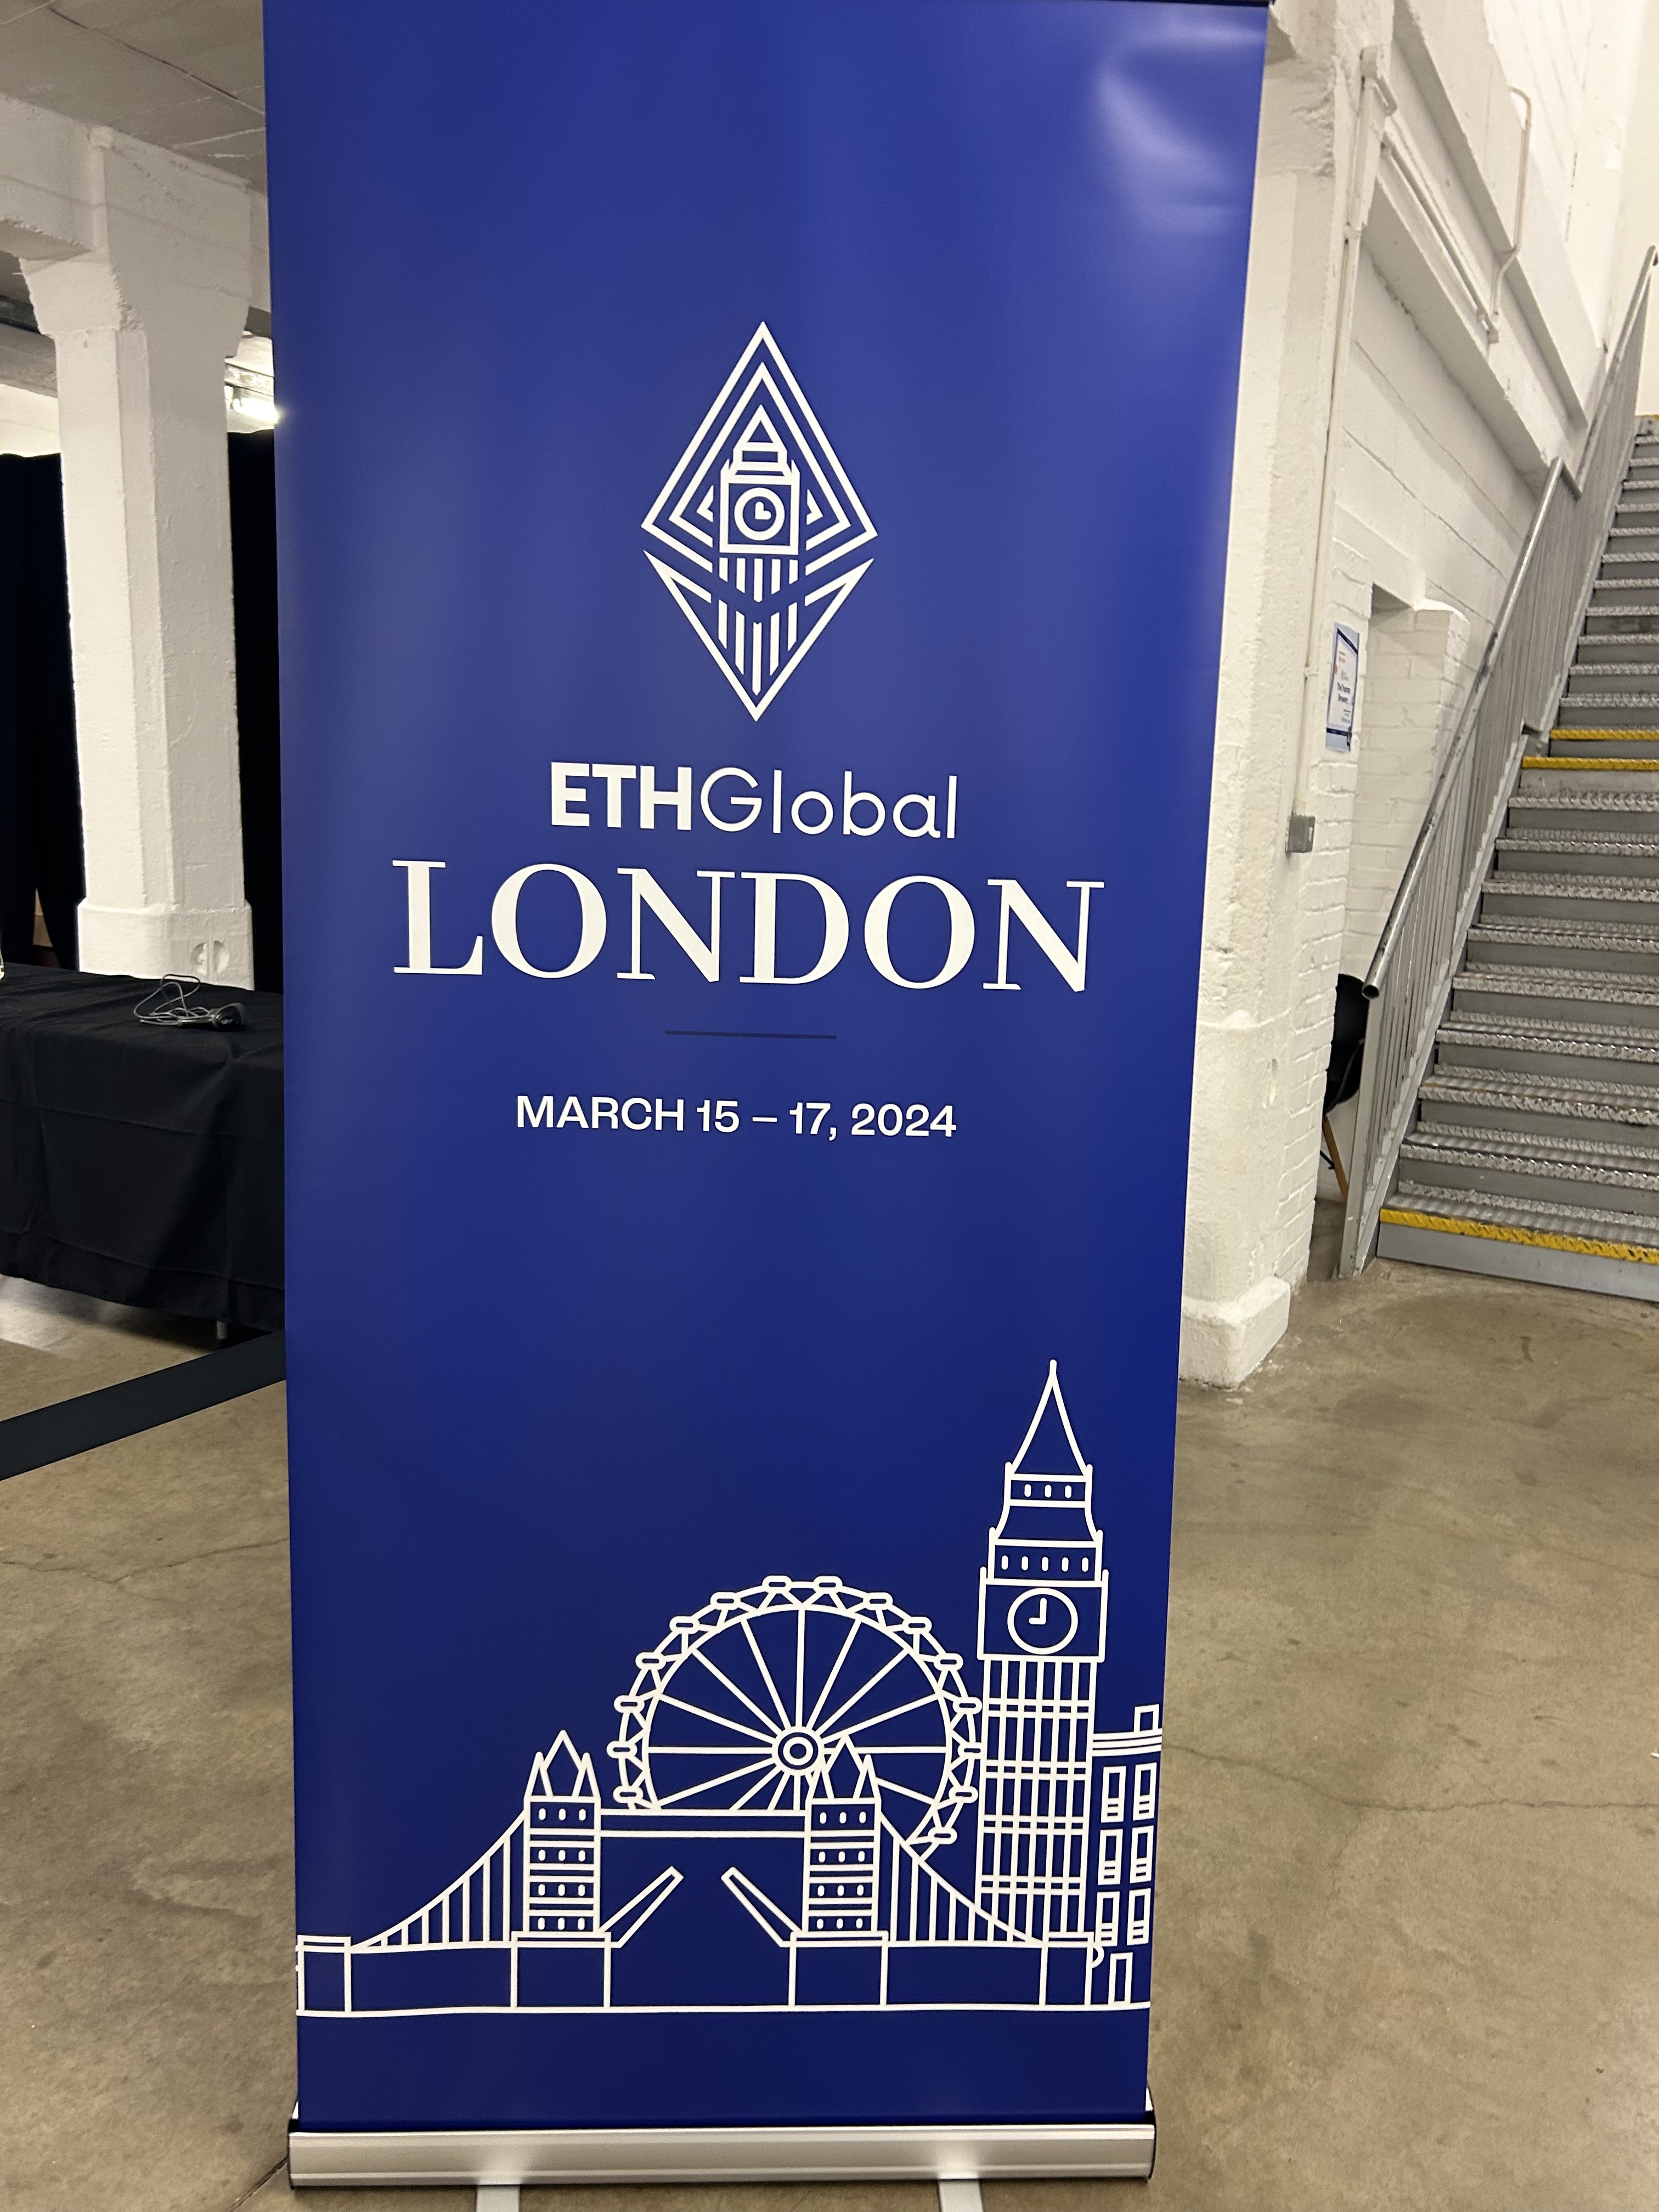
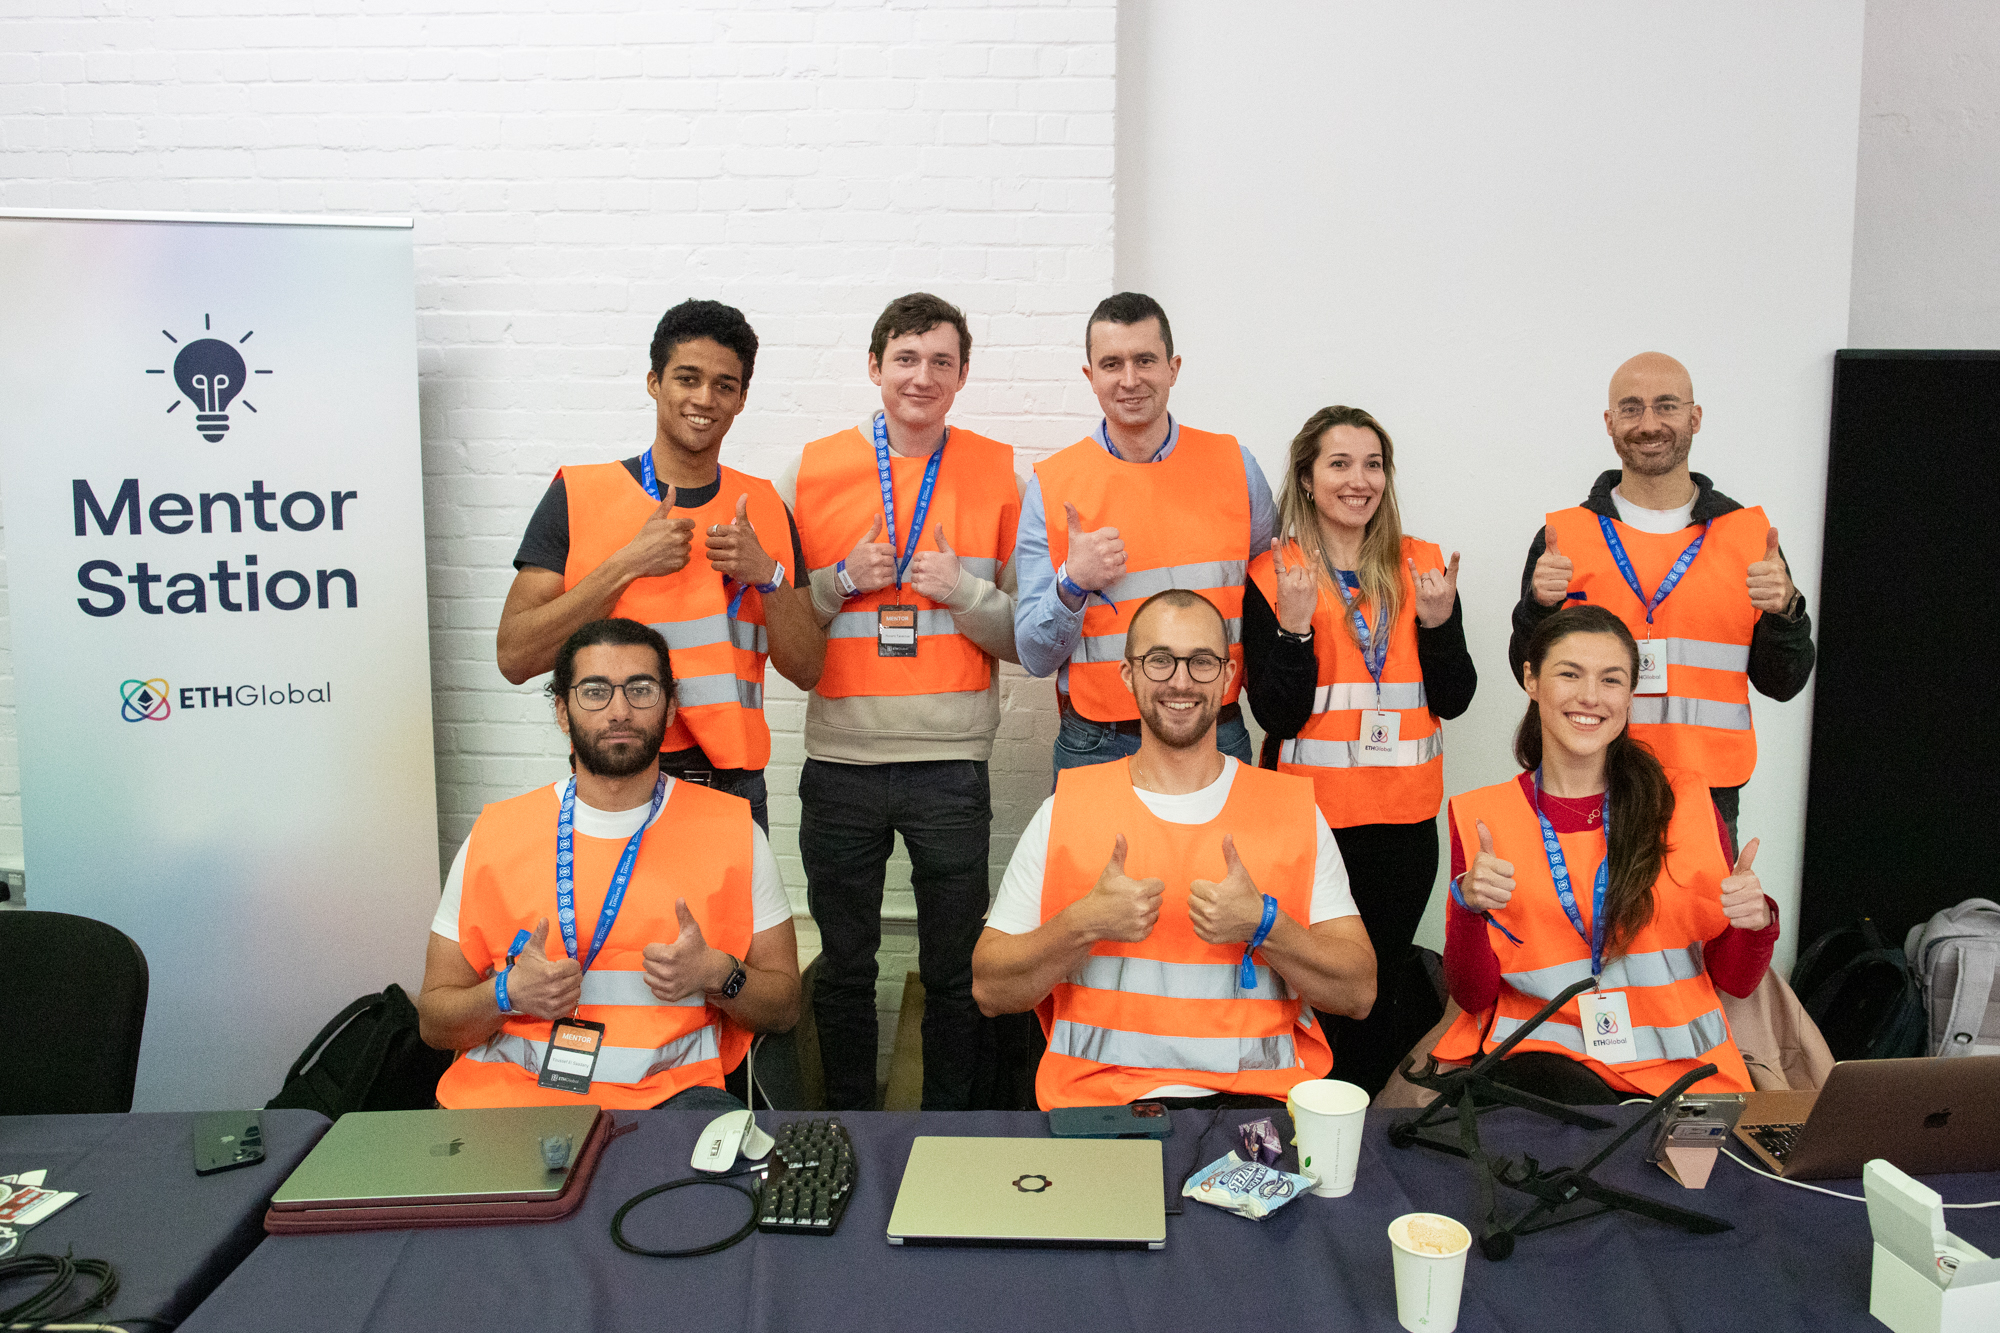
So, I just wanted to share my experience as a mentor at the ETHGlobal Hackathon this past March. It was super fulfilling, and I highly recommend that everyone join, maybe not as a mentor but definitely as a hacker at least once a year.
HackerScore – A social network for developers looking to showcase their skills ⭐️
0xmedusa-zt3is – Open source web3 commerce infra for Eth protocol integrations into Web2 infra.
GeoNouns – Collect Nouns across the world and mint them Pokemon Go Style.
OffBlocks Pay – Open Banking for Web3 – an account-to-account experience for e-commerce ⭐️
Monitrum – trustless and permissionless transaction monitoring solution along with support for Forced Inclusion on Arbitrum.
Tensor Royale – Incentivized on-chain AI collaboration platform, enabling permissionless upload of training data and computational AI models.
DataCat – We are a decentralized data labeling platform and marketplace to gamify building unbaised datasets. ⭐️
Forge World – Create characters, gather resources, explore diverse worlds, and level up your abilities. Your journey to forge legends begins now!
I always recommend my mentees to join these events at least once a year, independent of their current situation.
In this last hackathon I met this guy who joins Hackathons as a hobby (wins most of them) and he even goes with his daughter. Really inspiring !
Also met other founders that were there as Mentors like Adam Spiers who created this free private onchain address book and previously Panther Protocol, Damian Rusinek who created Composable_sec – Smart Contracts Security Audit, Madalina who works at Vega Protocol and many others !
If you are a hacker, you probably code as a hobby like me ❤️
Get that direct access to new ideas and innovation by experimenting with new technologies and building prototypes
Expand professional network and discover career opportunities
Learn new technical skills like programming languages and tools
Achieve recognition and awards for innovative solutions (Always good to get some credibility)
Feel a sense of accomplishment by completing a challenging project within a short timeframe (Real dopamine here)
Now for the companies that are sponsoring or just visiting the hackathons 🏢
You can brainstorm and get new ideas for products, services, or solutions by tapping into hackers’ creativity
Foster innovation and problem-solving and bring it to your company
Promote cross-functional collaboration and knowledge-sharing
Save time with the recruiting as you will have direct insight about the developers performance, commitment and soft skills without those long and inefficient tests
It is always a win-win, independent of the side you are (Hacker or Mentor). Also, you can expand your network, update yourself, see what others are working on, chance to win a prize and learn something new.
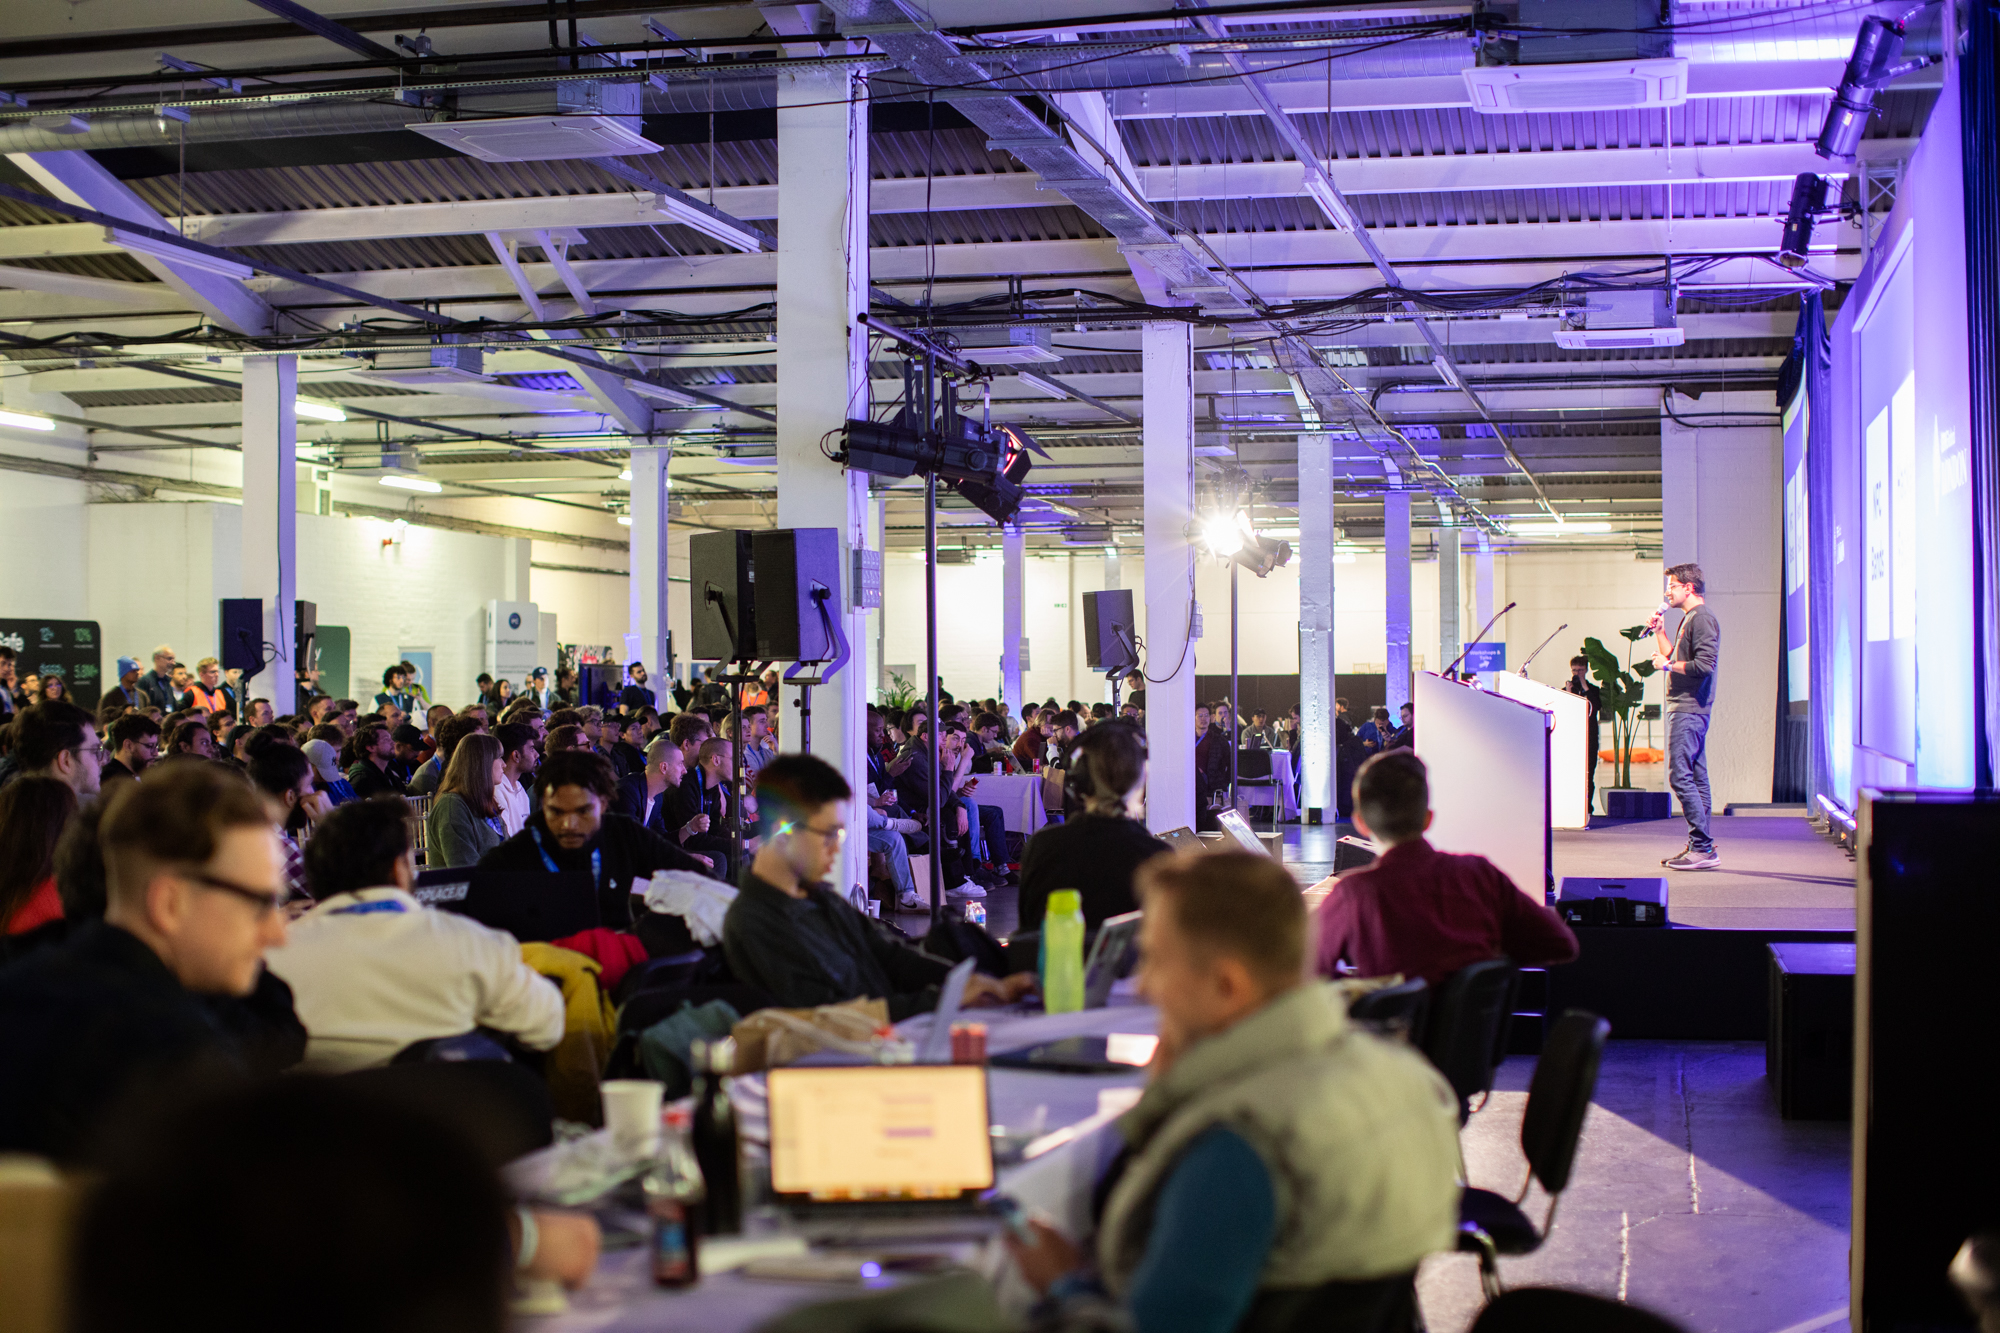
The projects were 🤯 and I was able to help some hackers (Felt useful haha) ! Keep smashing you all building the future !! 🚀
Last week I joined the Google Cloud Summit 2023 and watched some sessions. The main goal of the conference was, of course, to do a bit of marketing on Google AI and Google Cloud, but was also interesting to see ideas on how you can use AI in different areas.
The event has ended, but you can still watch the sessions on demand, you might need to register your email tho.
Starting
For an overview on Google AI and to see what Google is offering then I suggest starting with this video:
Sessions and Demos
My favourite demos and sessions from the conference:
You can also check this interesting Balancing your Database page where you can select the best relational database between Cloud SQL and Cloud Spanner according to the different traffic patterns.
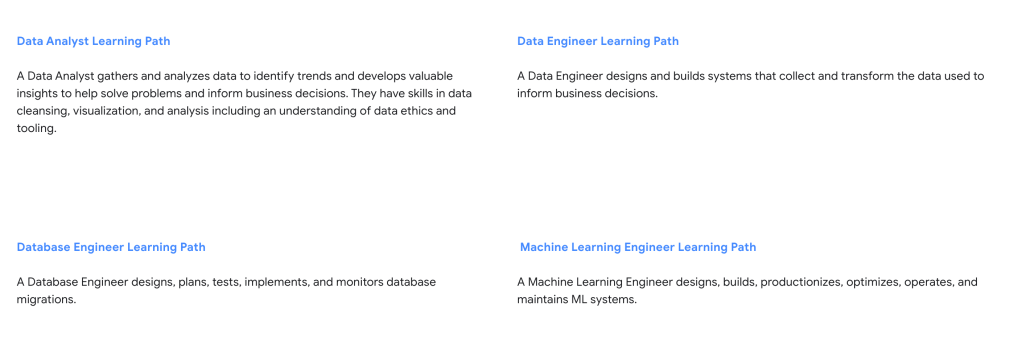
Learning paths
And to conclude you can also see some of the learning paths for the careers you can achieve, you can enroll for free in any of the courses they provide:
If you are curious to know about web3 and how can you test it, here are some ideas!
We will go through a brief explanation of what is Web3 and the architecture of a web3 application. Then we will talk about how to do end-to-end tests, its challenges, some test tools that are available, and 2 demos using Synpress and mocking the web3 layer.
It took me ages to record this video, not going to deny, I am still improving my video editor/design skills… I even bought a new mic to help me and would love to have some feedback about the talk in general.
If you have literally 5 seconds, here is the link.
Hello guys !! After my talk about Testing Blockchain Applications on the #TechKnowDay, I thought it was worth posting a guide on the same topic as I felt it was complex to also understand Blockchain. So, this is a quick tutorial on how to run tests with Truffle Framework.
If you are still wondering where you can use Blockchain, here it’s a table with the percentage of companies that are focusing on it and the use cases.
We are going to use a bit of Javascript for the web part and Solidity for the blockchain project. For this project you will need to have installed NPM and Node already. We are going to install Truffle as part of the setup. You will also need MetaMask and Ganache, all of them you can find bellow:
Open your MetaMask plugin and click on new Custom RPC Network. Type the following (Currency Symbol will be automatically populated after you type the Chain ID) and save.
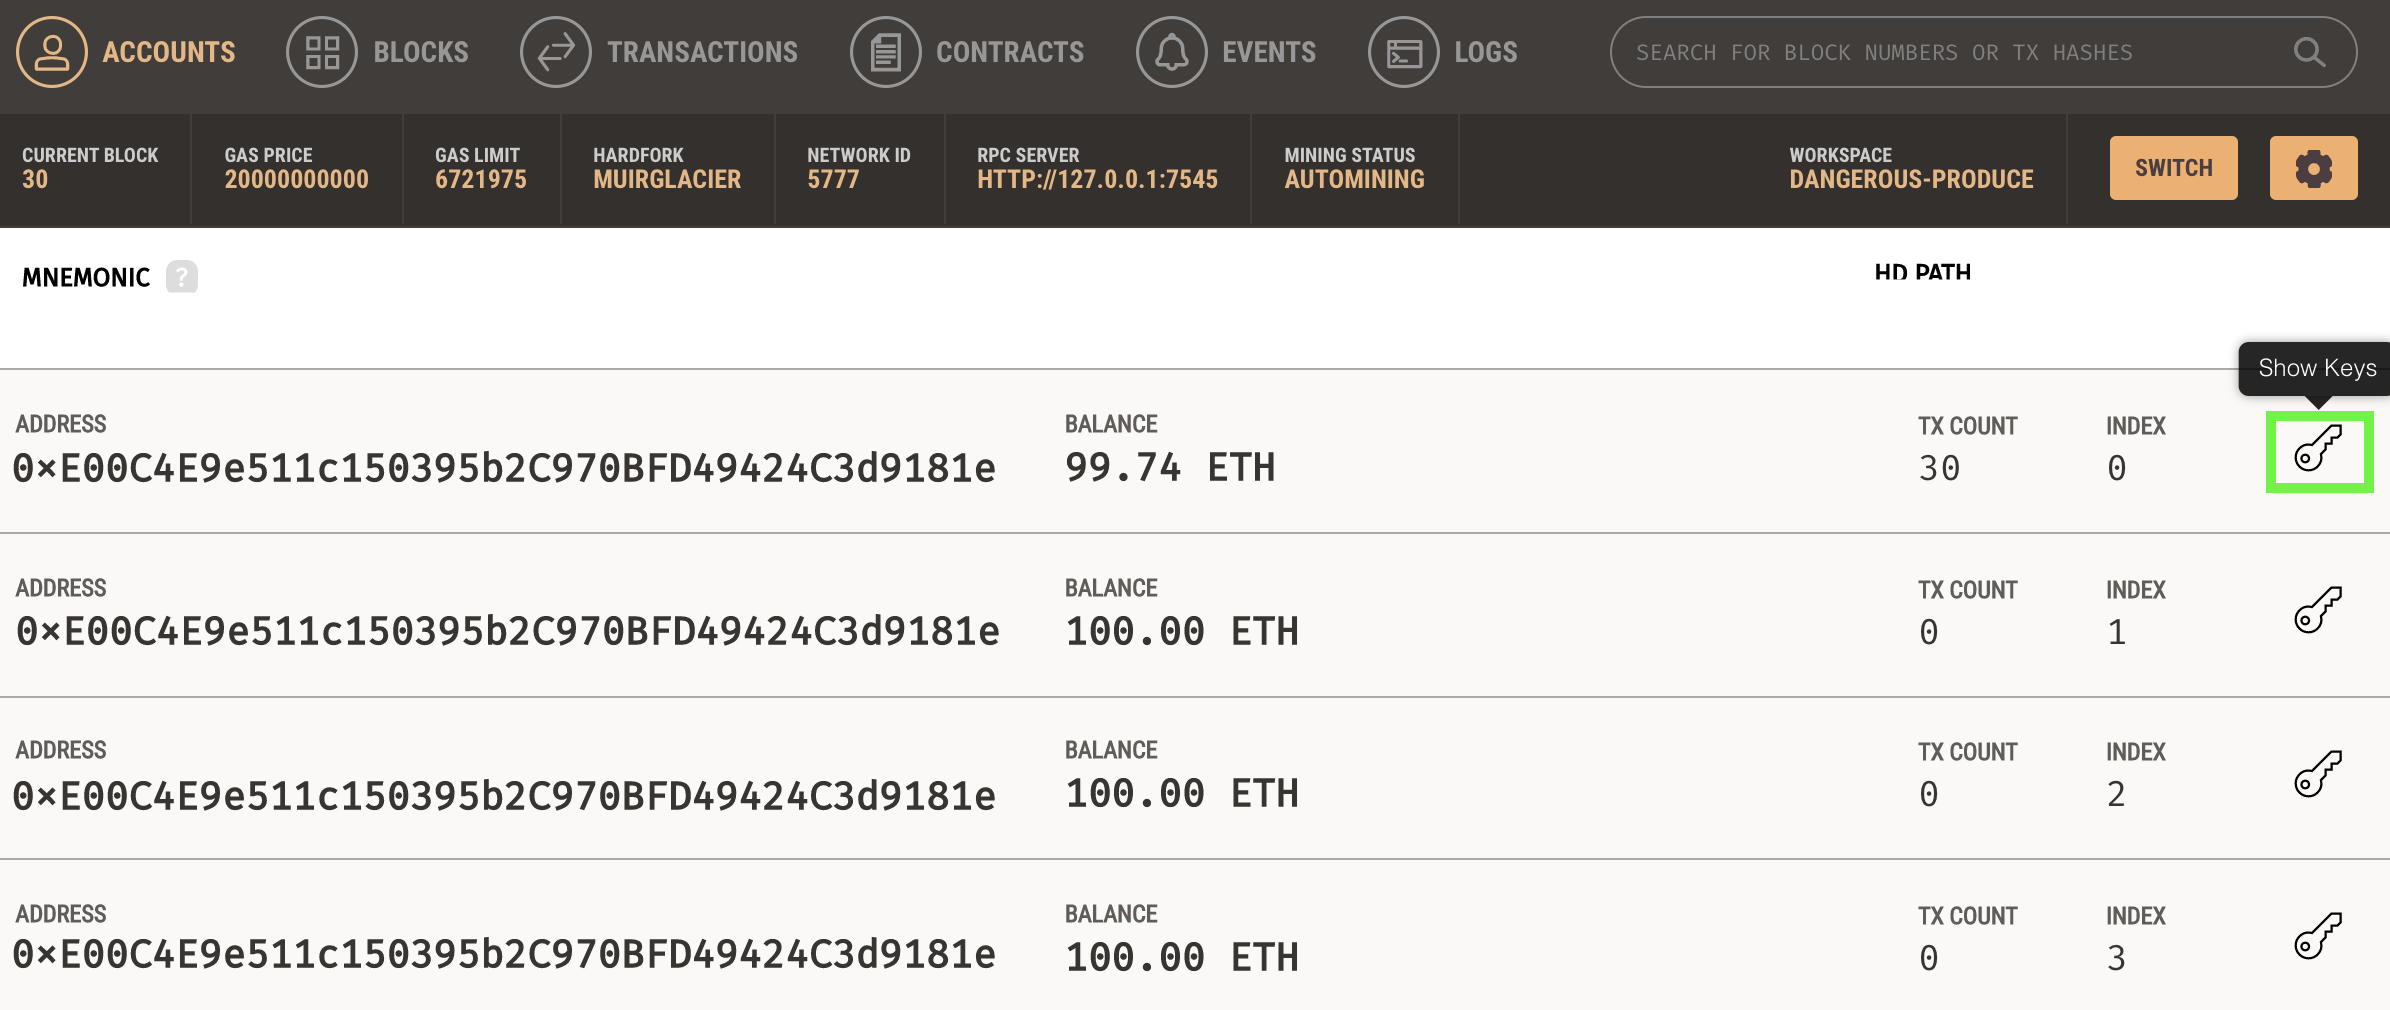
Open Ganache, click on Quick Start (Ethereum). Double check if the server has this configuration clicking on the on top right and then Server tab.
Click on Show keys of the account you have created and copy the private key.
Back on MetaMask, click on Import Account and add the private key you have copied from the previous step.
Setting up the project
On your terminal run:
npm install -g truffle
If you want to follow the test steps only, then you need to download the first release that contains the installation files of the project already:
If you want to try the installation for yourself from the scratch, then just go to this link and follow the Getting Started guide. This guide won’t be focusing on the installation of the framework or the setup of the contracts and migrations.
Just a heads up that for this project I am using the pet-shop box instead of the MetaCoin from the Getting Started guide.
Installation
After downloading the project, you will need to run some commands to set it up. Open your terminal on the root of the project and run:
Run the development console
truffle develop
Compile and migrate the smart contracts. Inside the development console you don’t need to type the truffle command.
compile
migrate
To get out of the truffle console type
.exit
Create a new file inside of the test folder called TestAdoption.sol and import all the needed modules, such as assertions, new instances of deployed addresses and the contract that will be tested.
Add the testUserCanAdoptPet() function below the variables block.
Note that here you are creating a function that will test you can adopt a pet and for this you will need to get the address related to the adoption transaction and compare the returnedId with the expectedPetId address
Try to explore and add other asserts like checking if it’s not returning null.
function testUserCanAdoptPet() public {
        uint256 returnedId = adoption.adopt(expectedPetId);

        Assert.equal(
            returnedId,
            expectedPetId,
            "Adoption of the expected pet should match what is returned."
        );
    }
Asserting the adopter of the pet
Add the testGetAdopterAddressByPetId() function below the previous function.
This function will check if the adopter address for that pet is the same from the adopters list
Try to explore and add other asserts like comparing the age of the pet is returning correctly, for that you would need to add the age on the Adoption.sol contract, then compile and migrate again.
function testGetAdopterAddressByPetId() public {
        address adopter = adoption.adopters(expectedPetId);

        Assert.equal(
            adopter,
            expectedAdopter,
            "Owner of the expected pet should be this contract"
        );
    }
Asserting the list of adopters
Now add the testGetAdopterAddressByPetIdInArray() function below the previous function.
This function will check if the memory address for this petId is the same as the expectedAdopter
Almost the same test as before, but this time we are explicitly storing adopters in memory rather than contract’s storage and then comparing them.
function testGetAdopterAddressByPetIdInArray() public {
        address[16] memory adopters = adoption.getAdopters();

        Assert.equal(
            adopters[expectedPetId],
            expectedAdopter,
            "Owner of the expected pet should be this contract"
        );
    }
}
You should have something like this:
pragma solidity >=0.5.0;

// The first two imports are referring to global Truffle files, not a `truffle` directory.
// Gives us various assertions to use in our tests.
import "truffle/Assert.sol";

// When running tests, Truffle will deploy a fresh instance of the contract being tested to the blockchain.
import "truffle/DeployedAddresses.sol";

// The smart contract we want to test.
import "../contracts/Adoption.sol";

contract TestAdoption {
    // The address of the adoption contract to be tested
    Adoption adoption = Adoption(DeployedAddresses.Adoption());

    // The id of the pet that will be used for testing
    uint256 expectedPetId = 8;

    //The expected owner of adopted pet is this contract
    address expectedAdopter = address(this);

    // Testing the adopt() function
    function testUserCanAdoptPet() public {
        uint256 returnedId = adoption.adopt(expectedPetId);

        Assert.equal(
            returnedId,
            expectedPetId,
            "Adoption of the expected pet should match what is returned."
        );
    }

    // Testing retrieval of a single pet's owner
    function testGetAdopterAddressByPetId() public {
        address adopter = adoption.adopters(expectedPetId);

        Assert.equal(
            adopter,
            expectedAdopter,
            "Owner of the expected pet should be this contract"
        );
    }

    // Testing retrieval of pet owner storing getAdopters in memory
    function testGetAdopterAddressByPetIdInArray() public {
        // Store adopters in memory rather than contract's storage
        address[16] memory adopters = adoption.getAdopters();

        Assert.equal(
            adopters[expectedPetId],
            expectedAdopter,
            "Owner of the expected pet should be this contract"
        );
    }
}
Running the tests
Open your terminal on the root of the project and run:
truffle test
If everything went okay you will see green checks on your terminal like this:
You can check the final code with the latest release (Spoiler alert: You will see pictures of my dog, my dog’s best friend, my friend’s cat and my previous dog)
Hello all, after a small burnout and a month break from my extra work activities (2nd lockdown here in London and winter vibes definitely didn’t help), I am finally back on track and I thought it was worth sharing this CI/CD Pactworkshop that was published in the middle of this year.
They use Node, but you don’t need to be an expert to try this workshop. Once you have finished, you will be able to fit Pact and Pactflow into your CI/CD pipelines and understand the workflow when changing the consumer and provider.
I followed all the steps and after around 1h20m I finished it. It is pretty straight forward and it includes the new feature pending pact that is equivalent to the pending tests tag, just make sure you are copying the right tokens and using the right URLs.
The link to the workshop with the instructions and requirements are here: