Hello hello 👋
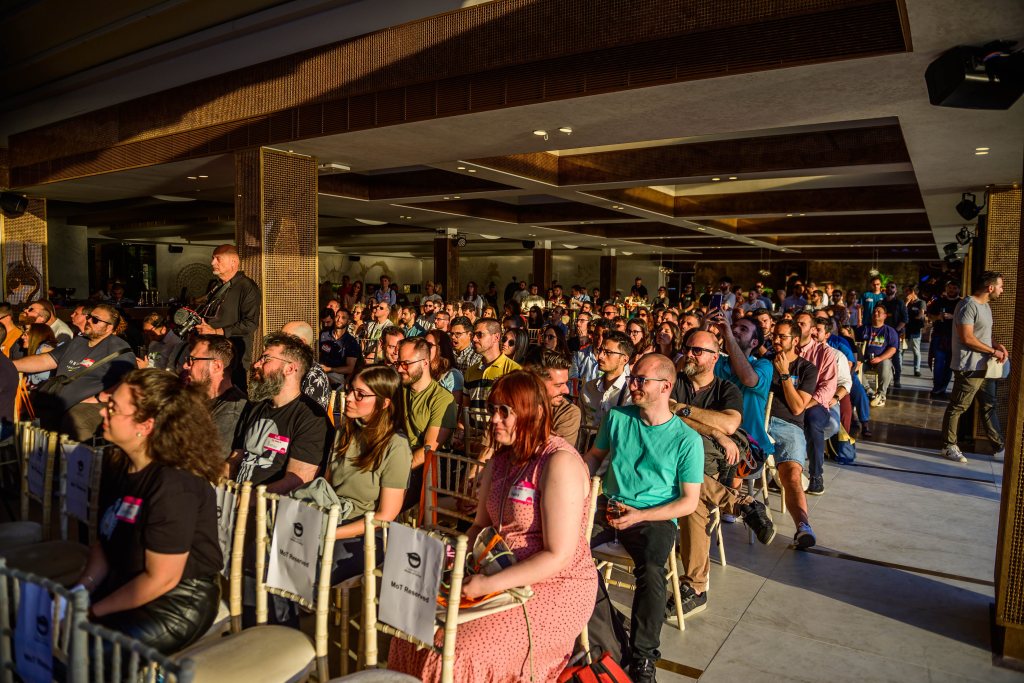
First, I want to say a big thank you to Petros and all the Ministry of Testing Athens who received me and hosted this Meetup On The Beach – Athens on 30 May/2024 !
By far, it was the best meetup I’ve ever been to. The energy, the people, and the place were already amazing, but then adding the food, the weather, and obviously the quality of the talks and discussions just made it the icing on the cake! I don’t think they advertise how good it is 😂
Finding Your Voice – How to stop worrying and give the talk
Sophie Küster was fantastic! She was very direct to the point and delivered simple messages that motivated people to give talks more often. Her tips were great, and they definitely resonated with me. Public speaking makes me really anxious too, and it took me a long time to gain the courage to go from blogging to speaking in public.
The tips:
- Prepare yourself – Lots of practice, rehearsals and research
- Be yourself and show your passion
- Structure your presentation
- No spelling mistakes 😬
- Wear comfortable shoes 👠
- Put some red lipstick on, joking this is just a reference for something Sophie often puts on to feel stronger when presenting, but you can find your own power move, like wearing a cowboy hat🤠

Thanks Sophie, hopefully see you again soon !
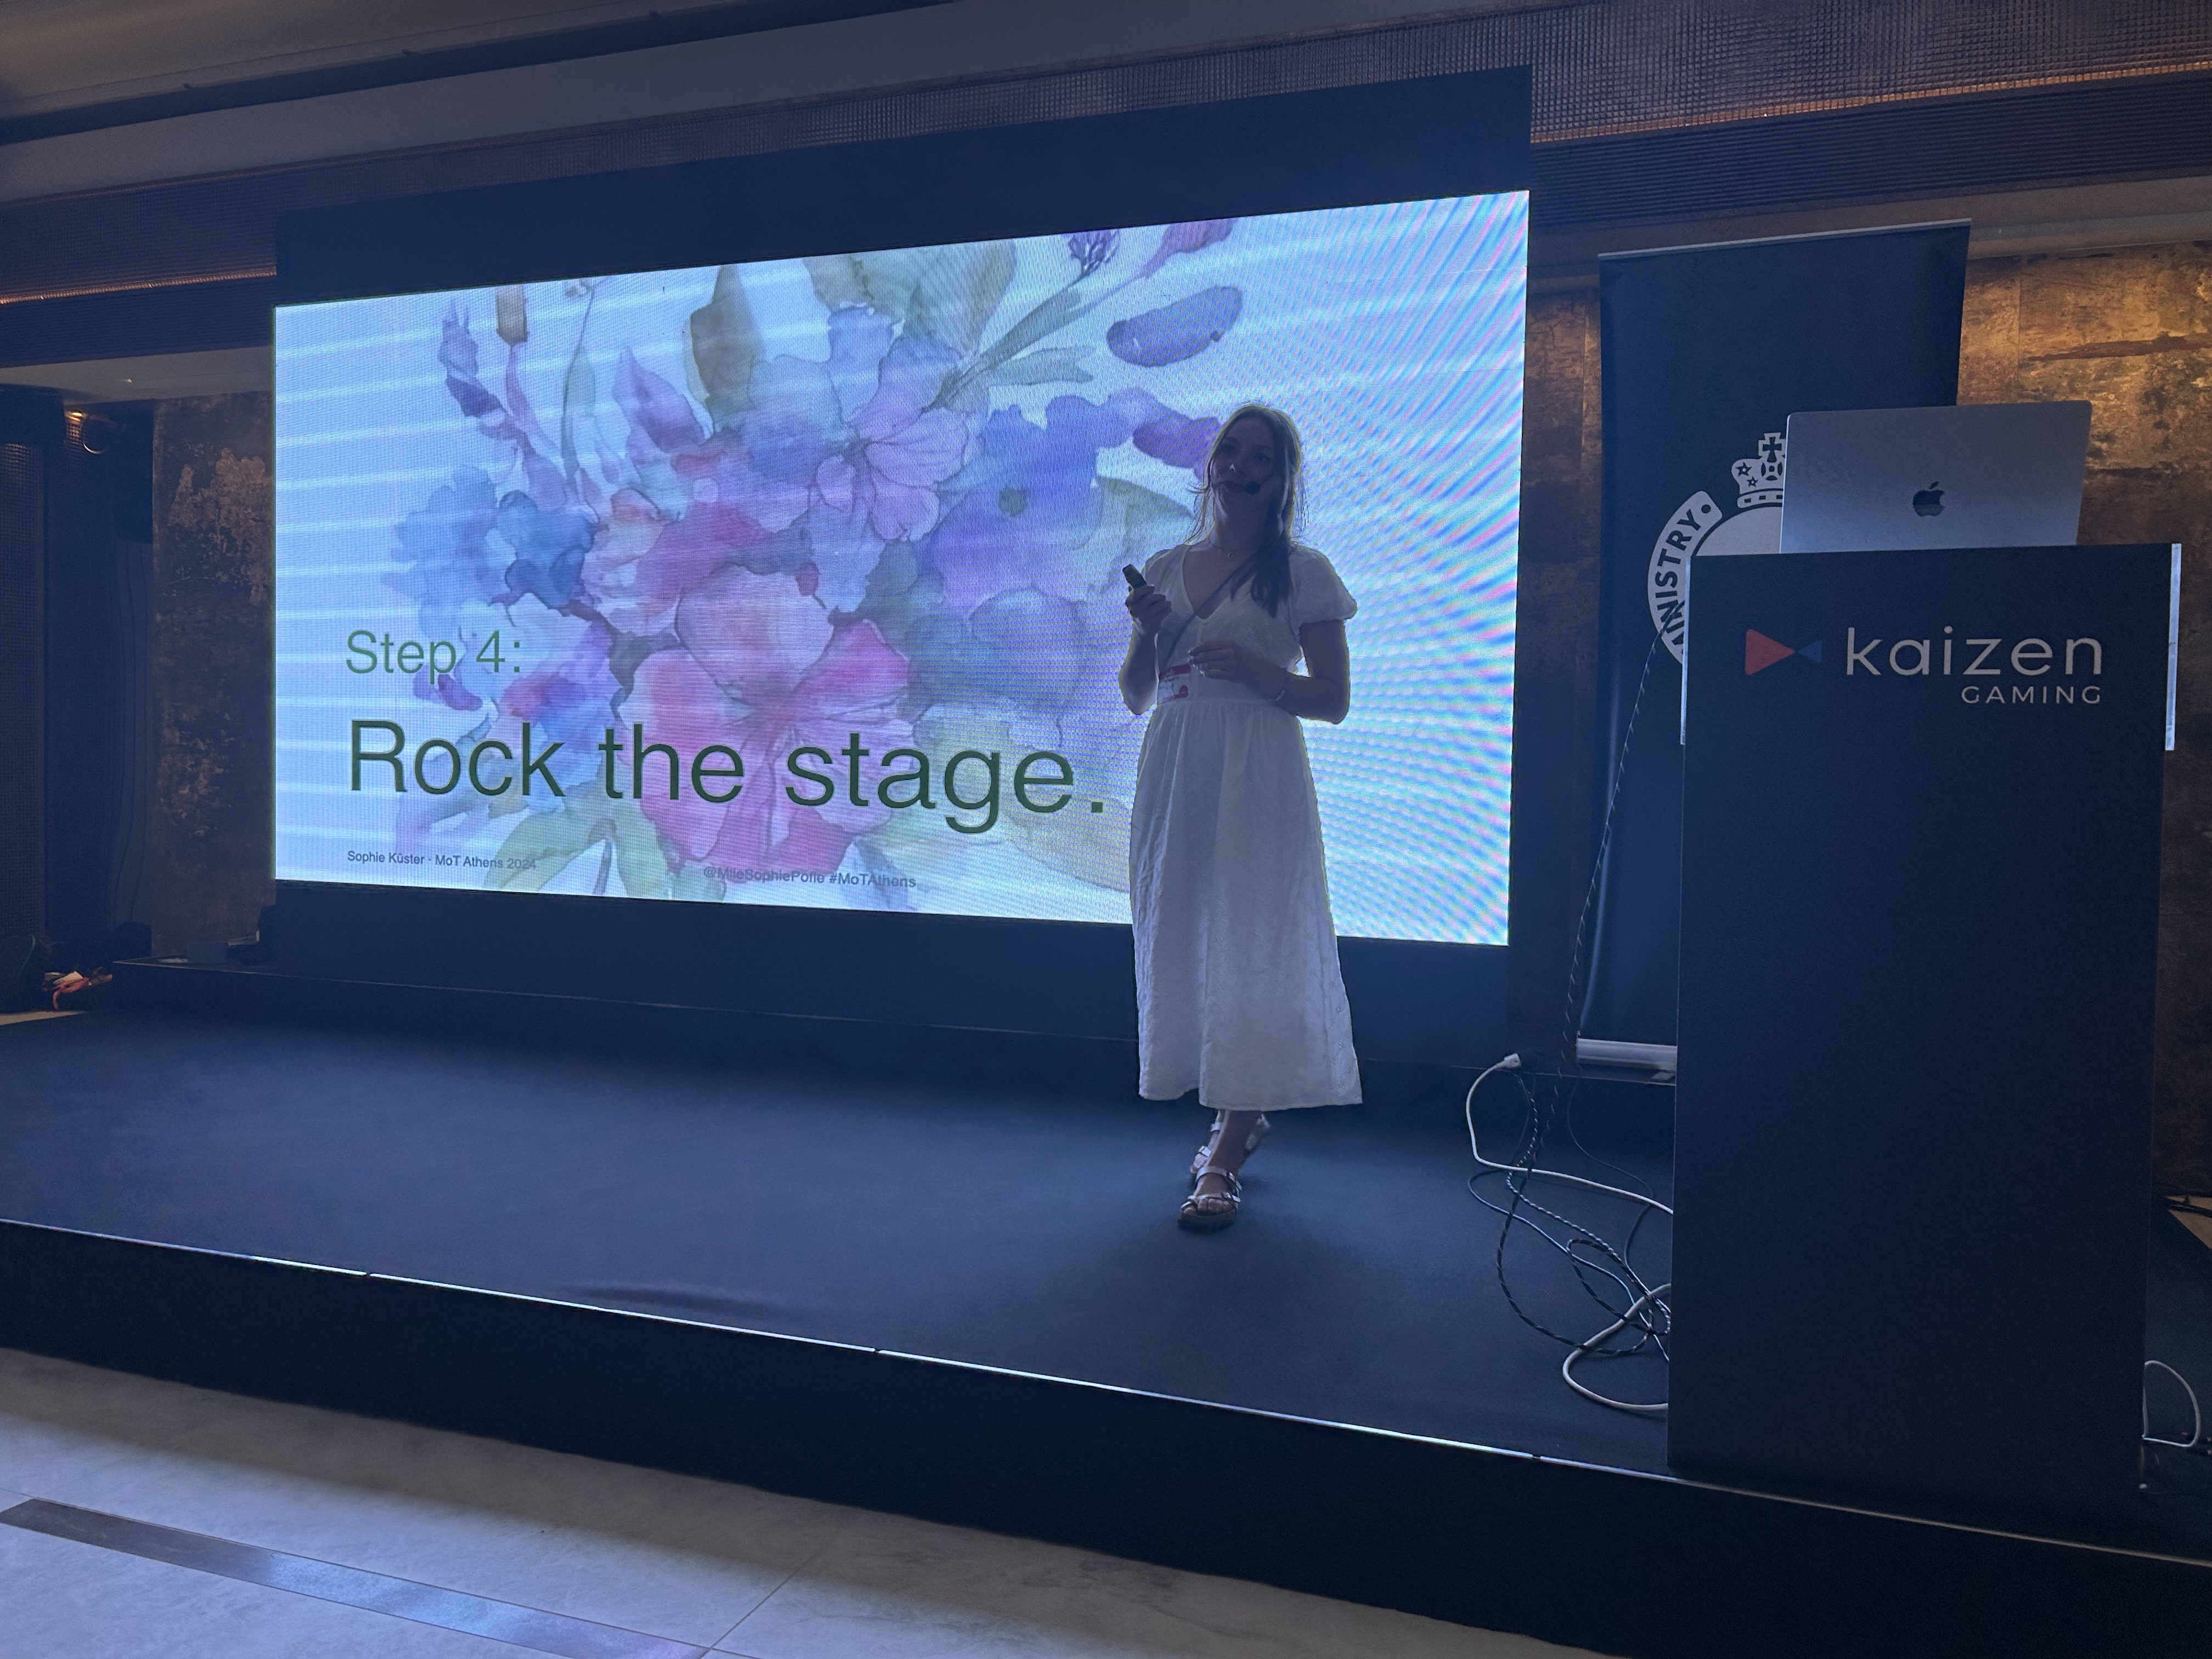
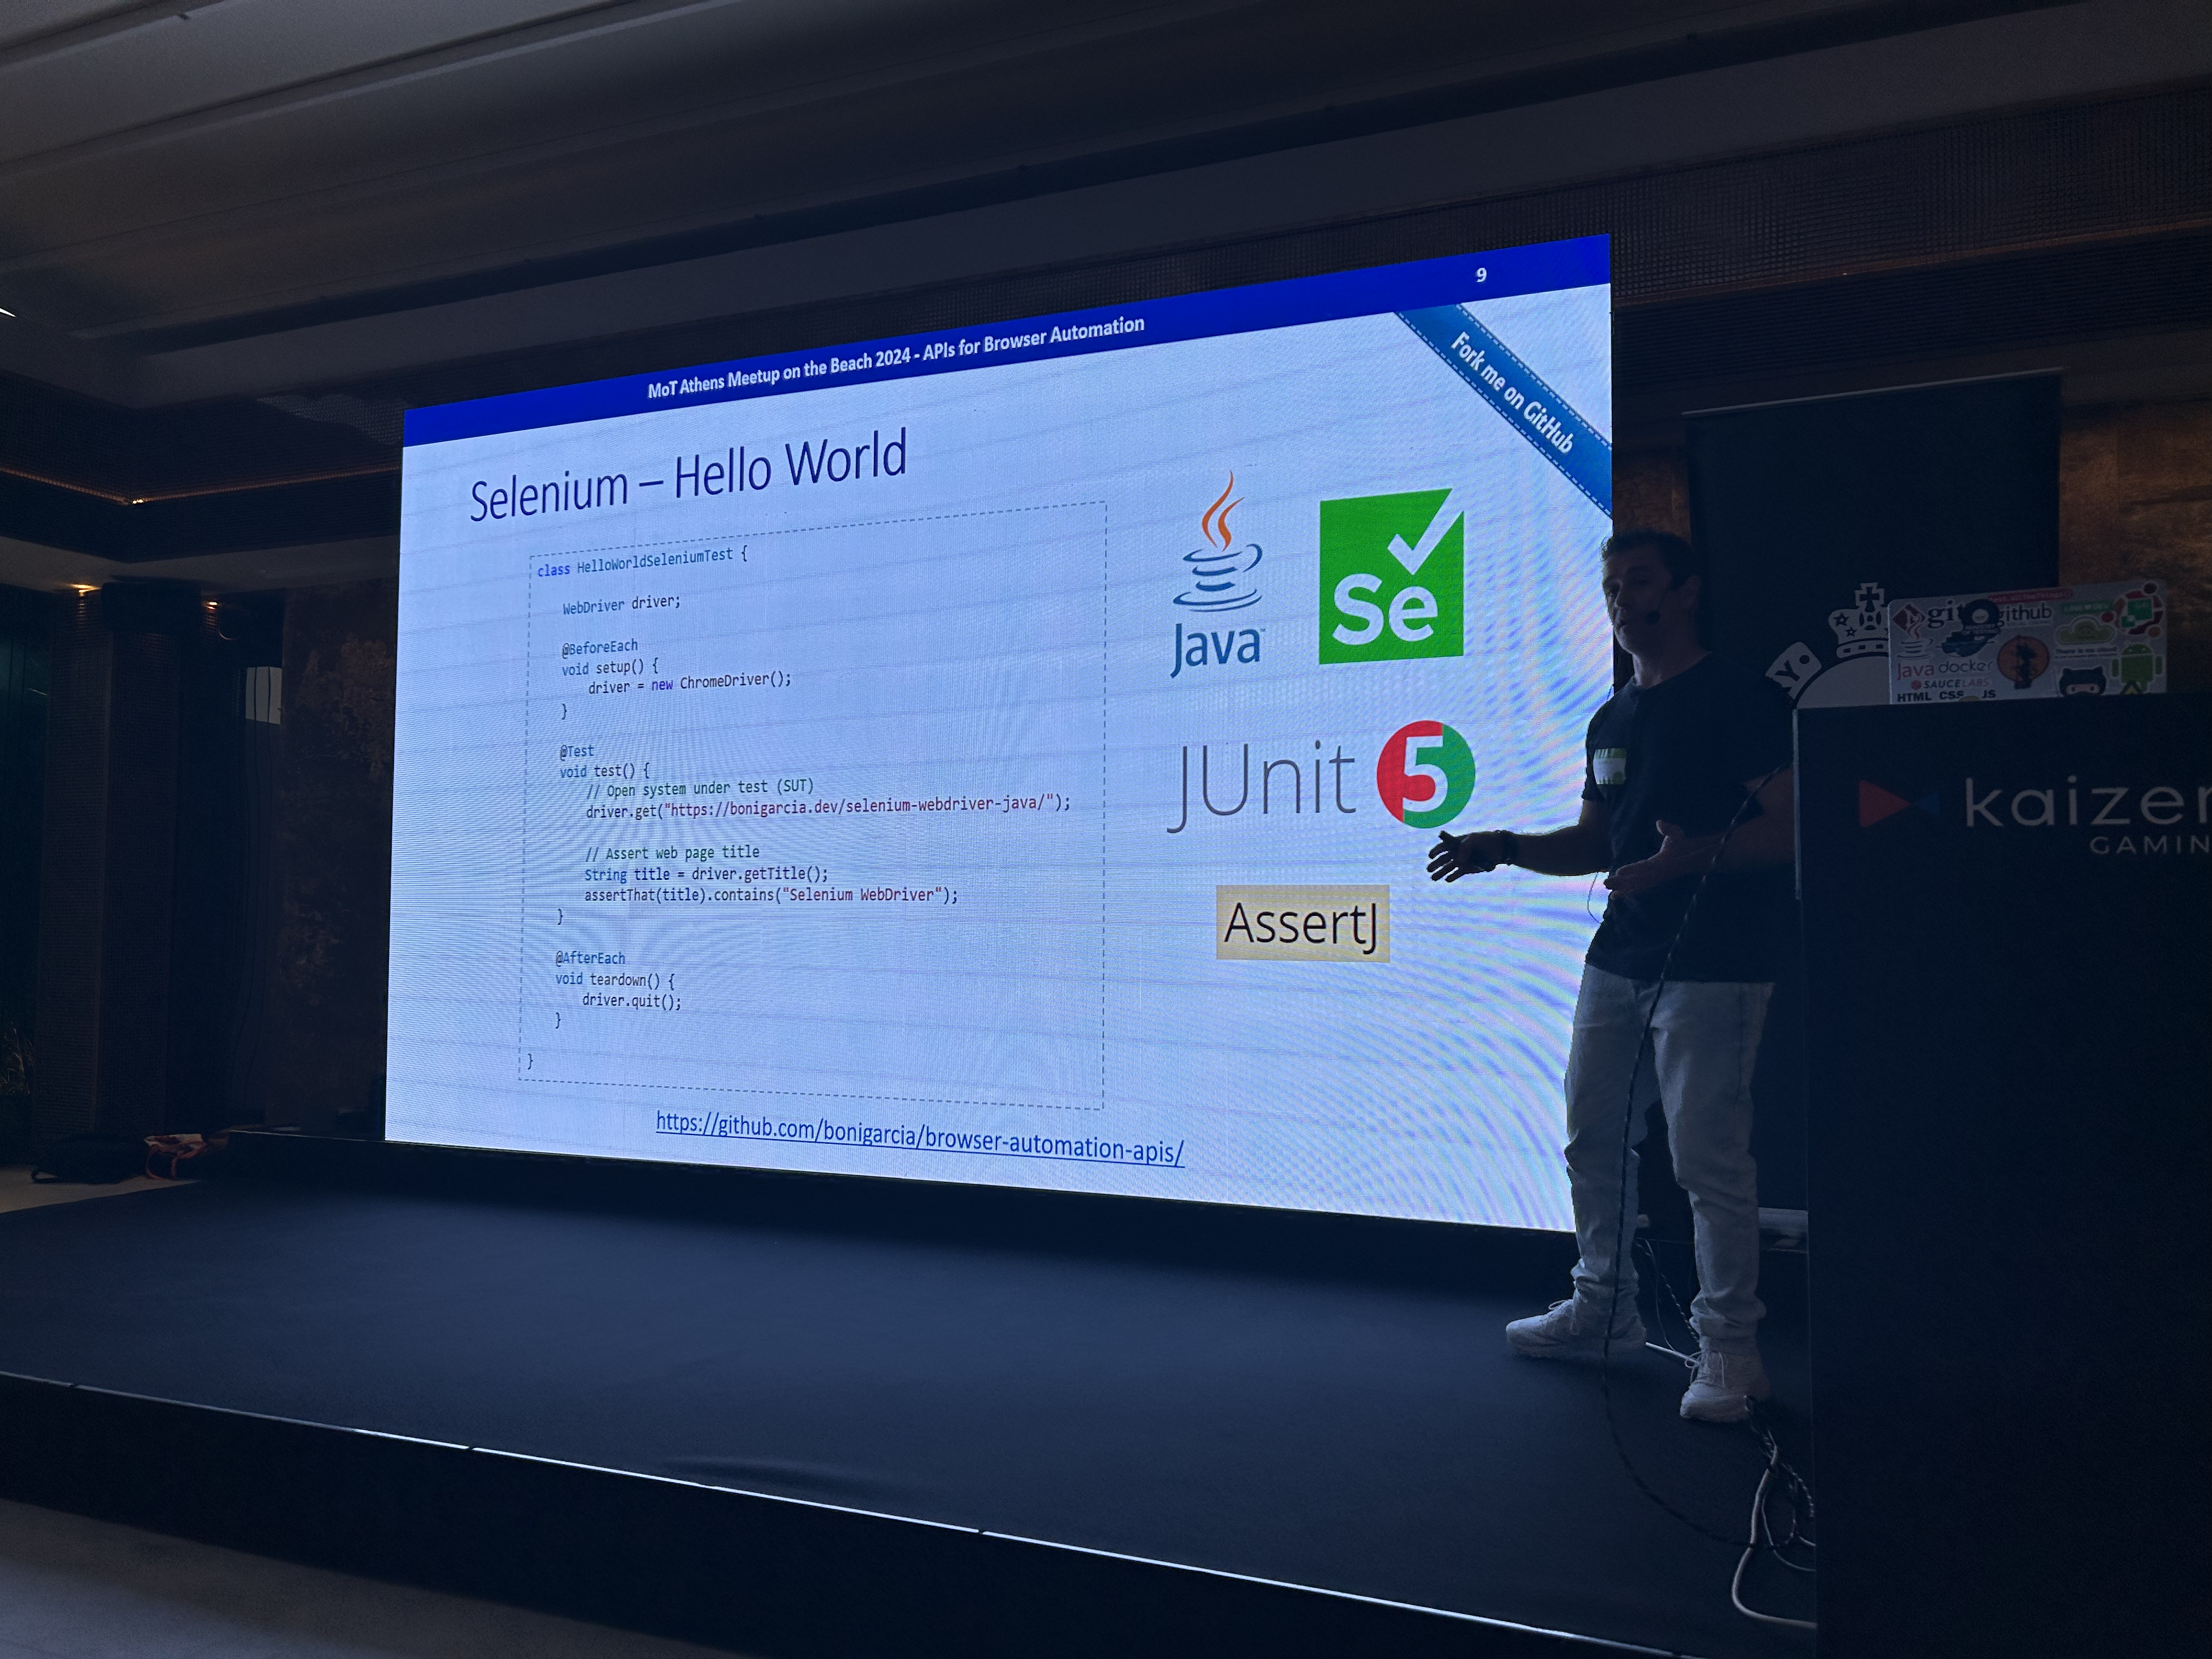
APIs for Browser Automation (Selenium, Cypress, Puppeteer, or Playwright)
The talk compared these four different tools for browser automation: Selenium, Cypress, Puppeteer, and Playwright. Selenium is the grandpa and senior in this space, but Cypress and Playwright are gaining more and more traction. Not surprised as they are easier to use and when working across different browsers, also the fact you don’t need to have waiting workarounds 😫
Boni Garcia even showed demos and the code comparing these tools for the same scenario ! Unfortunately my phone was taking horrible pictures, so I am sharing the slides here, much better !


Finally my Talk: A Tester’s Guide to Navigating the Wild West of Web3 Testing
As always I start first checking the level of the audience on Web3 knowledge and majority still has no idea what is Web3 or is a beginner, which makes me focus a lot in the beginning where I go through what is Web3 and Blockchain.
I always feel like I should give more examples, but then time is always something that holds me back a bit – Maybe I should remove the infrastructure part of the Blockchain and just focus on use cases ?

Then after going through the concepts, we talked about some extra resources, challenges and tools you can use when doing Web3 Tests:
- Check this Blockchain Developer Roadmap for a comprehensive learning path (I only offered a brief overview during the talk).
- This is a great Interactive Blockchain Demo for a hands-on understanding of blockchain functionality.
- Here are some tools you can use for Web3 testing: Foundry, BitcoinJ, Hardhat, Embark, Web3.js, Remix-IDE, Synpress, Caliper, OpenZeppelin, Postman.
Check out the slides here !


Afterwards…
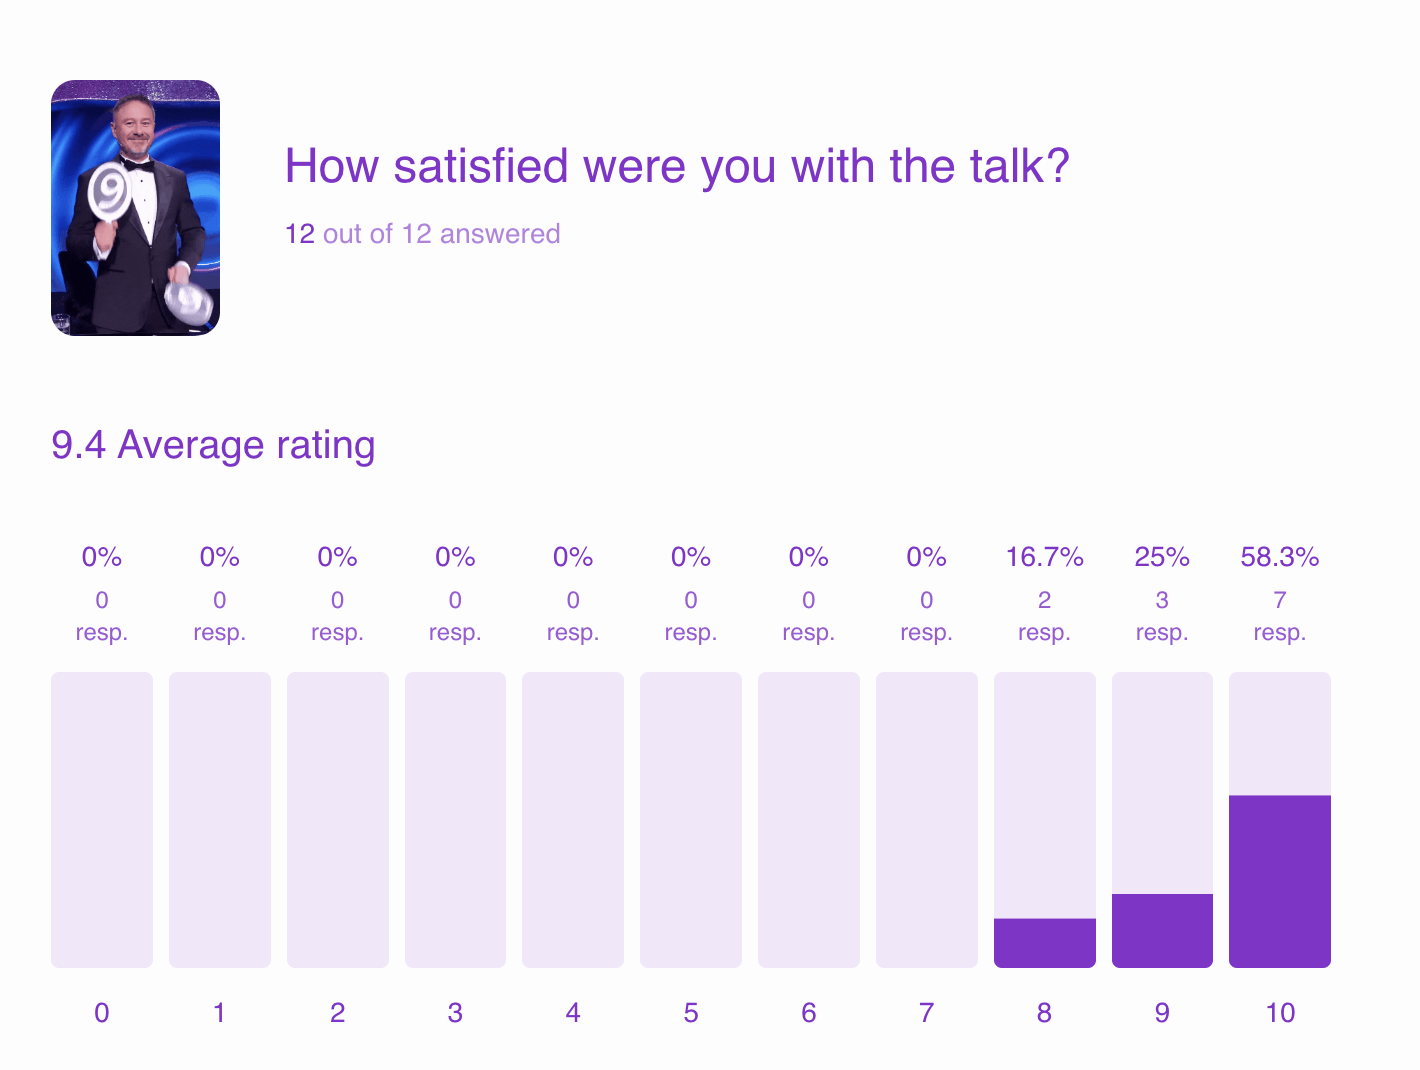
I DO LOVE the analysis part ❤️
Completely anonymous feedback at the end of the talk summarized that people loved the quiz at the end where we gave away some The Chaincademy swags for the top 3 places.
A good, friendly competition is always a good thing!

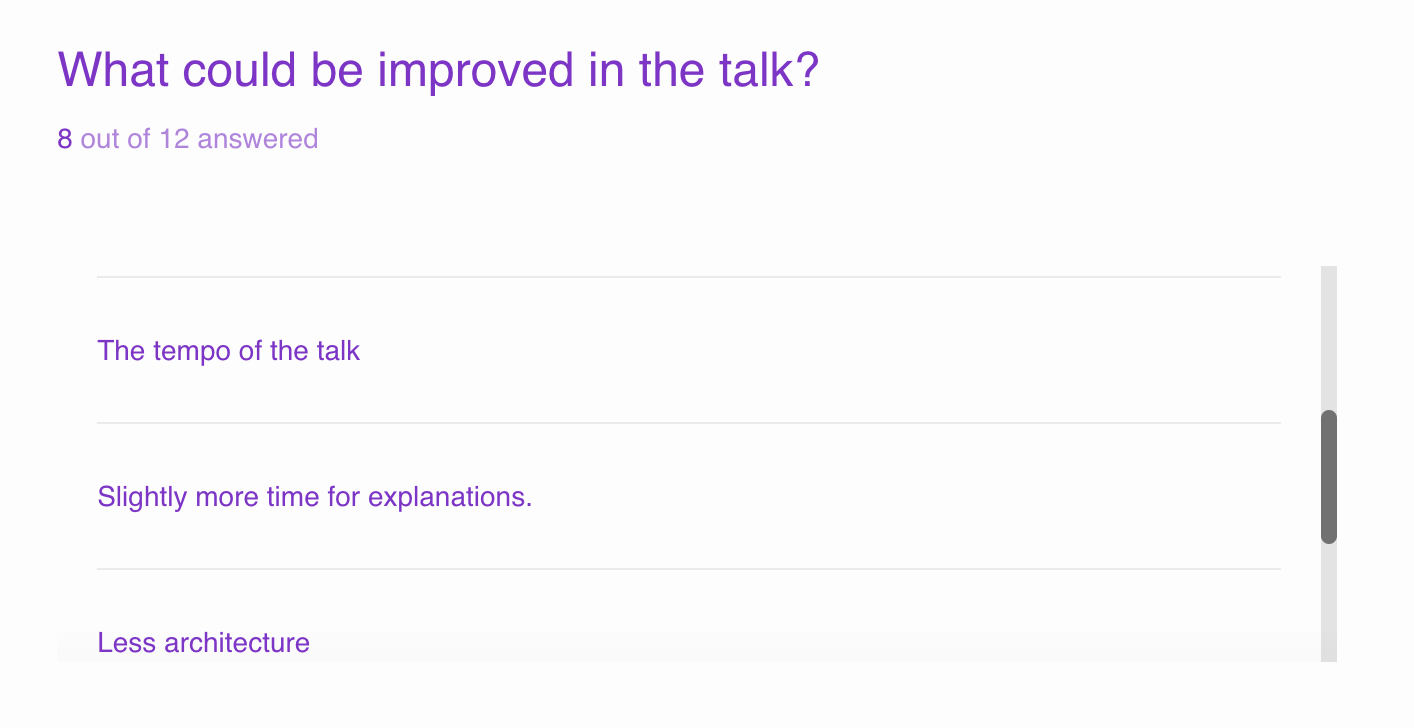
The feedback also shows that time was an issue. It seems like didn’t need that much time to discuss the infrastructure and more time was needed for use cases and explanations. Let’s see what I can do to improve for my next talk at Eurostar Conference next week !
The results can be seen here:


Who voted not sure ?

Big shout out to Angelos Mitsios for coming to me afterwards and making me think about a really good point about Blockchain Decentralisation:
While removing the middleman like banks for financial transactions with cryptocurrency is a big step, complete decentralization is difficult. We still need Internet providers and Electricity providers. Electricity can potentially be self-generated with solar panels, but internet access relies on complex infrastructure across vast distances.
And even with encryption tools like VPNs, governments can still disrupt internet access, highlighting the ongoing tension between technological freedom and government control. Ultimately, the focus should be on the practical applications of cryptocurrency (Long distance fast transactions without middleman: bank – wallet to wallet) while acknowledging the limitations of true decentralization in today’s world (Still depend on middleman: Internet and Electricity Providers)
The Speakers !
Finally met these two after seeing them talking in so many events:
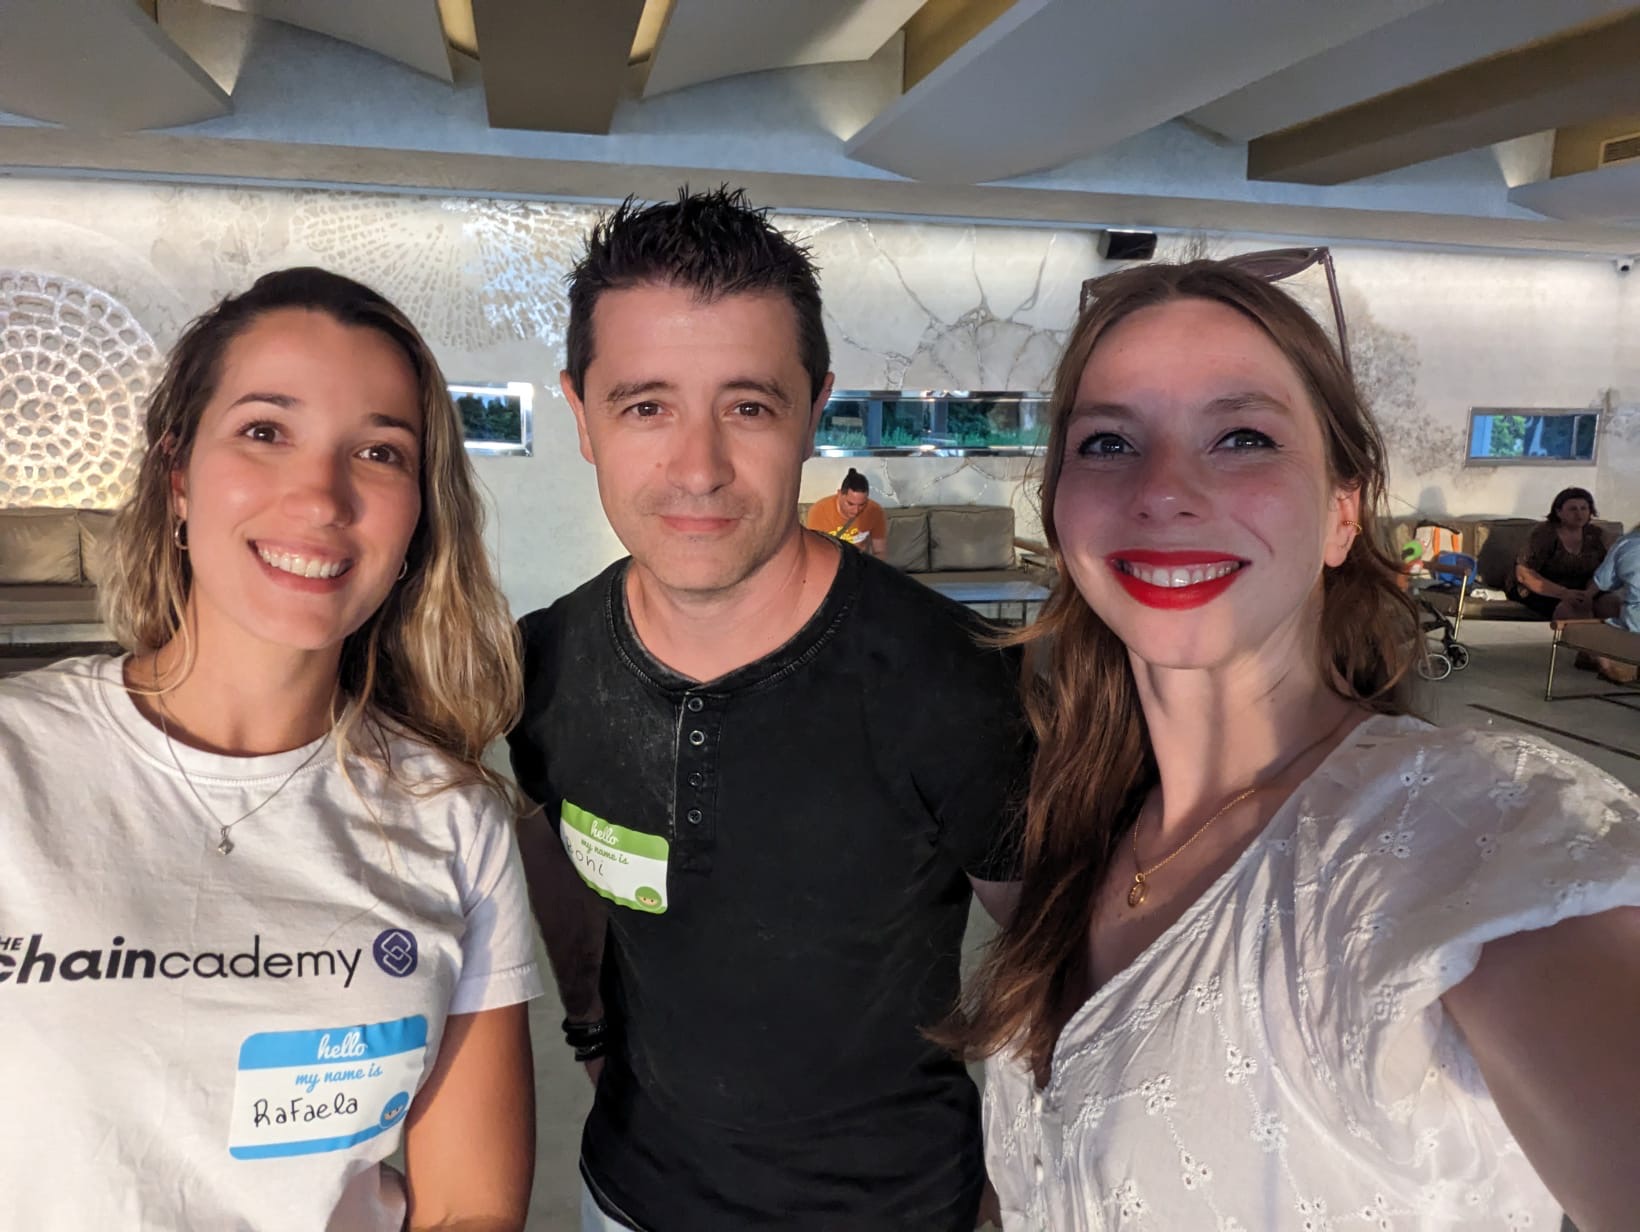
Boni Garcia is an Associate Professor at Universidad Carlos III de Madrid in Spain. He is an official committer at the Selenium project and the creator and maintainer of several projects, such as WebDriverManager or Selenium-Jupiter. He wrote the books Mastering Software Testing with JUnit 5 and Hands-On Selenium WebDriver with Java.
Sophie is a test automation engineer at cronn GmbH, a Bonn based IT company. No stranger to the universe’s gut punches, she is passionate about improving awareness and communication about mental health and self-care.
That’s all 👋 Meet you next week at Eurostar in Stockholm and Geek 2024 – EE Conference in London and my last conference of the year Automationstar in Vienna !