API is the most important part of your software because it has the highest security risks. What if someone were to hack your API? They could get production data, they could Bitcoin ransom the servers or they could hide on the machine until something interesting happens. The bottom line is, the stakes when using an API are much higher than if there is just a bug in the UI of your application — your data could be at risk and, by proxy, all of your users’ data.
API testing is not only the most vital testing to be done against your application, but it is also the easiest and quickest to execute
With your API tests and having a Continuous integration process, you can:
- Test all of your endpoints no matter where they are hosted
- Quickly ensure all of your services are running as expected
- Confirm that all of your endpoints are secured from unauthorized AND unauthenticated users
Postman
Now you need to have an API to test, you can select one from any-api or qa-symphony for this tutorial. In this example we are going to use this Oxford Dictionaries. Now on postman, you can create a collection and start to feed with your tests. Also, you can create an environment with environment variables and also global variables that can be used across the requests, for example a token.
Login with Token on Postman
- Click on Manage Environments

- Set the host
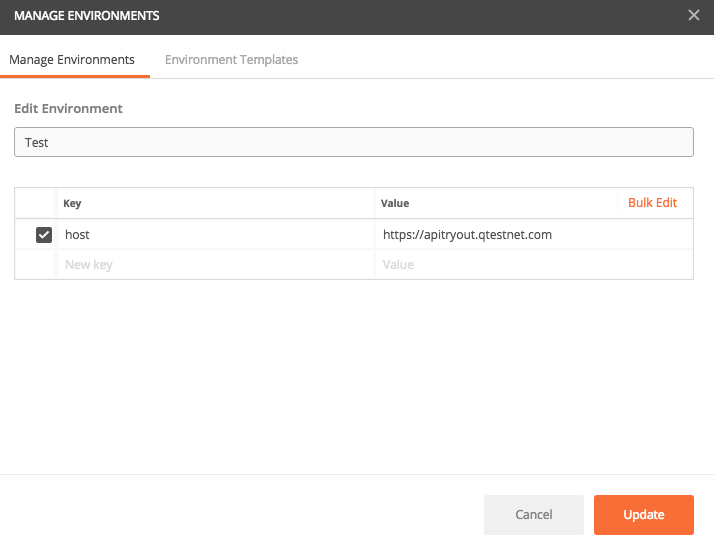
- Type the request URL, change the host to the variable
{{host}} - Select POST request and type the headers

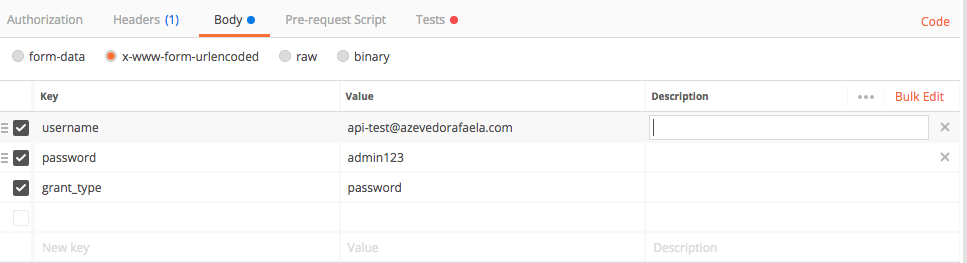
- Type the Body with the credentials for your site.
- Open the Tests tab and write the tests to validate the request and set the access_token as an environment variable. You will need to use this variable in the header of all of your next requests.
var jsonData = JSON.parse(responseBody);
tests["Status code is 200"] = responseCode.code === 200;
tests["Access Token is not blank"] = jsonData.access_token !== "";
tests["Message success"] = jsonData.scope.indexOf("success") !== -1;
postman.setEnvironmentVariable ("access_token", jsonData.access_token);
- Hit Send and if the status code is 200, it means the credentials are correct. Save the request in your collection.
- Now you can create all the other requests and tests needed, just remember to add the
{{access_token}}in your header and save the requests in your collection

Running your API automated tests
- Now that you have a collection with all your tests, click on Runner and select your collection, environment. Type the number of interactions and delays in case you want to simulate more than multiple interactions.

- You can also import a CSV file with data and substitute for variables in the body or header of the request.
- The results report will be like this one:

Newman
To run your tests from the command line you need to have Newman, open your terminal and run npm install -g newman
- Export your collection from Postman (Collection_v2) and download your environment (go to “Manage Environments” and click the download button) from Postman
- Open your terminal an type the command to run the API tests:
newman run /local/path_to_your_postman_collection.json
- The result will be something like this:

- To run the script on Jenkins you need to add the parameters –reporters junit,json and the results should be created under a folder called “Newman” in your working directory, so:
newman run -reporters junit,json /local/path_to_your_postman_collection.json
Resources: https://www.qasymphony.com/blog/automated-api-testing-tutorial/
